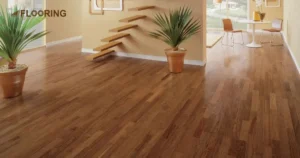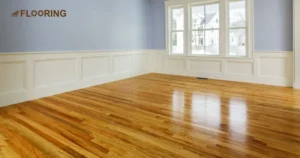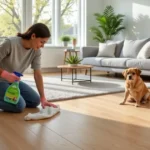
Laminate flooring is a popular choice for homeowners due to its durability, affordability, and easy maintenance. Over time, it can become susceptible to chips, scratches, and other forms of damage, then you need to repair chipped laminate flooring. This can detract from the floor’s appearance and potentially lead to further issues if left unaddressed.
Are you tired of staring at those ugly chips and scratches on your laminate flooring? How can you repair chipped laminate flooring and banish those unsightly blemishes for good? Repair to laminate flooring is essential for maintaining its appearance and functionality. There are simple solutions that can make your floors look brand new again.
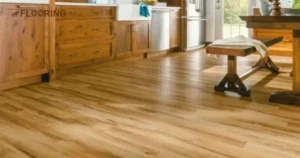
You can easily repair small chips and scratches on your laminate flooring. You can also fix damaged boards using the correct tools and techniques on your own. Repairing minor damage to your wood floors is a straightforward process that you can tackle yourself. Follow along as we guide you through the easy steps to get your floors looking their best again.
📑 Table of Content
Key Takeaways
- Say goodbye to unsightly chips and scratches on your laminate floors.
- Revive your floors with simple DIY repair techniques.
- Restore the pristine beauty of your floor after repair chipped laminate flooring.
- Achieve professional-level results from the comfort of your home.
- Tackle minor damage or replace entire boards with ease.
- Embrace the satisfaction of a rewarding DIY project.
- Transform your floors from drab to fab in no time.
- Let your floors shine like never before with the power of DIY.
- Exile those annoying imperfections for good with the right tools and guidance.
- Unveil flawless floors that will be the envy of all your guests.
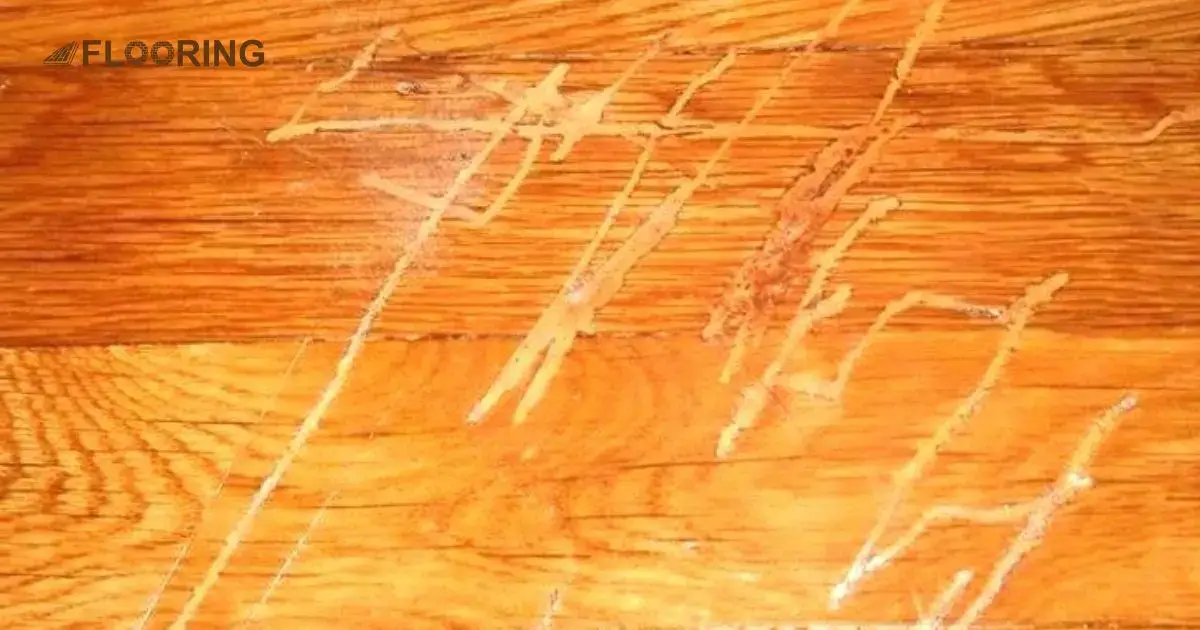
Repairing Minor Chips And Scratches From Laminate Flooring
Dealing with minor chips and scratches on your laminate floors is a breeze. Follow these simple steps to restore the pristine beauty of your floors without breaking a sweat.
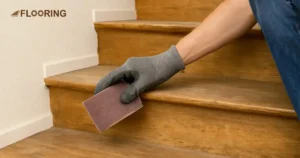
Clean The Damaged Area to Repair Chipped Laminate Flooring
- Begin by cleaning the damaged area while repairing a laminate floor using a clean, damp cloth to wipe away any dirt or debris.
- Allow the floor to dry thoroughly before moving forward with the repair laminate floor process.
- This technique is effective for addressing small chips and scratches that can be fixed with putty or a specialized marker designed for repairing chip in laminate floor.
- If you accidentally create a small cut on the floor by dropping a knife. You can conveniently mend the damage using a laminate floor repair kit.
Buy A Laminate Floor Repair Kit
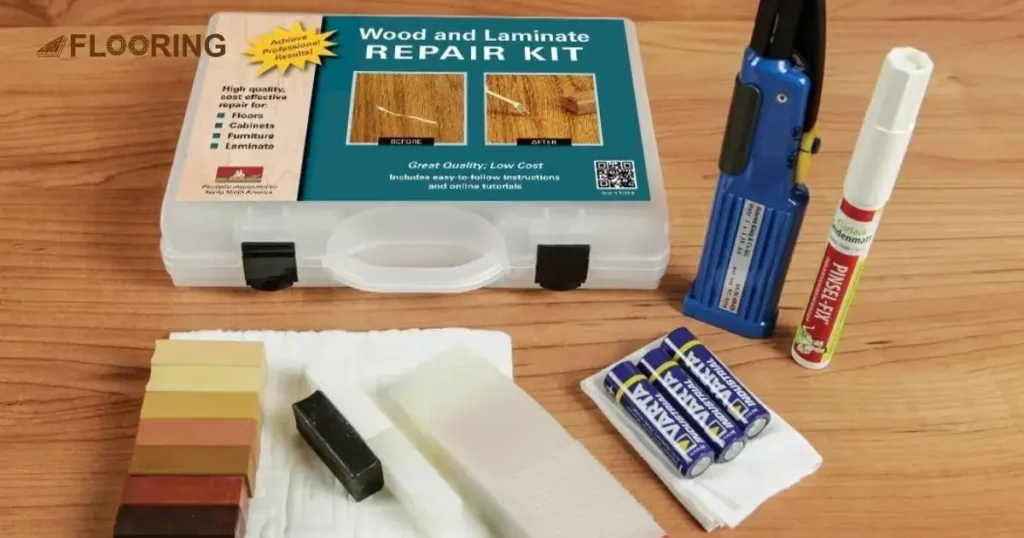
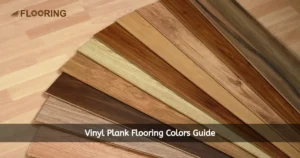
- For larger chip repairs, consider using laminate floor repair putty, while for smaller scratches, opt for a floor repair marker.
- If possible, bring an extra piece of flooring with you to the home improvement store to ensure you find the closest color match.
- In case you cannot find a putty color that closely matches your flooring, you can mix multiple colors together to create a custom shade.
- Laminate floor repair putty is ideal for filling in larger gaps and chips, providing a seamless finish.
- A floor repair marker is perfect for touching up smaller scratches and imperfections, giving your laminate flooring a polished look.
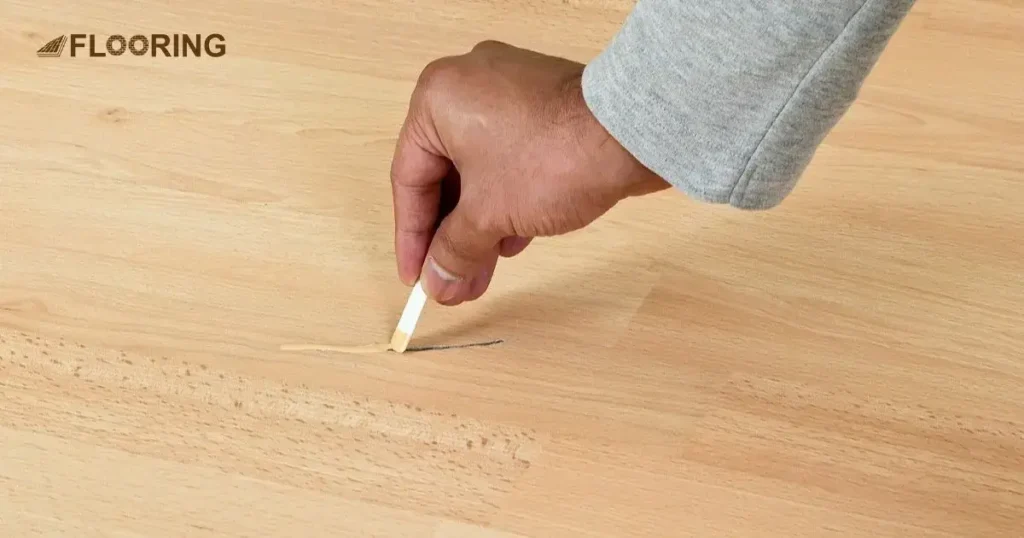
Disguise Scratches With Floor Repair Marker
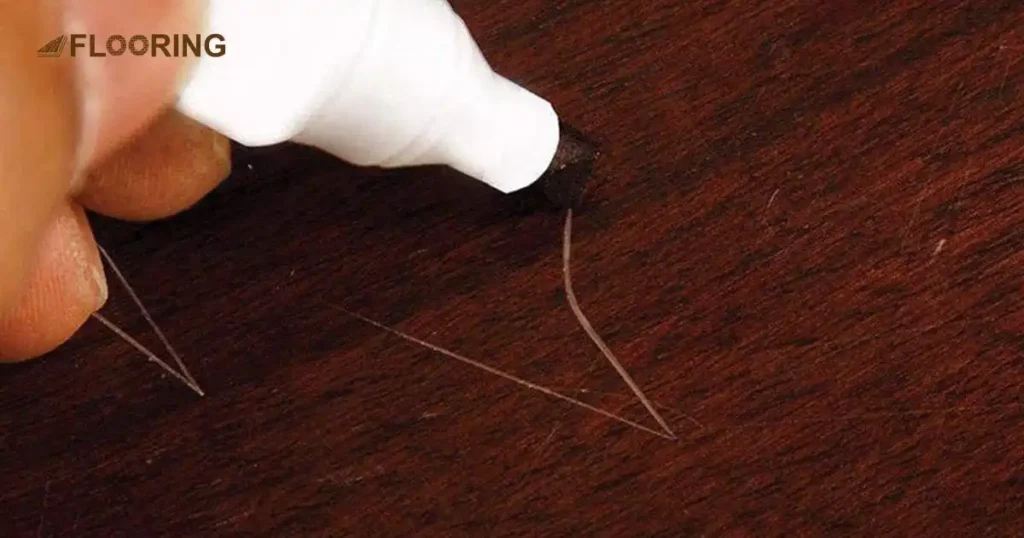
- Remove the cap from the marker and proceed to meticulously fill in the scratches with the marker.
- Allow the marker to dry for a duration of 30 minutes to 1 hour.
- If the scratch remains visible after the marker has dried, apply additional coats of the marker.
- Ensure each coat of the marker is allowed to dry before applying the next one.
- Repeat the process of adding more coats until the scratch is no longer visible.
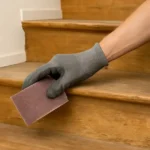
Fill In Chips Using Putty to Repair Chipped Laminate Flooring
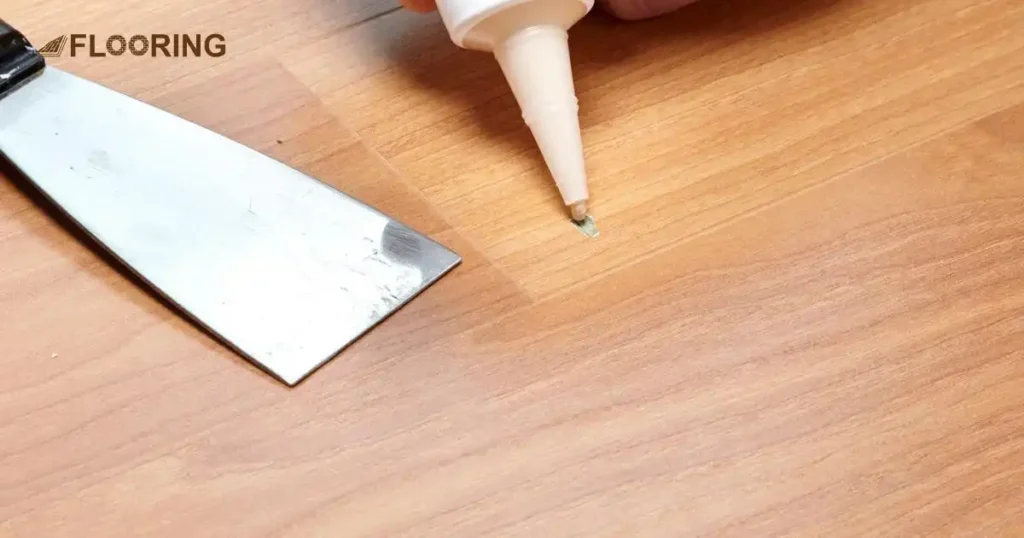
- Take a small amount of putty on the putty knife and apply it to the damaged area.
- Use the knife to spread the putty evenly until it is flush with the surrounding surface.
- Allow the putty to dry for about an hour before proceeding.
- For deeper chips, apply multiple thin layers of putty until the surface is level.
- Make sure to follow the drying time recommended on the putty packaging before sanding or painting the repaired area.
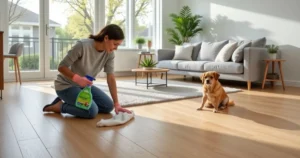
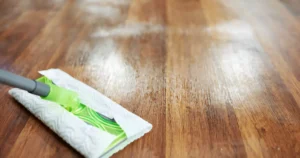
Wipe Around The Area After Repaing Laminate Floor
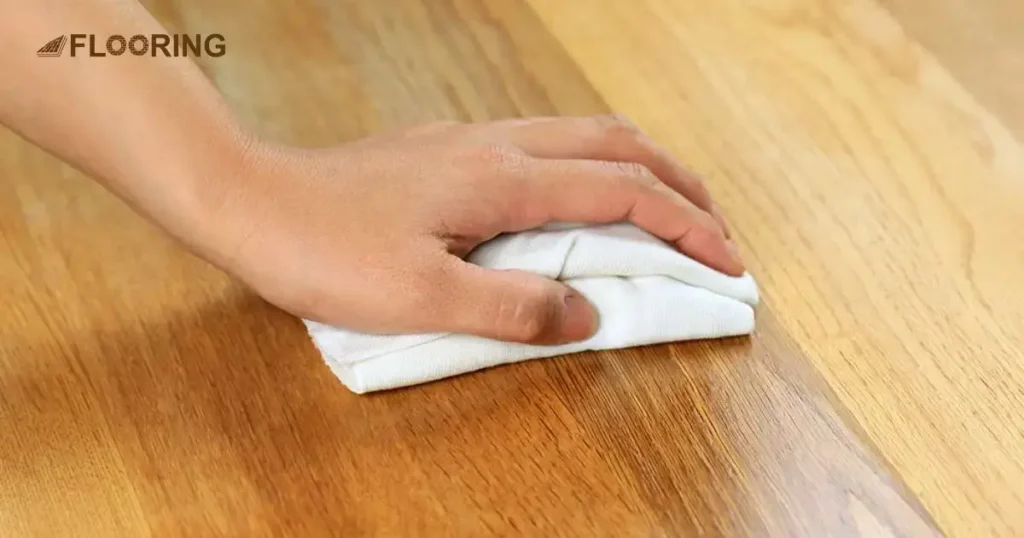
- Gently clean the area around the repaired spot to eliminate any traces of marker or filler that may have accidentally landed on the unaffected flooring.
- It is important to perform this cleaning task before the putty dries, ensuring a smooth and seamless finish.
- In case, you require a more potent cleaning solution, opt for a cleaning solvent specifically formulated for laminate flooring.
- This specialized cleaning solvent will effectively remove any stubborn stains or residue without causing any damage to the laminate surface.
- Wipe around the area with a clean, dry cloth to remove extra markers or putty.
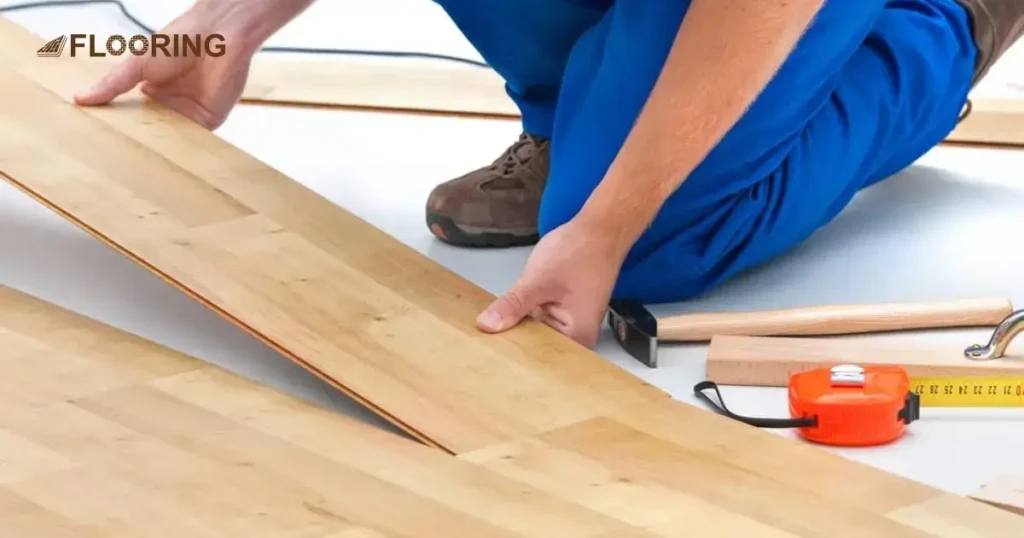
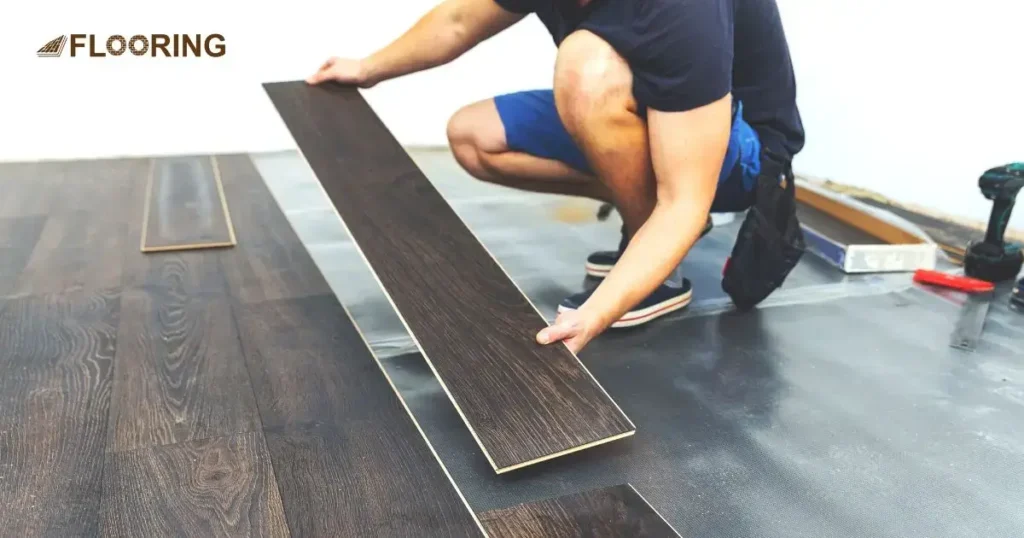
Replacing Damaged Boards Near The Edges
Sometimes, minor repairs won’t fix the issue, and you’ll need to replace entire boards. If the damage is near the edges, follow these easy steps for beautiful, flawless floors.
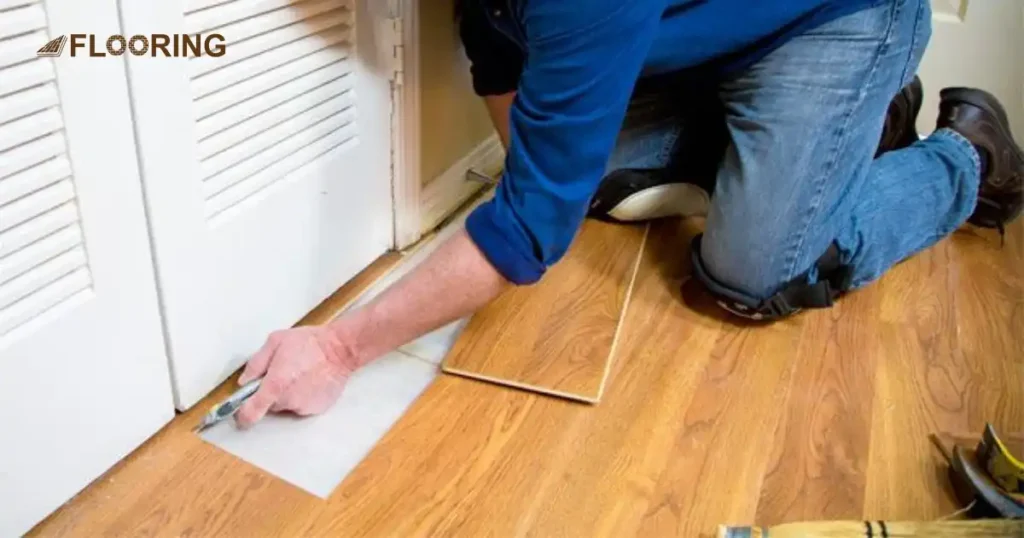
Clean The Area to Fix Chipped Laminate Floor

- Begin by starting at the side that is nearest to the board or boards that have been damaged.
- Use a pry bar to gently remove the baseboards and molding from the wall, ensuring that you do so with care.
- Similarly, use the pry bar to lift the thresholds up from any doorways, being cautious not to cause any damage.
- This approach is effective when the damaged boards are located close to the floor’s edge, allowing for the removal of a few surrounding boards to access and replace the damaged ones.
- Take extra care not to harm any of the pieces that you remove, as they can be reinstalled later on.
- Remove any baseboards, thresholds, or molding from around the area.
Lift Out The Boards Closest To The Edge to Repair Chipped Laminate Flooring
- Begin by inserting a pry bar underneath the boards, specifically at the seams, and apply downward pressure on the end of the bar. This action will act as a lever, effectively loosening the joints.
- Start working from the edge. You have already removed the baseboards and molding. Gradually move toward the area. The damage is located there. Continue this process until you are able to successfully remove the boards that have been affected.
- As you remove the boards, make sure to set aside the ones that are still in good condition. It is important to keep them in the same order that you removed them, as this will make it easier to replace them later on.
- You can set aside the undamaged boards. This will ensure that they remain safe and intact. You can reinstall them once the damaged boards have been taken care of.
- This method allows for a systematic approach to the repair process. It ensures that the damaged boards are removed efficiently. The undamaged ones are preserved for future use.
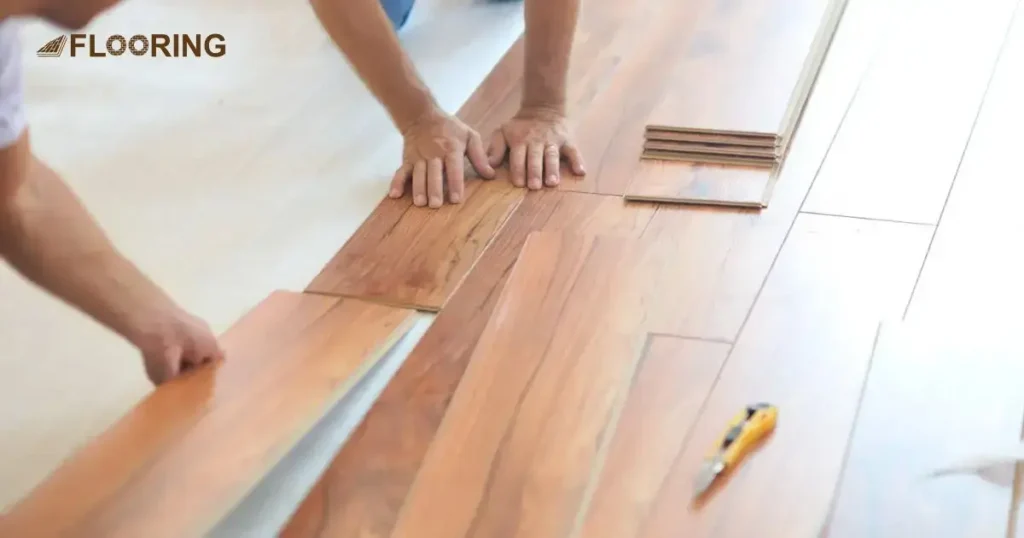
Replace The Damaged Board to Repair Chipped Laminate Flooring
- Align the tongue and groove of the replacement board in the same manner as the ones on the board you previously removed.
- Securely snap the new piece into its designated position.
- Keep the damaged board for future repairs, as it can be useful for matching colors and fixing scratches or chips.
- When searching for a repair kit at a home improvement store, bring the damaged board along to ensure a proper color match.
This way, you can easily find the right materials to fix any future damages or imperfections.
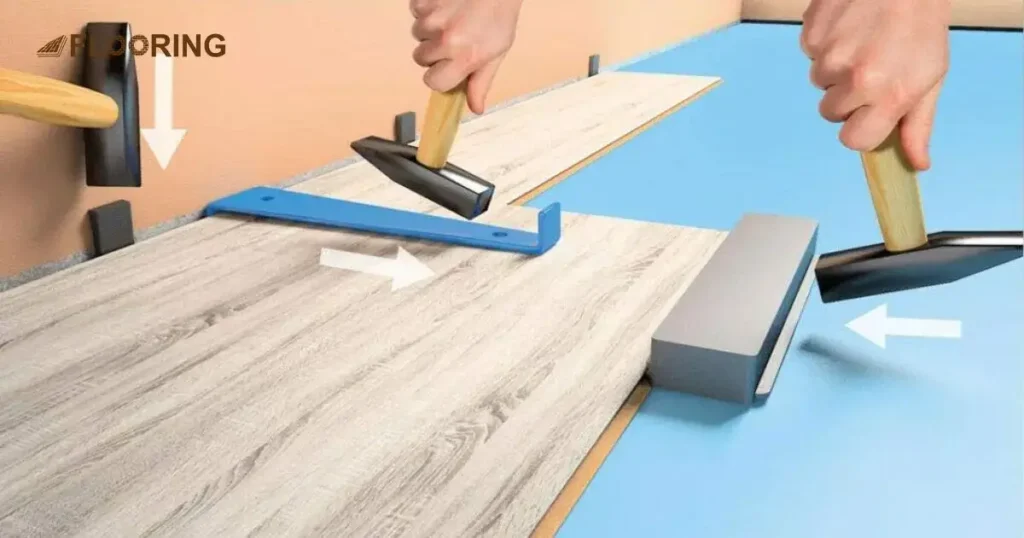
Return All The Boards To Their Places After Repaing Laminate Floor
- Begin by starting with the boards that surround the replacement board and work in the opposite order of when you removed them.
- Align the tongues and grooves of the boards. Carefully slide or gently tap them back into their original positions using a hammer if there is resistance.
- If you need to use a hammer to tap the boards into place, make sure to protect the good boards from damage. Use the damaged board you previously removed as a buffer between the hammer and the good boards.
- This will help prevent any potential damage to the good boards while ensuring a secure fit for the replacement board.
Follow the reverse order technique. Use a buffer to successfully reinstall the boards without causing any harm to the surrounding boards.
Tack Any Baseboards, Molding, Or Thresholds Back In Place
- Arrange the baseboards, molding, and thresholds in the exact sequence they were removed. Ensure they are aligned properly to be reinstalled along the floor edges.
- Securely fasten them back into position using baseboard nails and a hammer, making sure to use the same nails and holes as before.
- In case any of the baseboard nails were damaged during the removal process, replace them with new ones to ensure a secure fit.
- Take care to gently tack the baseboards, molding, and thresholds back into place to avoid causing any damage.
You can successfully reinstall the baseboards, molding, and thresholds around the floor edges. This will restore the original appearance of the room.
Replacing A Board In The Middle Of The Flooring
There are times when minor repairs won’t suit, and you’ll have to replace the entire board in the middle. You can ensure a flawless floor by following these straightforward steps.
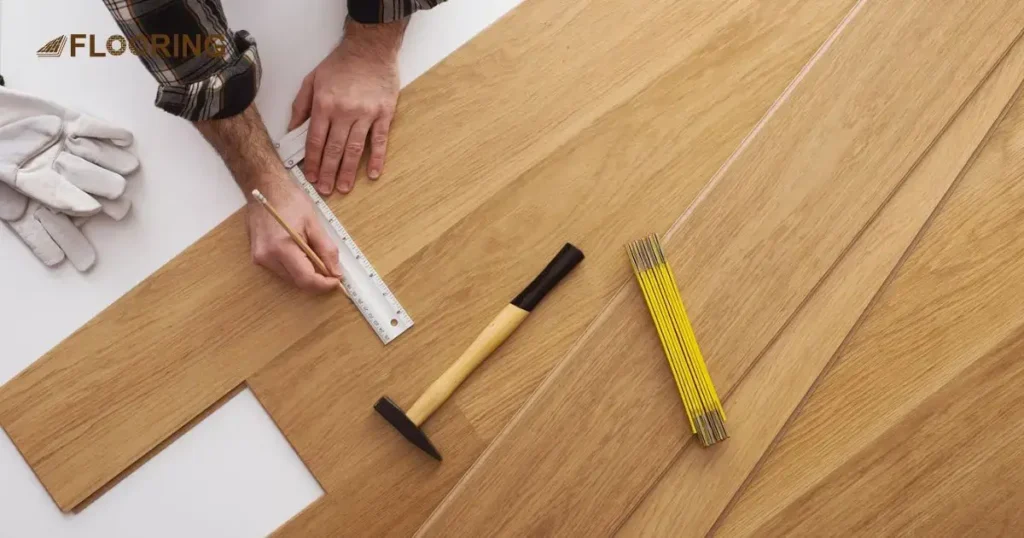
Draw A Cut Line For Repairing Laminate Flooring
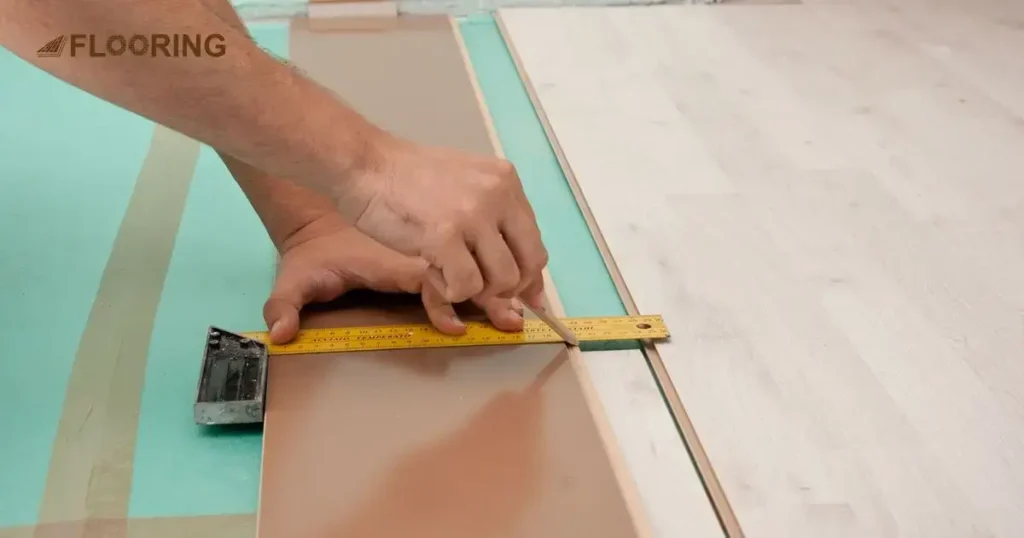
- Use a pen or pencil and mark a 1.5-inch (3.8 cm) line from each corner of the board towards the center. Do this along a straight edge.
- Connect the inner ends of these lines with straight lines to create a rectangle shape.
- This rectangle can then be cut out from the center of the board.
- This technique is particularly useful when you need to replace a single damaged board in the middle of your laminate flooring.
- It eliminates the need to remove surrounding boards starting from an edge, making the replacement process easier and more efficient.
- Draw a cut line from each corner of the board and a rectangle in the middle
Drill A Relief Hole At The Ends Of Each Relief Cut Line
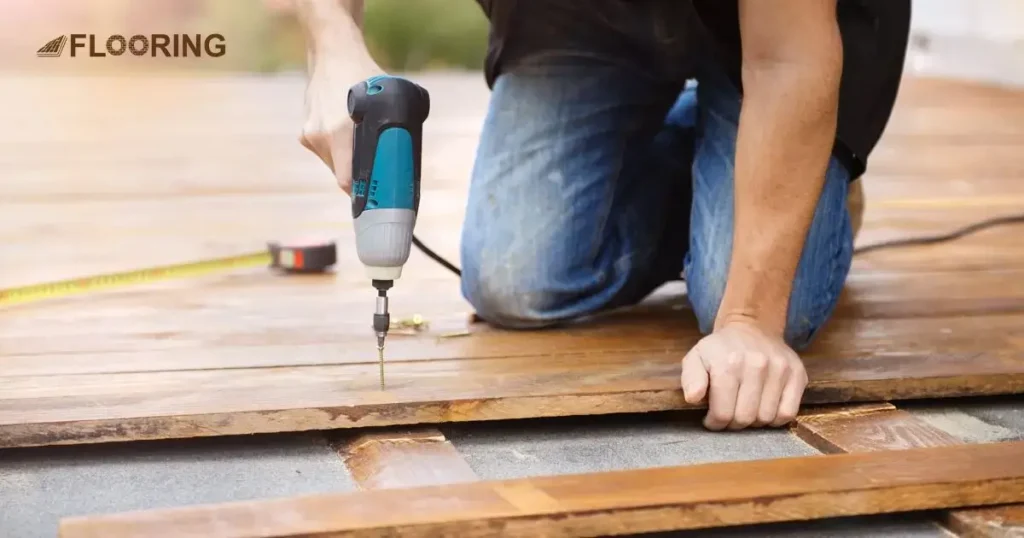
- Drill a relief hole at the inner ends of the marked cut lines using a 3⁄8 in (0.95 cm) drill bit.
- Create another set of holes 1⁄4 in (0.64 cm) from the outer ends of the relief lines.
- Ensure a total of 8 relief holes are made to facilitate cutting in 2 phases.
- The first phase involves removing the center section, while the second phase focuses on removing the sides.
Cut Out The Center Of The Board With A Circular Saw
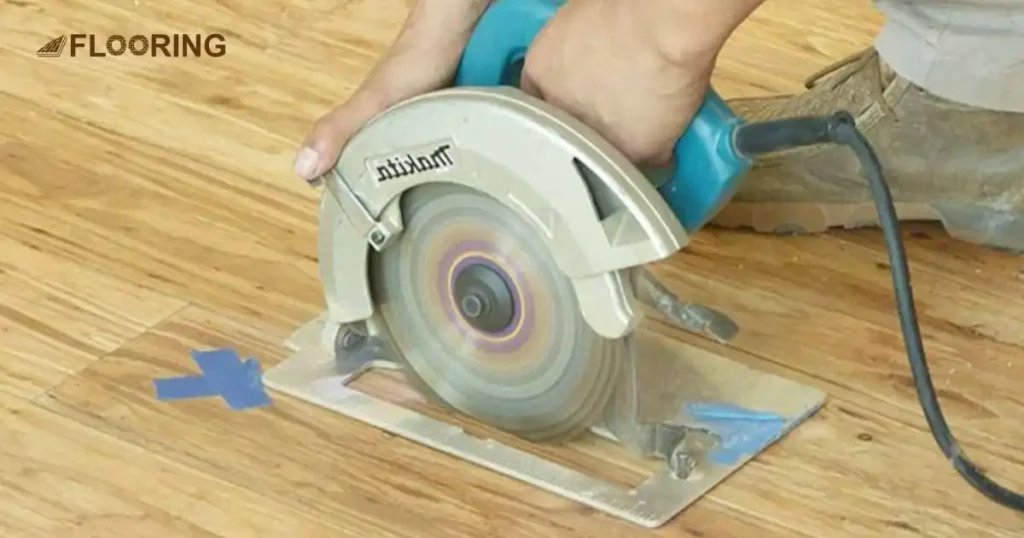
- Adjust the saw to a slightly deeper depth than the flooring before proceeding.
- Raise the blade guard and carefully insert the saw into the board, beginning at one of the inner relief holes.
- Cut in a rectangular pattern from hole to hole to link the inner relief holes and extract the center section.
- After completing the cuts, the damaged board’s edges will remain attached to the surrounding good boards.
- Ensure precision and caution while following these steps to achieve the desired outcome.
Cut From The Center To The Outside Of The Relief Holes
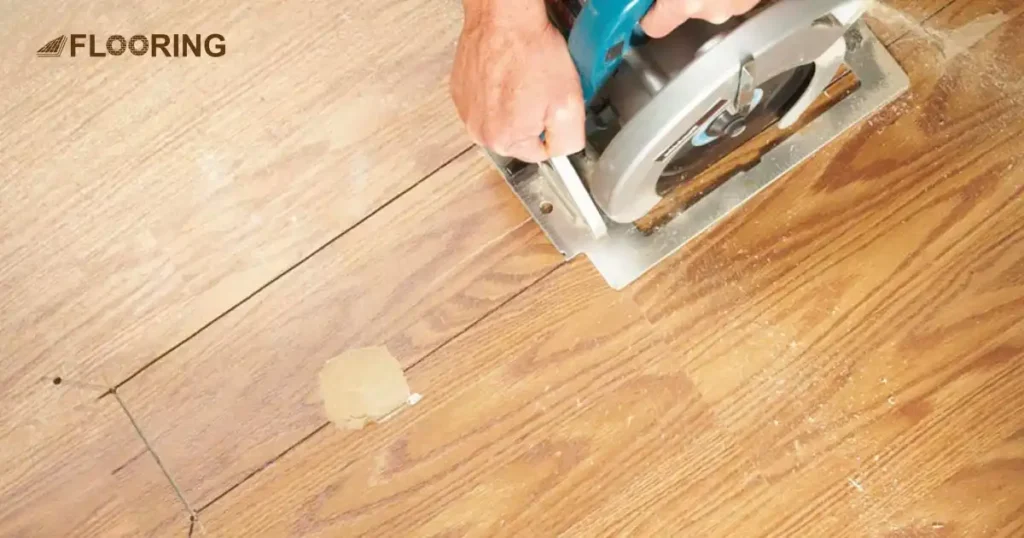
- Start by using your circular saw. Make a diagonal cut from the middle of the board towards the outer edges. Continue along the remaining cut lines.
- Continue cutting until you reach the relief holes, which will serve as stopping points.
- This cutting technique will effectively separate the remaining edges of the board at the corners.
- Once the cuts are complete, you will be able to easily remove the separated edges.
- Remember to exercise caution and follow safety guidelines when using power tools like a circular saw.
Remove The Edge Pieces From The Surrounding Boards
- Gently lift up each side where it is attached to the surrounding board using your hands or pliers if needed.
- Remove and dispose of these pieces properly.
- If there is any adhesive on the edges of the surrounding boards, carefully scrape it off with a flathead screwdriver.
- Make sure to completely clean the area before installing the new board.
- Take your time to ensure a smooth and seamless replacement process.
Remove The Grooves From Your Replacement Board
- The new replacement board comes equipped with 2 tongues and 2 grooves for easy installation.
- Using a utility knife, carefully remove the tongues and bottom lips of the grooves to prepare the board for placement.
- To cut off the bottom lips of the grooves, insert the blade of the knife inside the grooves and carefully cut them off from the inside.
- Make multiple passes with the utility knife to score the parts being cut off, then use pliers to snap them off.
- Once the tongues and bottom lips of the grooves are removed, you will be able to seamlessly drop the new board into place for a perfect fit.
Apply Floor Glue To The Edges Of The Replacement Board
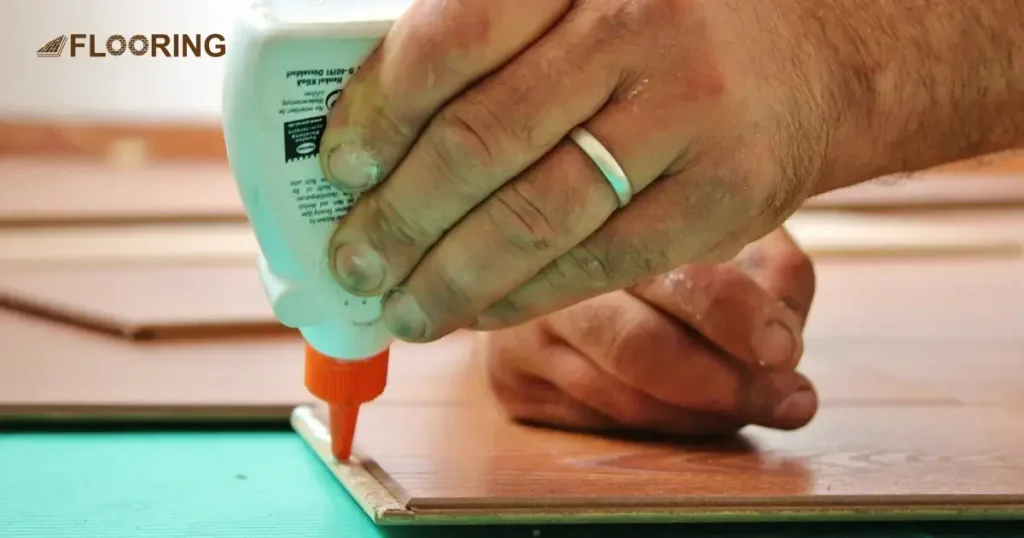
- Apply a line of floor adhesive along the perimeter where you have removed the tongues, ensuring complete coverage.
- Additionally, spread a layer of floor glue underneath the upper portion of the grooves where you have trimmed the bottom lips.
- If you don’t have any floor glue, you can easily find it at a home improvement center or a specialized flooring store.
- The adhesive will help secure the flooring pieces together and prevent any gaps or movement.
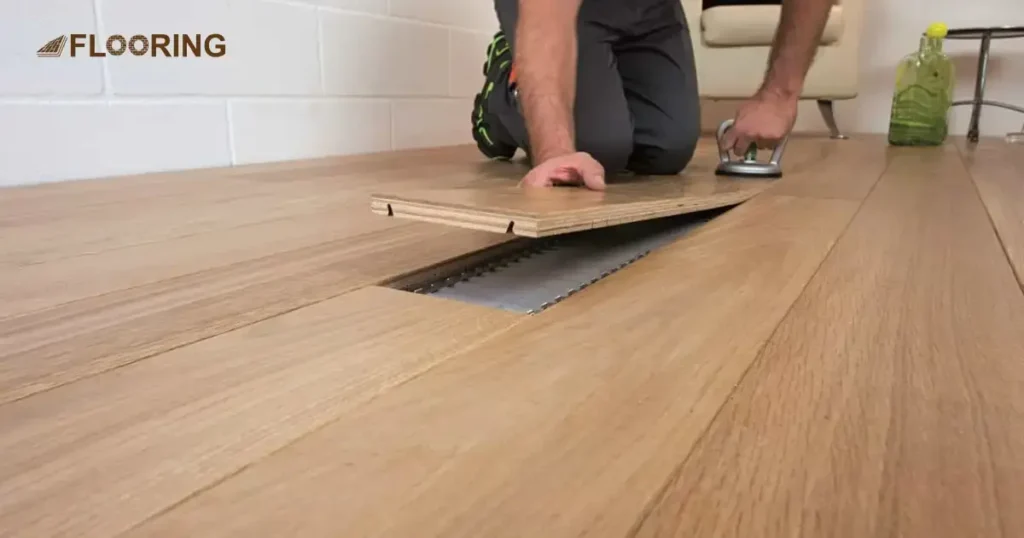
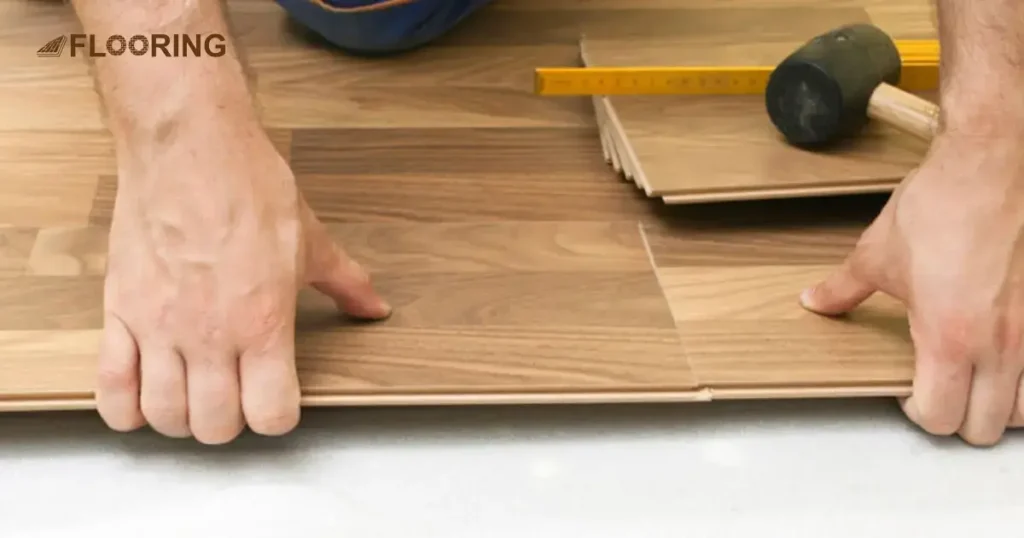
Fit The Board Into Place For Laminate Flooring Repair
- Align the upper portion of the grooves on your fresh board with the tongues on the neighboring boards to ensure a perfect match.
- By eliminating the tongues from the new board, it will effortlessly fit into position and seamlessly blend with the surrounding boards.
- In case the board doesn’t fit properly, employ a utility knife to carefully trim any uneven or jagged sections until it smoothly and snugly fits into place.
- Adjust the grooves and tongues alignment to achieve a seamless integration between the new board and the existing ones.
- Utilize a utility knife to precisely shave off any rough edges or protrusions on the board, allowing it to effortlessly slide into position and create a cohesive look.
Remove Any Excess Glue After Repair Chipped Laminate Flooring
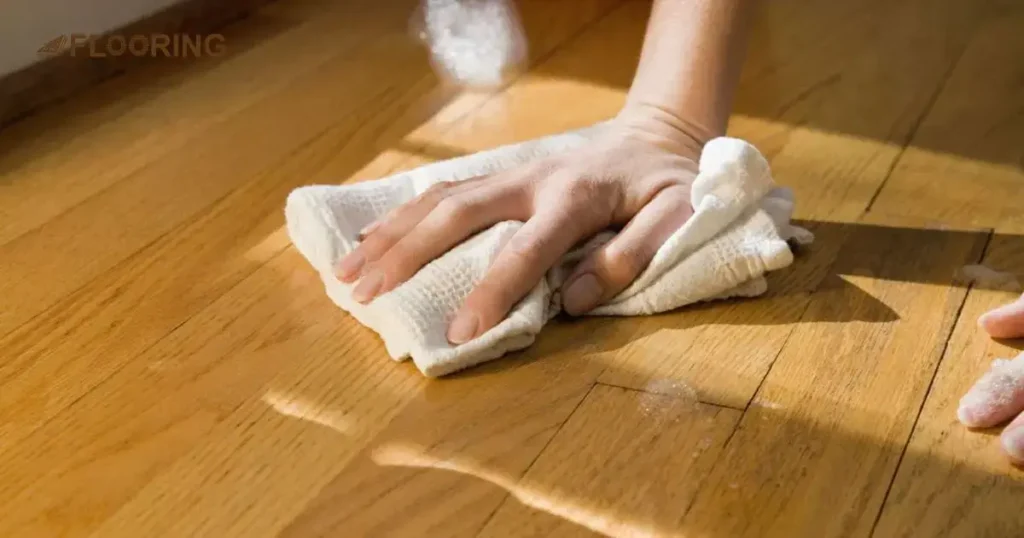
- Use a damp cloth to remove any excess glue that may seep out from the seams, ensuring that it doesn’t spread onto the surrounding boards.
- Keep the cloth nearby so that you can easily wipe away any additional glue that may squeeze out after you apply pressure to the board.
- Make sure to wipe away any glue residue to maintain a clean and neat finish.
- Using a damp cloth will prevent the glue from smearing or spreading onto other surfaces.
- It’s important to have the cloth readily available to quickly address any glue that may escape from the seams.
Weigh Down The Repaired Area of Laminate Floor For 24 Hours
- You can place a stack of heavy books on the newly fitted board. This will create pressure and ensure the seams adhere together effectively.
- Leave the weight on the board for a full 24 hours to allow the glue to dry completely and securely bond the seams.
- After applying the weight, inspect the seams to see if any excess glue has squeezed out. If so, gently wipe it away using a damp cloth.
- If you are using a heavy object, like a brick, it may potentially scratch the laminate surface. It is advisable to place a towel underneath it to provide protection.
By following these steps, you can ensure a strong and seamless bond between the board and the laminate, resulting in a sturdy and durable finish.
Frequently Asked Questions
Can you fix a chip in the laminate flooring?
Fixing a chip in laminate flooring is possible with a laminate repair kit. These kits come with materials to fill in the chip and blend it with the surrounding floor.
Is there a filler for laminate flooring?
Fillers specifically made for laminate flooring are available to cover up small imperfections and gaps. They come in various colors to match different laminate shades.
How to repair gouge in laminate flooring?
To repair a gouge in laminate flooring, first, clean the area thoroughly. Then, fill the gouge with a laminate repair paste, smoothing it out evenly with a putty knife. Once dry, sand lightly and apply a matching laminate sealant for a seamless finish.
What is the best glue for chipped laminate?
The best glue for chipped laminate is a cyanoacrylate adhesive, commonly known as super glue. It forms a strong bond quickly and can hold the chip in place securely.
Conclusion
Reviving your wood furniture is easier than you might think. With the right tools and techniques, you can bid farewell to those unsightly chips and scratches that have been tarnishing your floors. By following the simple steps outlined in this guide, you’ll be able to restore the pristine beauty of your laminate flooring, leaving it looking as good as new.
With a little patience and attention to detail, you can achieve professional-level results right in the comfort of your own home. Whether you’re tackling minor scratches or replacing entire boards, the key is taking your time and following the instructions carefully. Your floors will thank you, and you’ll enjoy the pride of accomplishing this rewarding DIY project.
Gather the necessary supplies, roll up your sleeves, and get ready to breathe new life into your wood furniture. With determination and the right guidance, you can transform your floors from drab to fab in no time. Embrace the power of DIY and let your floors shine like never before.