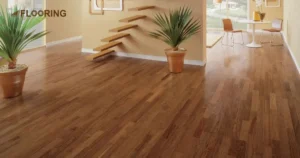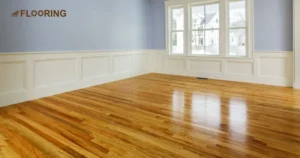
Removing glue from vinyl flooring can be a challenging task, but it’s essential for maintaining the appearance and longevity of your floors. Whether you’re dealing with adhesive residue from an old installation or spill, knowing the right methods and tools can make the process easier and more effective.
Don’t let sticky spots on your vinyl floor drive you crazy any longer! We’ve got the solutions you need to remove glue from vinyl flooring and restore your floors to their former glory. Say goodbye to that tacky mess and hello to smooth, clean surfaces that you’ll be proud to show off.
With a clear, step-by-step guide and some handy tips, you’ll be well-equipped to tackle even the toughest adhesive residues. We’ll explore a range of techniques, from gentle home remedies to powerful solvents, that will help you to get out of the situation. Get ready to transform your vinyl floors back to their pristine state by following the step-by-step guide.
📑 Table of Content
Key Takeaways
- Understanding the Challenge of Glue on Vinyl Floors: Recognizing the difficulty of removing glue helps in choosing the right methods.
- Assessing the Type of Glue on Your Vinyl Flooring: Identifying the adhesive type is crucial for selecting the best removal technique.
- Gathering Essential Tools and Materials: Proper tools and materials make the glue removal process more effective and safer.
- Preparing Your Vinyl Floor for Glue Removal: Proper preparation ensures a smoother and more successful glue removal.
- Home Remedies for Removing Glue: Simple solutions like vinegar and baking soda can effectively remove glue without harsh chemicals.
- Common Mistakes to Avoid: Avoiding common errors helps protect your vinyl flooring from damage during glue removal.
- When to Opt for Commercial Products: Knowing when to use commercial products can save time and effort in stubborn cases.
- Aftercare and Maintenance: Regular maintenance and proper aftercare keep your vinyl flooring looking new and prolong its life.
Understanding the Challenge of Removing Glue on Vinyl Floors
Glue residue, if not addressed properly, can lead to discoloration, damage, and a sticky mess that attracts dirt and grime. Different types of adhesives, such as construction adhesive, carpet glue, or even spillovers from craft projects, each present their own set of difficulties.
Some adhesives harden over time, making them tougher to remove. Others might soften with heat or moisture, creating a messy situation. The vinyl surface itself is also delicate, so harsh removal methods can scratch or dull its finish.
Understanding these challenges is key to successful glue removal. With the right knowledge and techniques, you can tackle this problem and restore your vinyl floor’s beauty. Let’s explore how to overcome this sticky situation and bring back your floor’s clean, smooth appearance.
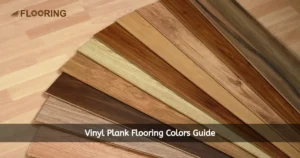
Assessing the Type of Glue on Your Vinyl Flooring
Before diving into glue removal, it’s crucial to identify the type of adhesive you’re dealing with. Different glues require different removal methods. Let’s explore how to recognize various adhesives and understand their impact on removal techniques.
Identifying Adhesive Types
Recognizing the type of glue on your floor is the first step toward effectively removing glue from vinyl flooring. Look closely at the adhesive’s color and texture. Is it clear and rubbery, or white and crusty? These clues can help you determine the glue type.
Common adhesives found on vinyl floors include:
- Carpet glue: Often yellow or tan, with a thick, stringy texture.
- Construction adhesive: Usually beige or brown, with a strong, putty-like consistency.
- Vinyl flooring adhesive: Typically clear or slightly milky, with a smooth, thin appearance.
Feel the glue’s texture if it’s safe to do so. Some adhesives might feel soft and pliable, while others are hard and brittle. These characteristics can guide you in choosing the right removal method.
How Different Glues Affect Removal Methods from Vinyl Floors
The type of glue on your vinyl floor directly impacts how you should approach its removal, because each adhesive responds differently to various removal techniques.
Water-based glues, like some carpet adhesives, often soften with moisture. For these, warm water and dish soap might be enough to loosen the bond. On the other hand, solvent-based adhesives, such as construction glue, usually require chemical solvents for effective removal.
Heat can be a game-changer for certain adhesives. Some glues soften when exposed to warmth, making them easier to scrape off. However, be cautious with heat on vinyl flooring, as too much can damage the surface.
Dried and hardened glues might need more aggressive methods. In these cases, commercial adhesive removers or mechanical scraping could be necessary. Always consider your vinyl floor’s durability when choosing a removal technique.
Gathering Essential Tools and Materials to Remove Glue from Vinyl Flooring
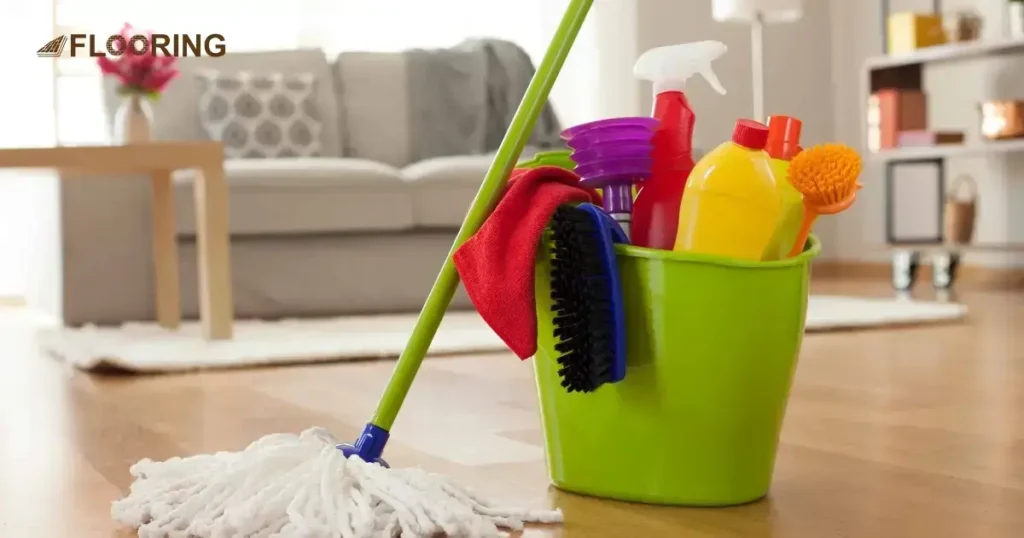
Gathering the right tools and materials is a key step in successfully removing glue from vinyl flooring, here are the essentials you’ll need:
- Heat Gun: A heat gun helps to soften the adhesive, making it easier to scrape off.
- Plastic Scraper: A plastic scraper is crucial for gently removing glue without scratching the vinyl.
- Chemical Solvents: Chemical solvents, such as adhesive removers, are effective in breaking down stubborn glue.
- Gloves: Gloves protect your hands from chemicals and provide a better grip on tools.
- Protective Goggles: Protective goggles shield your eyes from splashes and debris during the removal process.
- Cleaning Rags: Cleaning rags are necessary for wiping up glue residue and cleaning the floor afterward.
- Bucket of Warm Water: A bucket of warm water is useful for rinsing rags and cleaning the area post-removal.
Having these tools and materials on hand ensures you are well-prepared to tackle the glue removal process effectively and safely.
Preparing Your Vinyl Floor for Glue Removal
Preparation ensures a safer and more effective glue removal process from the vinyl floor, therefore let’s look at the key steps to get your floor ready.
Clearing and Cleaning the Area
Start by clearing the area of all furniture and obstacles. This step gives you full access to the glue-affected parts of your floor. Remove any loose debris or dirt from the surface, even small particles can interfere with the glue removal process.
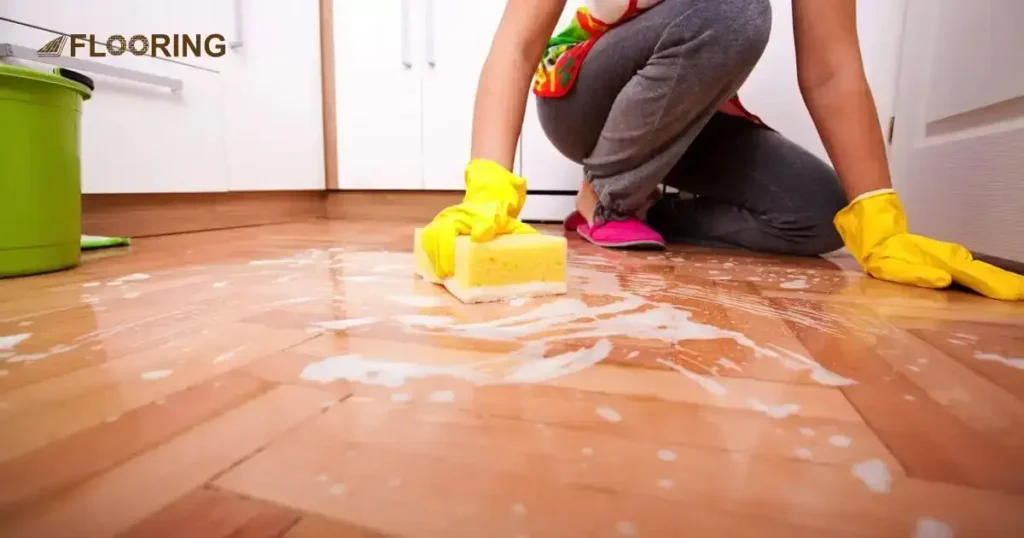
Next, give your vinyl floor a thorough cleaning, and for this use a mixture of warm water and mild dish soap. This gentle solution helps remove surface dirt without damaging the vinyl. Mop the entire area, paying extra attention to the spots with glue residue.
After cleaning, rinse the floor with clean water to remove any soap residue and dry the surface completely with a soft, clean cloth. A dry surface is crucial for effective glue removal, as moisture can interfere with some removal methods.
Protecting Surrounding Surfaces
It’s important to protect the surrounding surfaces to avoid any accidental damage or mess. Cover nearby furniture, baseboards, and adjacent flooring with plastic sheeting or old towels.
Use painter’s tape to secure the coverings in place because this prevents any chemical solvents or adhesive residue from affecting areas beyond your work zone. Proper protection ensures a focused and safe removal process, keeping your home clean and damage-free.
Safety Precautions Before Starting the Glue Removal Process
Taking the right precautions will protect you from potential harm and ensure a smooth process of removing glue from vinyl flooring. Before diving into glue removal, it’s crucial to prioritize your safety, here are the essential safety measures to follow:
Ventilation: Open windows and doors to ensure proper air circulation throughout the work area.
Protective gear: Wear safety goggles to shield your eyes from chemicals and debris during the removal process.
Hand protection: Use rubber gloves to prevent skin irritation or chemical burns from solvents and cleaners.
Clothing: Wear long sleeves and pants to protect your skin from accidental spills or splatters before the process.
Fire safety: Keep a fire extinguisher nearby when using heat-based removal methods or flammable solvents.
First aid: Have a first aid kit readily available in case of minor injuries or chemical exposure.
Chemical storage: Store all cleaning products and solvents in a safe, out-of-reach place when not in use.
By following these safety precautions, you’ll create a secure environment for your glue removal project. Remember, your well-being is just as important as achieving a clean vinyl floor.
3 Glue Types to Remove from Vinyl Flooring
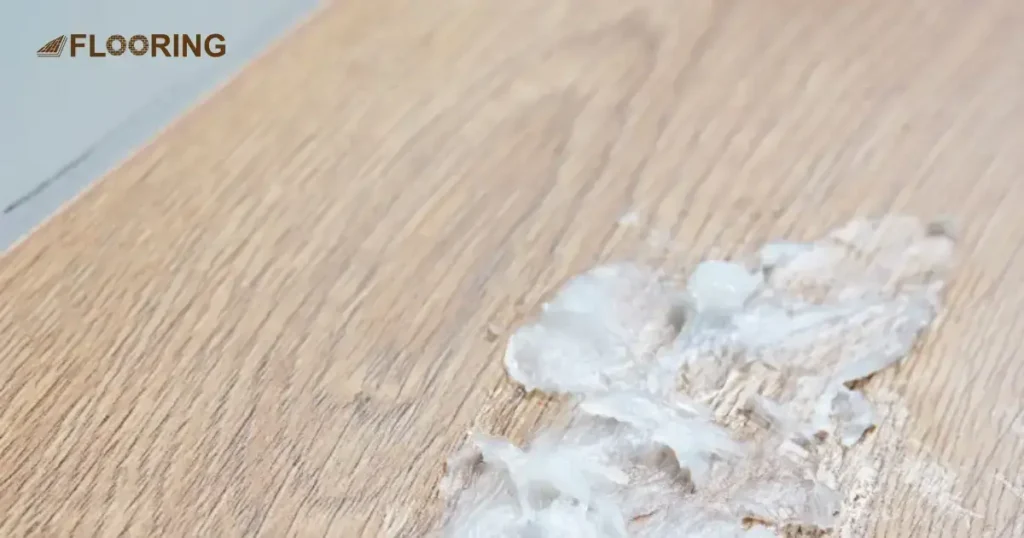
When tackling the process of removing glue from vinyl flooring, you’ll likely encounter three main types: wet glue, dried glue, and super glue. Each type presents unique challenges and requires specific removal techniques. Let’s explore how to deal with these different adhesives effectively.
Wet Glue
Wet glue is fresh and still tacky, making it relatively easier to remove compared to dried glue. For wet glue, start by gently blotting the excess with a paper towel or cloth. Avoid spreading the glue further by working from the outside towards the center.
Once the excess is removed, use a mild detergent mixed with water to clean the area. Gently scrub the glue spot with a soft cloth until the residue is gone. Be careful not to rub too hard to avoid damaging the vinyl surface.
Dried Glue
Dried glue poses more of a challenge as it adheres strongly to the vinyl surface. To remove dried glue, begin by softening it with a heat gun or hair dryer set on low. Apply heat evenly to the glue until it becomes pliable.
Use a plastic scraper to gently lift the glue from the vinyl when it is softened. If some residue remains, apply a suitable chemical solvent according to the manufacturer’s instructions. Finish by wiping the area with a clean, damp cloth to remove any remaining glue and solvent.
Super Glue
Super glue is known for its strong bonding properties, making it one of the toughest adhesives to remove. Start by applying a small amount of acetone or nail polish remover to a cotton ball. Gently dab the super glue with the cotton ball, allowing the acetone to soften the adhesive.
You can use a plastic scraper to lift the softened glue, being careful not to scratch the vinyl. Repeat the process if necessary, and clean the area with a damp cloth to remove any remaining acetone and glue residue.
Step-by-Step Guide to Removing Glue from Vinyl Flooring
Removing glue from vinyl flooring requires a systematic approach to ensure effective results without damaging the floor. Follow these steps for a thorough and safe glue removal from the vinyl flooring process.
Initial Inspection and Testing When Removing Glue from Vinyl Flooring
Before diving into glue removal, it’s crucial to assess the situation carefully. This step helps you choose the best method and avoid potential damage, here’s what to do:
- Look closely at the glue-affected areas to determine the extent of the problem.
- Try to identify the type of glue based on its appearance and texture.
- Ensure proper ventilation and gather all necessary safety equipment before proceeding.
- Choose a small, hidden area to test your chosen removal method before applying it broadly.
- Check for any existing damage to the vinyl that might affect the removal process.
Applying Heat to Soften the Glue
Heat can be a powerful ally in your glue removal efforts. It softens many adhesives, making them easier to remove so, follow these steps to use heat effectively:
- Choose between a hair dryer for gentle heat or a heat gun for tougher jobs.
- Keep the heat source about 3-4 inches away from the vinyl surface to avoid damage.
- Move the heat source in a circular pattern to evenly distribute warmth over the glue.
- Allow the heat to work for several minutes, softening the glue gradually.
- Periodically check if the glue has softened enough for removal by gently pressing with a plastic scraper.
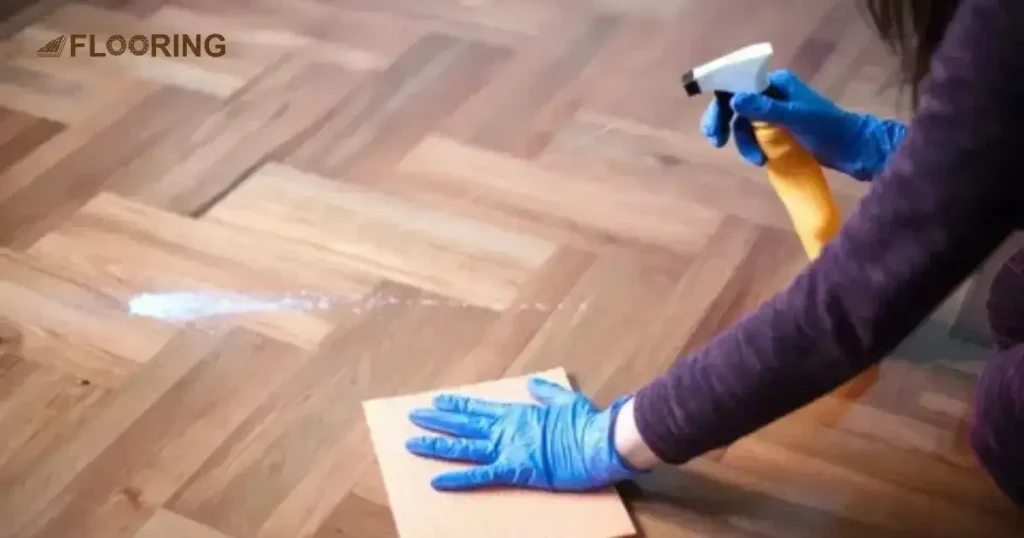
Using Chemical Solvents for Glue Removal from Vinyl Flooring
When heat alone isn’t enough, chemical solvents can help break down stubborn adhesives, follow these guidelines for safe and effective use:
- Choose a solvent specifically designed for use on vinyl flooring to avoid damage.
- Ensure the area is well-ventilated before opening any chemical products.
- Use a clean cloth or sponge to apply the solvent directly to the glue.
- Allow the solvent to sit on the glue for the time recommended by the manufacturer.
- After the dwell time, use a soft-bristled brush to work the solvent into the glue gently.
- Clean the area with water after removing the glue to neutralize any remaining chemicals.
Always read and follow the manufacturer’s instructions carefully when using chemical solvents on your vinyl floor.
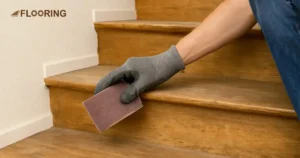
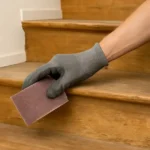
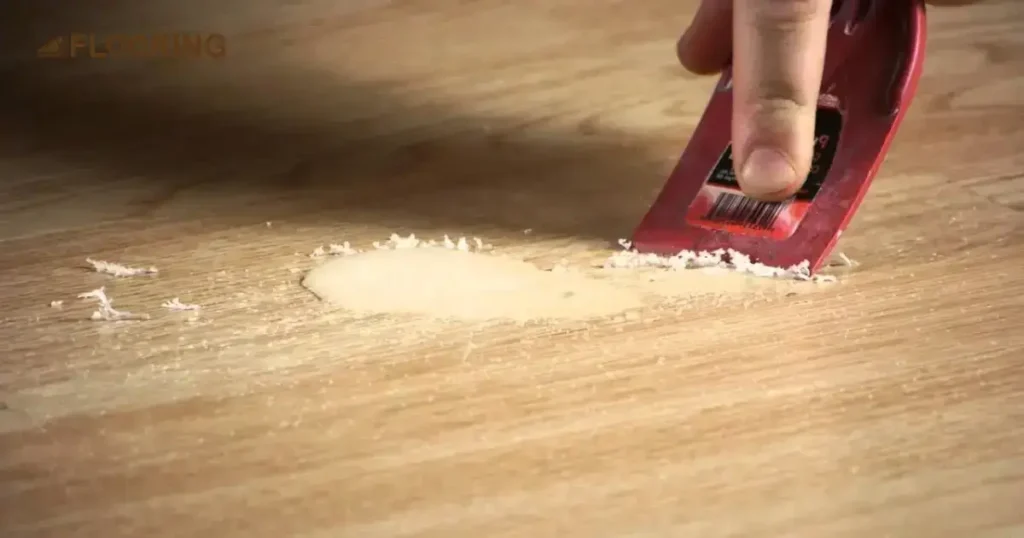
Scraping Off the Glue Residue
Once you’ve softened the glue with heat or chemicals, it’s time to remove it physically. Follow these steps for safe and effective scraping:
- Use a plastic scraper or an old credit card to avoid scratching the vinyl surface.
- Hold the scraper at a 45-degree angle to the floor for optimal effectiveness.
- Apply light, even pressure to lift the glue without damaging the vinyl underneath.
- Focus on small areas at a time, moving methodically across the affected surface.
- For stubborn spots, reapply heat or solvent and scrape again.
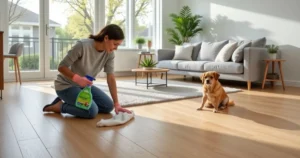
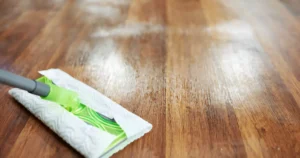
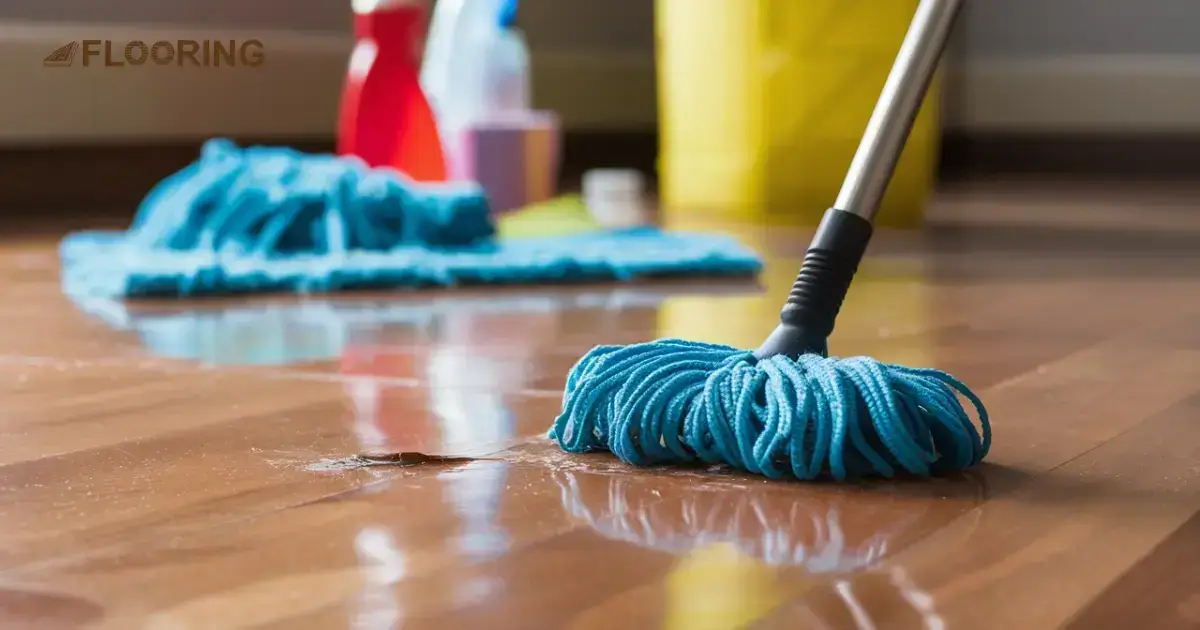
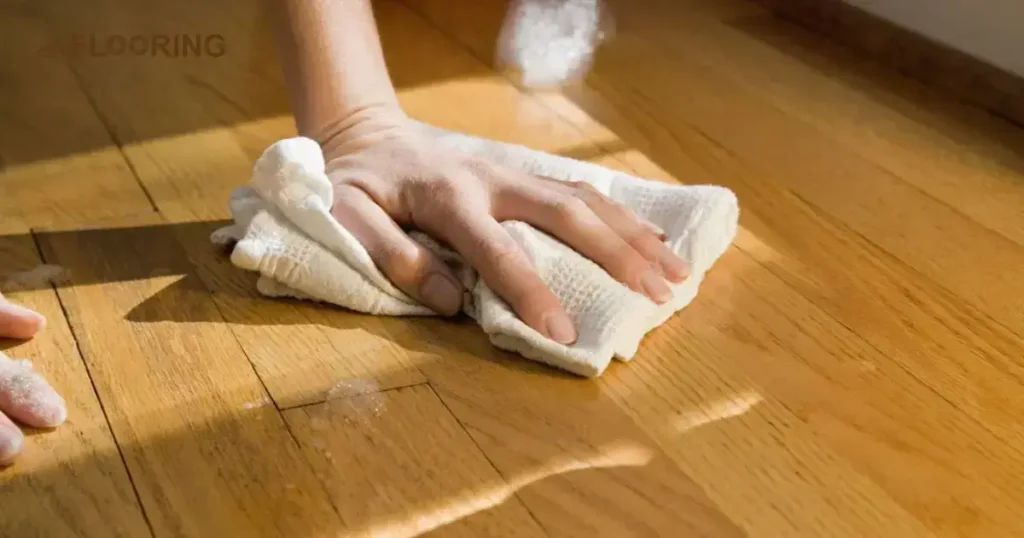
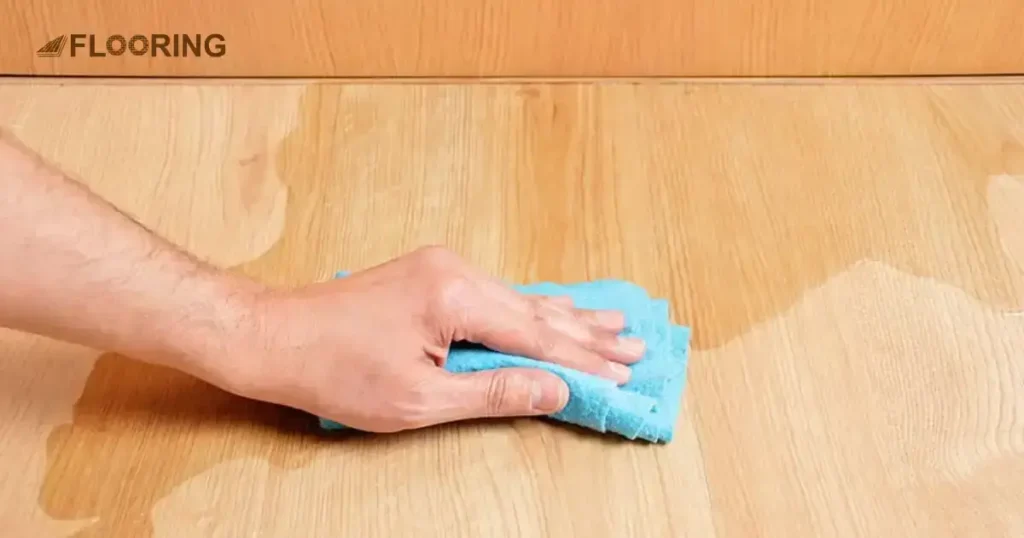
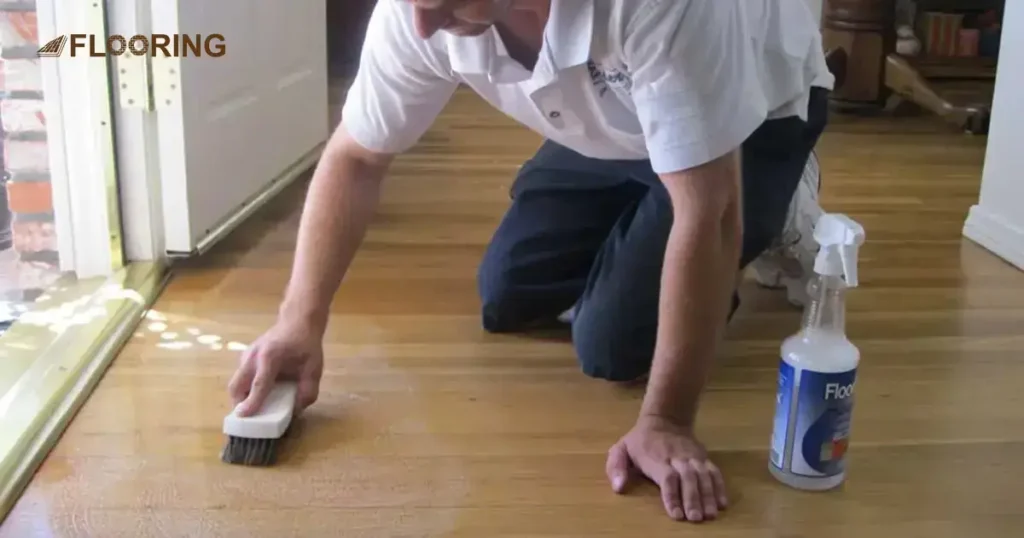
Cleaning the Vinyl Flooring After Glue Removal
After successfully removing the glue, it’s essential to clean your vinyl floor thoroughly. This final step restores its appearance and protects it from damage, here’s how to do it:
- Sweep or vacuum the area to remove any loose glue particles or debris.
- Mix warm water with a mild, pH-neutral cleaner suitable for vinyl floors.
- Use a soft mop or cloth to apply the cleaning solution, avoiding excess water.
- For any remaining marks, use a specialized vinyl floor cleaner as directed.
- Go over the vinyl floor with clean water to remove any soap residue after glue removal.
- Allow your floor to air dry completely after the removal of glue, before walking on it or replacing furniture.
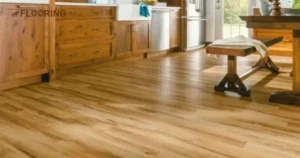
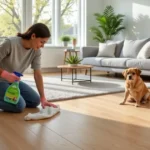
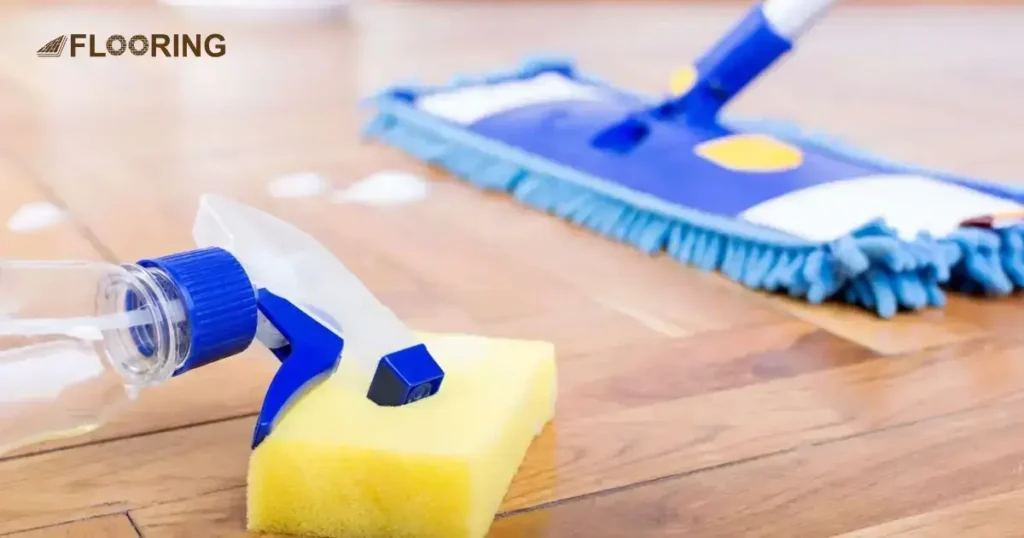
Home Remedies for Removing Glue from Vinyl Flooring
Several effective home remedies can help remove glue from vinyl flooring without harsh chemicals. These methods are safe, easy, and often use common household items.
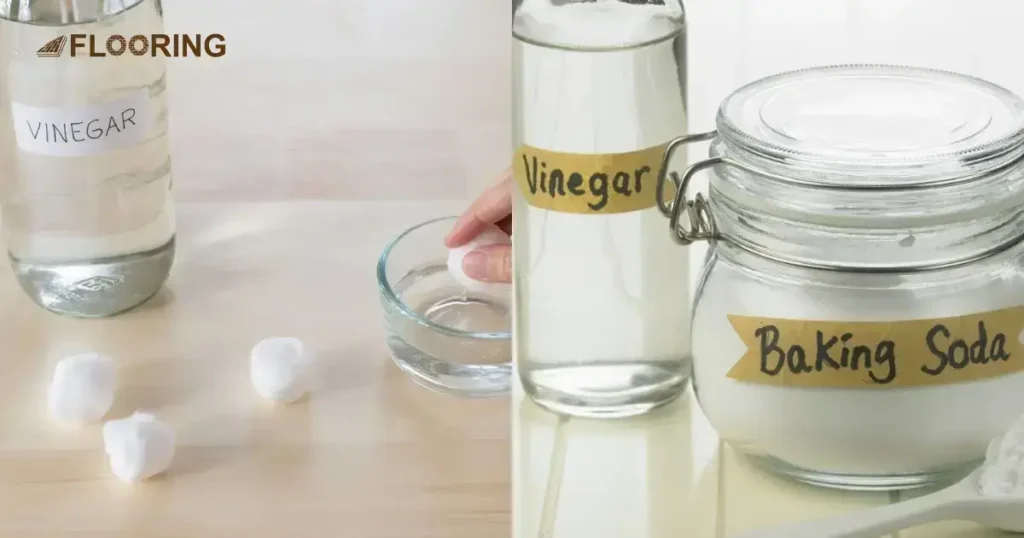
Vinegar and Water Solution
Vinegar is a natural solvent that can help break down glue residues. Mix equal parts of white vinegar and water in a spray bottle, then spray the solution directly onto the glue and let it sit for a few minutes to soften the adhesive. Use a plastic scraper to gently remove the softened glue and wipe the area clean with a damp cloth to remove any vinegar residue.
Baking Soda and Water Paste
Baking soda acts as a mild abrasive that can help scrub off glue without damaging the vinyl. Create a paste by mixing baking soda with a small amount of water, apply the paste to the glue spot, and let it sit for a few minutes. Use a soft cloth to rub the paste gently in a circular motion. Once the glue is removed, clean the area with a damp cloth to remove any remaining baking soda.
Rubbing Alcohol Method
Rubbing alcohol is effective for dissolving glue residues. Soak a cotton ball or cloth in rubbing alcohol and place it over the glue. Let it sit for a few minutes to allow the alcohol to break down the adhesive. Use a plastic scraper to lift the softened glue, then wipe the area with a damp cloth to remove any remaining alcohol and glue.
Vinegar and Baking Soda Solutions
Combining vinegar and baking soda can enhance their adhesive-removing properties. Sprinkle baking soda over the glue spot, then spray vinegar onto the baking soda. The mixture will fizz, helping to break down the glue. After the fizzing stops, use a soft cloth to scrub the area gently then wipe clean with a damp cloth to remove any residue.
Citrus-Based Removers
Citrus-based cleaners are natural and effective for breaking down glue. Apply a small amount of citrus-based cleaner to the glue spot and let it sit for a few minutes. The citrus oils help dissolve the adhesive, making it easier to scrape off. Use a plastic scraper to remove the glue and wipe the area clean with a damp cloth.
Common Mistakes to Avoid During Glue Removal
When removing glue from vinyl flooring, it’s easy to make mistakes that can damage the floor or prolong the process. Avoiding these common pitfalls will help ensure a smooth and effective glue removal.
| Mistake | Why It’s a Problem |
| Using Sharp Tools | Sharp tools can scratch and damage the vinyl surface. Use plastic scrapers instead. |
| Skipping the Test Spot | Not testing in a small area first can lead to widespread damage if the method is unsuitable. |
| Applying Too Much Heat | Excessive heat can warp or discolor vinyl flooring. Use heat guns on low settings. |
| Using Harsh Chemicals | Strong solvents can degrade the vinyl. Opt for gentle, vinyl-safe adhesive removers. |
| Rushing the Process | Rushing can cause mistakes and damage. Take your time to do it right. |
| Not Wearing Protective Gear | Without gloves and goggles, you risk chemical burns or eye injuries. |
| Ignoring Ventilation | Poor ventilation can lead to inhaling toxic fumes. Always work in a well-ventilated area. |
| Over-Scrubbing | Scrubbing too hard can wear down the vinyl surface. Be gentle and patient. |
| Neglecting Cleanup | Leaving residue can attract dirt and affect the vinyl’s appearance. Always clean thoroughly after removal. |
Avoiding these mistakes will help you remove glue from vinyl flooring effectively and safely, preserving the quality and appearance of your floor.
How to Deal with Stubborn Glue Residue
Dealing with stubborn glue residue requires patience and the right methods to ensure the vinyl remains undamaged and clean. Here are some effective methods to handle those persistent adhesive spots:
Reapply Solvent: If glue remains, apply the adhesive solvent again to further break down the residue.
Use a Plastic Scraper: Gently use a plastic scraper to lift stubborn glue without damaging the vinyl.
Heat Application: Apply heat using a heat gun or hair dryer to soften the glue and make it easier to remove.
Soak with Soapy Water: Soak a cloth in warm, soapy water and place it over the glue to soften it.
Try Rubbing Alcohol: Dab rubbing alcohol onto the glue and let it sit to dissolve the adhesive.
Vinegar Solution: Apply a vinegar and water solution to the glue and scrub gently with a soft cloth.
Patience and Persistence: Take your time and be patient because some residues may require multiple attempts.
Avoid Scratching: Be careful not to scratch the vinyl while removing glue residue.
Clean Thoroughly: After removal, clean the area thoroughly with a damp cloth to remove any solvent residue.
When to Opt for Commercial Products
Sometimes, home remedies and manual efforts are not enough to remove stubborn glue from vinyl flooring. In such cases, opting for commercial products can be more effective.
Commercial adhesive removers are specifically formulated to tackle tough adhesives without damaging the vinyl. They often work faster and require less physical effort, making them ideal for large areas or particularly stubborn glue spots.
When traditional methods fail to remove the glue whether it’s Vinyl or WPC flooring, or if you are dealing with a large adhesive area, commercial products can save time and ensure a thorough cleaning.
Always follow the manufacturer’s instructions carefully to avoid any potential damage to your vinyl flooring. Test the product in a small, inconspicuous area first to ensure it does not discolor or harm the surface.
Commercial products can be especially useful when you need a quick solution and have tried other methods without success. They offer a more potent alternative to DIY solutions, ensuring your vinyl floor remains clean and glue-free.
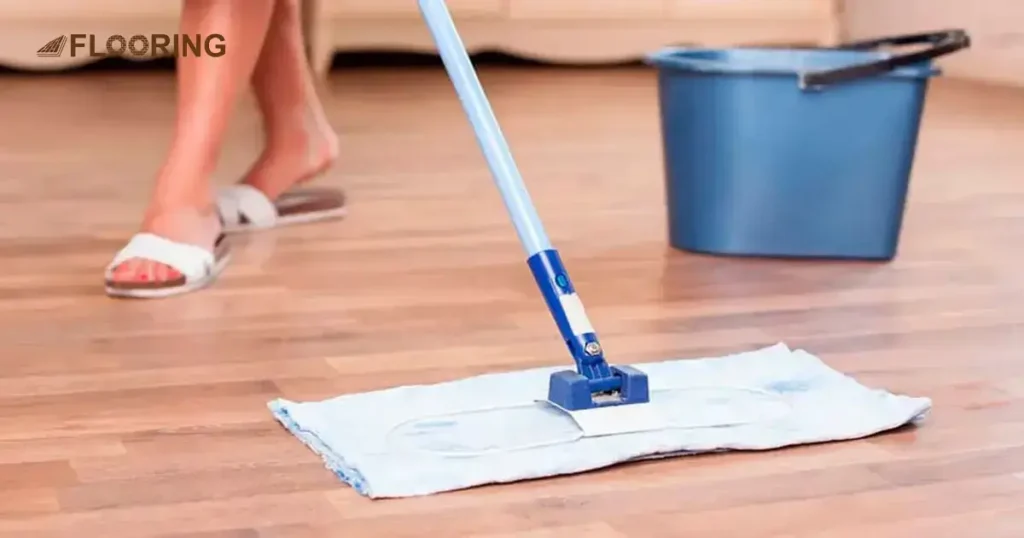
Aftercare and Maintenance of Vinyl Flooring Post Glue Removal
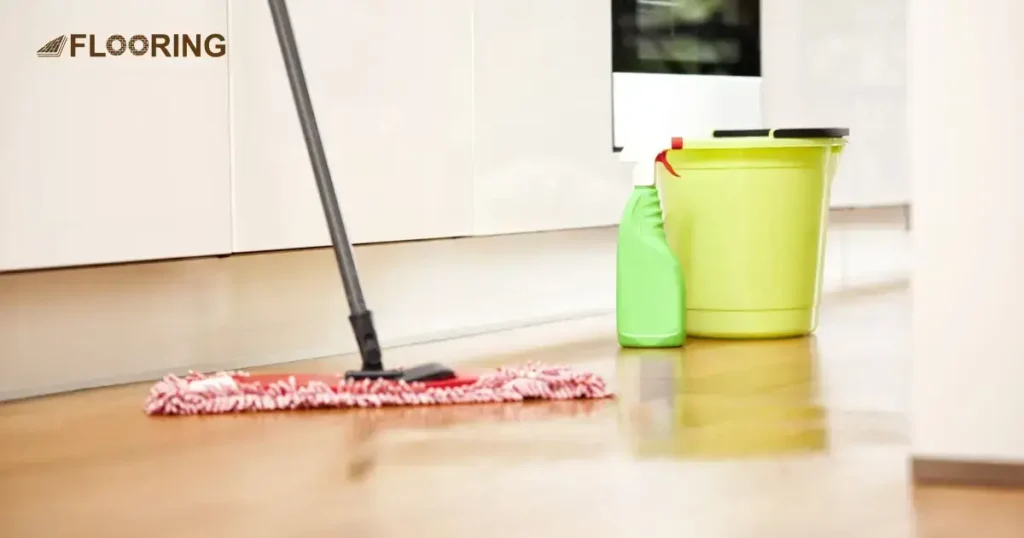
After successfully removing glue from your vinyl flooring, proper aftercare and maintenance are crucial. These steps will help preserve your floor’s beauty and extend its lifespan, here’s how to keep your vinyl flooring in top condition:
- Regularly clean the vinyl flooring to prevent dirt buildup and maintain its appearance.
- Use vinyl-safe cleaners to avoid damaging the surface. Avoid harsh chemicals.
- Use furniture pads to protect the floor from heavy furniture and prevent scratches.
- Do not use excessive water when cleaning to prevent water damage to the vinyl.
- Sweep the floor frequently to remove dust and debris that can cause scratches.
- Mop the floor with a damp mop and a mild detergent to keep it clean and shiny.
- Quickly wipe up any spills to prevent stains and damage to the vinyl.
- Place rugs and mats in high-traffic areas to protect the vinyl from wear and tear.
- Regularly inspect the floor for any signs of damage and address them promptly.
Frequently Asked Questions
Can I use goof off on vinyl plank flooring?
It’s not recommended to use Goof Off on vinyl plank flooring. Goof Off contains harsh chemicals that can damage or discolor the vinyl surface. Instead, opt for gentler, vinyl-safe adhesive removers or try home remedies like vinegar solutions.
How to remove dried glue from vinyl floor?
To remove dried glue from vinyl flooring, start by softening the adhesive with heat from a hair dryer. Once softened, gently scrape the glue with a plastic scraper. For stubborn spots, use a vinyl-safe adhesive remover and follow the product instructions carefully.
Will acetone damage vinyl flooring?
Acetone can severely damage vinyl flooring by dissolving or discoloring the surface. It’s best to avoid using acetone-based products on vinyl floors. Instead, choose cleaners and adhesive removers specifically designed for use on vinyl surfaces.
What is the best way to remove glue from vinyl flooring without damaging it?
The best way to remove glue from vinyl flooring is to use a vinyl-safe adhesive remover and a plastic scraper. This method prevents scratches and maintains the floor’s integrity.
Can I use a steam mop to remove glue from vinyl flooring?
Using a steam mop on vinyl flooring is not advisable for glue removal. The intense heat and moisture can damage the vinyl, causing warping or separation. Stick to gentler methods like heat from a hair dryer and vinyl-safe adhesive removers.
How long should I let adhesive remover sit on vinyl flooring?
The time to let adhesive remover sit on vinyl flooring varies by product. Generally, allow it to work for 3-5 minutes before attempting to scrape off the glue. Always follow the manufacturer’s instructions and avoid leaving the product on for too long to prevent damage.
Conclusion
Removing glue from vinyl flooring can be a tough job, but with the right techniques and patience, you can restore your floor’s beauty. Like the intricate patterns in wood grain that tell a story of growth and resilience, your vinyl floor has its own tale to share. By carefully addressing adhesive residues, you’re not just cleaning; you’re preserving the legacy of your home’s flooring.
As you tackle glue removal, remember that each method, from gentle home remedies to specialized commercial products, plays a role in your floor’s narrative. The process might require time and effort, but the result is a clean, attractive surface that enhances your living space.
With proper aftercare and maintenance, your vinyl flooring will continue to be a beautiful chapter in your home’s ongoing story.