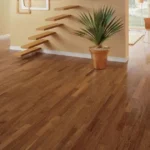
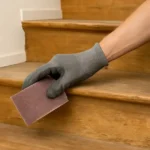
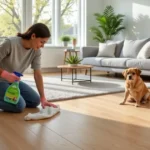
Linoleum flooring, a durable and eco-friendly option, has graced homes for over a century. This versatile material, made from natural ingredients like linseed oil, cork dust, and wood flour, offers both style and function. Keeping clean linoleum floor can last for decades, making regular cleaning essential for maintaining their beauty and longevity.
Don’t let grime and stains rob your home of its shine, tackle other common issues of cleaning linoleum floors. Accept the cleaning challenge and bring your linoleum back to life. Follow our tips and tricks, and you’ll soon be walking on floors that sparkle and shine like new.
📑 Linoleum Floor Cleaning Jump Links
Key Takeaways
- Regular sweeping and vacuuming prevent dirt buildup on linoleum floors.
- Use pH-neutral, gentle cleaners for routine cleaning floor linoleum.
- Avoid excessive water when mopping to prevent damage to the flooring.
- Tackle grease and stains promptly with appropriate cleaning solutions.
- Bleach and hydrogen peroxide can be used sparingly for tough stains or disinfecting.
- Avoid steam mops and harsh scrubbing to protect the linoleum surface.
- Seal linoleum floors every 2-3 years to maintain their appearance and durability.
- Cleaning old linoleum floors requires extra care and gentle cleaning methods.
Why Linoleum Floors Need Special Care
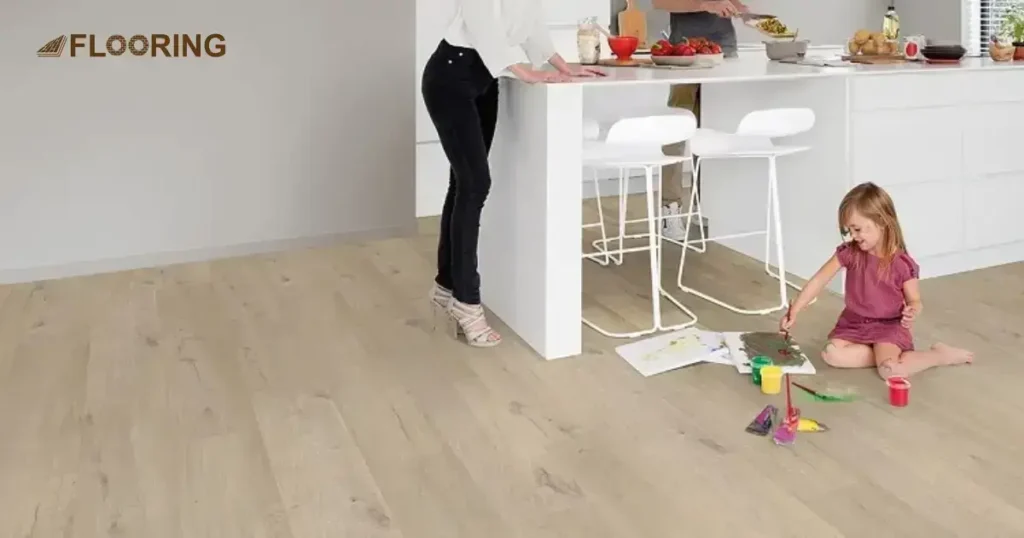
Linoleum floors are crafted from natural materials like linseed oil, wood flour, and cork dust, making them eco-friendly and durable. However, these components also make linoleum susceptible to damage if not properly cared for.
Harsh chemicals and abrasive tools can easily wear down the surface, leading to dullness and potential damage. Understanding how to clean linoleum floors correctly ensures their longevity and keeps them looking their best.
Regular maintenance prevents ground-in dirt and stubborn stains from becoming a problem, preserving the floor’s aesthetic appeal and functionality.
The Benefits of Linoleum Flooring
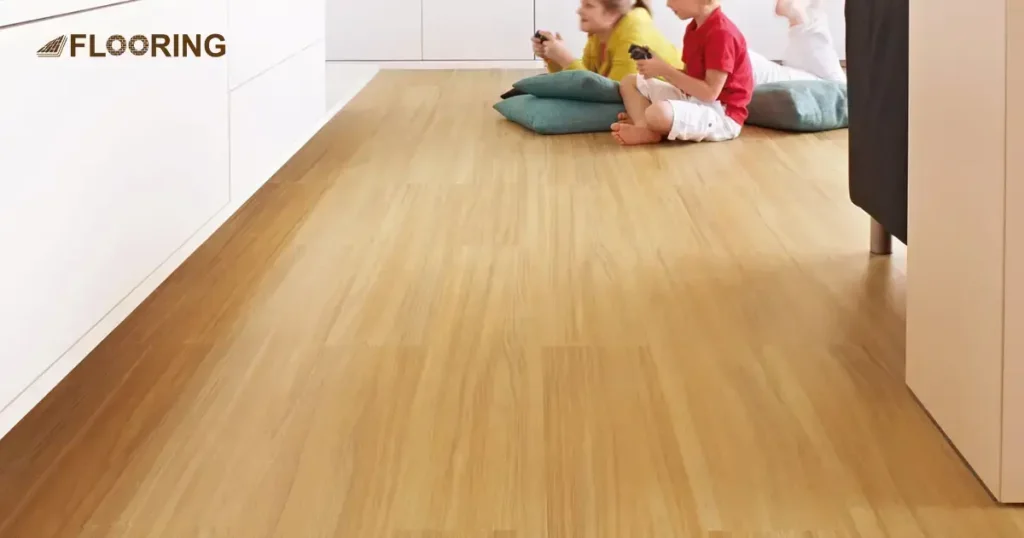
Linoleum flooring offers numerous benefits, making it a popular choice for homes and businesses alike. From comfort and durability to water resistance and eco-friendliness, linoleum floors provide a versatile and cost-effective solution.
Comfort
These floors are naturally soft and resilient, providing a comfortable surface underfoot. This makes them ideal for areas where you stand for long periods, like kitchens. The slight cushioning effect reduces strain on your feet and joints, enhancing overall comfort. Linoleum has excellent insulating properties, keeping floors warm in the winter and cool in the summer.
Durability
One of the standout features of linoleum flooring is its durability. Properly maintained linoleum can last for decades without showing significant wear. Its resistance to scratches and dents makes it perfect for high-traffic areas. Moreover, linoleum’s ability to withstand heavy use without deteriorating ensures it remains an attractive flooring option for many years.
Water Resistance
Linoleum is highly water-resistant, making it a practical choice for kitchens, bathrooms, and laundry rooms. Spills and splashes won’t seep into the material, preventing water damage and mold growth. However, it’s essential to clean up standing water quickly to maintain the floor’s integrity. Regularly sealing the linoleum enhances its water-resistant properties, ensuring long-lasting performance.
Eco Rating
Linoleum flooring is an environmentally friendly choice due to its natural composition. Made from renewable materials, linoleum is biodegradable and does not emit harmful chemicals. Its production process has a lower environmental impact compared to synthetic flooring options.
Choosing linoleum helps reduce your carbon footprint while providing a stylish and sustainable flooring solution.
Homemade Linoleum Floor Cleaners
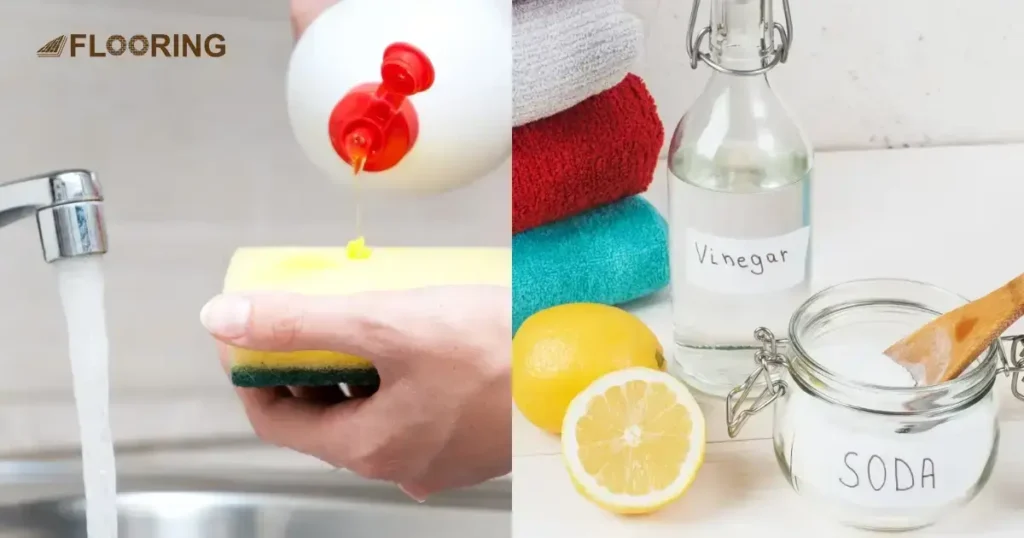
Homemade cleaners offer a safe, effective, and cost-efficient way to maintain your linoleum floors. These natural solutions are gentle on your floors and the environment, while still providing excellent cleaning power, so let’s explore some popular homemade cleaners and their benefits.
Vinegar and Baking Soda
A powerful duo for cleaning linoleum floors is vinegar and baking soda. This combination creates a natural, non-toxic cleaner that can tackle tough stains and odors. The acidity of vinegar helps break down dirt and grime while baking soda acts as a gentle abrasive and deodorizer.
Dish Soap and Water
Sometimes, the simplest solutions are the most effective. A mixture of mild dish soap and warm water can work wonders on your linoleum floor. This gentle yet powerful cleaner can remove everyday dirt and grime without harming the floor’s surface.
Vinegar, Baking Soda, and Dish soap
For a more powerful homemade cleaner, combine the cleaning properties of vinegar, baking soda, and dish soap. This trio creates a versatile solution that can handle tougher cleaning jobs while still being gentle on your linoleum floor.
Borax and Water
Borax, a natural mineral, can be an effective cleaner for linoleum floors. When mixed with water, it creates a solution that can remove tough stains and disinfect the floor. Borax is particularly useful for tackling mold and mildew, which can sometimes be an issue in damp areas.
Castile Soap and Water
Castile soap, a vegetable-based soap, is another excellent option for cleaning linoleum floors. It’s gentle, biodegradable, and effective at removing dirt and grime. Castile soap is also versatile, making it a great addition to your cleaning supplies.
Step-by-Step Linoleum Floor Cleaning Process
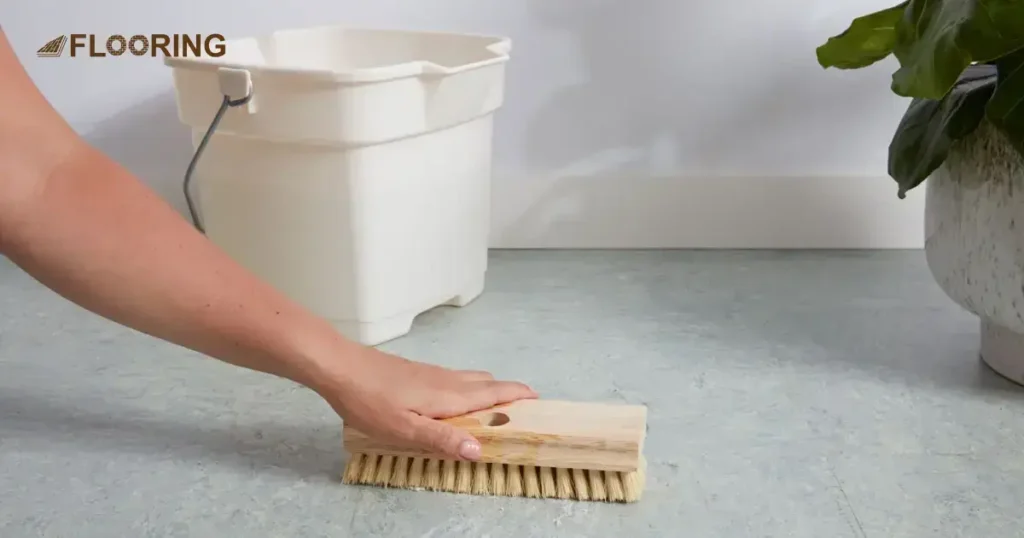
Following a systematic approach, you can efficiently clean and maintain your floor’s beauty. Let’s break down the process into easy-to-follow steps that will leave your linoleum floor sparkling clean.
Remove Loose Dirt and Debris Using A Vacuum Cleaner
- Use a vacuum cleaner with a hard floor setting to avoid scratching.
- Move the vacuum slowly to capture all loose dirt and debris.
- Focus on corners and edges where dirt accumulates.
Wipe Using A Dry Microfiber Cloth
- Use a clean, dry microfiber cloth for dusting the floor.
- Gently wipe the entire surface to remove any remaining dust.
- Pay extra attention to areas under furniture and in corners.
- Microfiber cloths trap dust effectively, leaving the floor spotless.
Prepare A Cleaning Solution of Hot Water and Dish Soap
- Fill a bucket with hot water, but not too hot to touch.
- Add a few drops of mild dish soap to the water.
- Stir the solution gently to mix without creating too many suds.
Make an Alternative Cleaning Solution with White Vinegar and Water
- Mix equal parts of white vinegar and warm water in a bucket.
- Stir the solution to combine thoroughly.
- White vinegar helps to disinfect and remove grime effectively.
Sprinkle Baking Soda for Deep Cleaning
- Lightly sprinkle baking soda over areas needing deep cleaning.
- Use more baking soda on stubborn stains and high-traffic areas.
- Let the baking soda sit for a few minutes to loosen dirt.
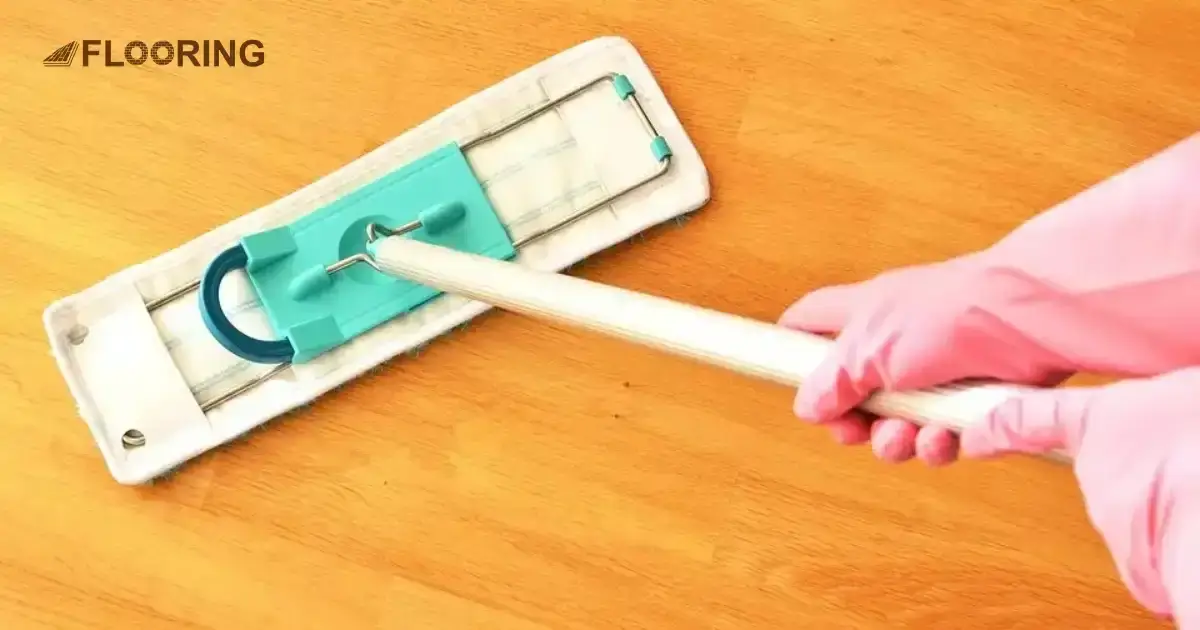
Dampen The Microfiber Mop with The Cleaning Solutions
- Dip a microfiber mop into the cleaning solution of your choice.
- Wring out excess liquid to avoid over-wetting the floor.
- Ensure the mop is damp, not soaking wet, for best results.
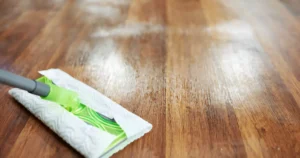
Start Mopping The Linoleum Flooring
- Begin mopping from one corner of the room, working towards the exit.
- Use gentle, back-and-forth motions to clean the floor evenly.
- Rinse the mop frequently to avoid spreading dirt.
- Focus on high-traffic areas and spots with visible dirt.
Rinse The Linoleum Floor to Clean
- After mopping, rinse the floor with clean, warm water.
- Use a clean mop or cloth to remove any soap residue.
- Thoroughly rinse to ensure no cleaning solution remains.
Dry The Floor Using Clean Towels or Rags
- Use dry, clean towels or rags to wipe the floor.
- Drying the floor prevents water spots and streaks.
- Ensure the floor is completely dry before walking on it.
Scrub Stubborn Stains with Baking Soda and White Vinegar
- Make a paste of baking soda and white vinegar for tough stains.
- Apply the paste directly to the stain with a soft cloth.
- Gently scrub in a circular motion to lift the stain.
Tips to Clean Linoleum Kitchen Floor
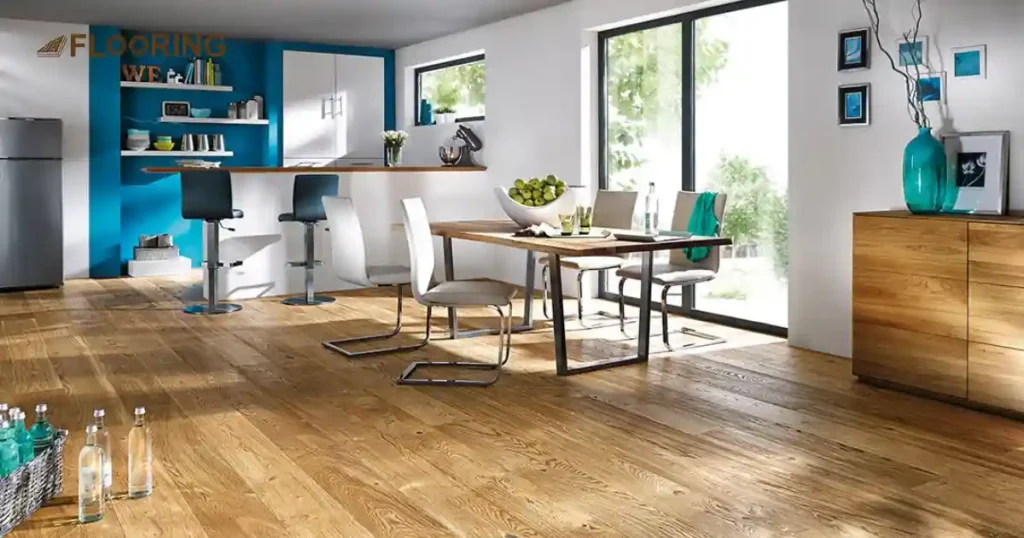
In case you decide to go the DIY route for cleaning linoleum floors, start by removing dust and debris, then mop using a solution of water, vinegar, and dish soap. Make sure to dust daily, mop weekly, and aim for a deep clean once or twice a year.
Best Mop to Clean Linoleum Floor
When it comes to spills and tougher messes on your linoleum floors, switch to a classic wet mop. This will ensure that any stubborn stains or dirt are thoroughly removed, leaving your floors looking fresh and spotless. By combining these two types of mops, you can maintain the cleanliness and shine of your linoleum floors with ease.
Maintaining Linoleum Floor Clean
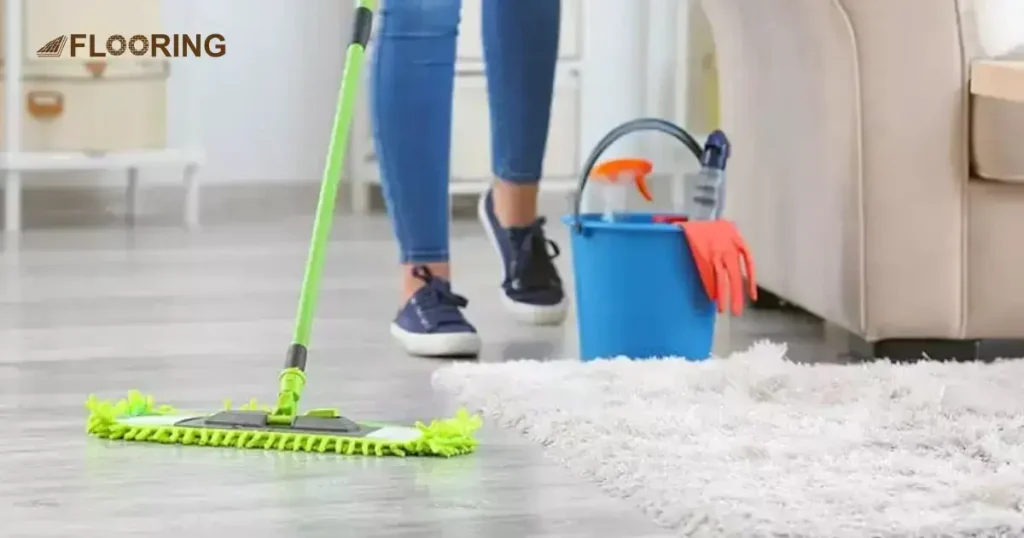
Keeping your linoleum floor clean requires regular maintenance and proper techniques. Simple, consistent practices will ensure your floor stays in excellent condition, preserving its appearance and longevity.
Sweep Regularly
Sweeping your linoleum floor regularly is crucial to prevent dirt and dust buildup. Dirt particles can act like sandpaper, scratching and dulling the surface over time. Using a soft-bristle broom, gently sweep the entire floor daily to keep it clean. In high-traffic areas, you may need to sweep more frequently to maintain a spotless look.
Use Less Liquid to Clean Linoleum Floor
When it comes to washing linoleum floors, less is more. Excessive water can seep into seams and edges, potentially causing damage to the subfloor. Instead of drenching your floor, opt for damp mopping. Using excessive liquid on linoleum floors can lead to water damage and warping and when mopping, wring out the mop thoroughly to ensure it’s just damp, not soaking wet.
Avoid Ammonia
Ammonia-based cleaners can harm linoleum floors by breaking down the material and causing discoloration. It’s important to avoid using any products that contain ammonia. Instead, opt for mild, pH-neutral cleaners that are specifically designed for linoleum. These cleaners will safely remove dirt without damaging the floor’s surface.
Use Warm or Cool Water
When cleaning floor linoleum, the water temperature matters. Hot water can cause the linoleum to expand and contract, leading to potential cracks and damage. Warm or cool water is gentle yet effective for cleaning, ensuring your floor remains in good condition without the risk of temperature-related issues.
Do Not Use Latex or Rubber-Backed Rugs
Latex or rubber-backed rugs can cause discoloration and staining on linoleum floors. The chemicals in the backing can react with the linoleum, leading to permanent marks. Instead, choose rugs with natural fiber backings or use rug pads that are safe for linoleum. This precaution helps prevent unsightly stains and keeps your floor looking beautiful.
How to Deal with Mold and Mildew on Linoleum Floors
Mold and mildew can be persistent problems on linoleum floors, especially in areas with high humidity or moisture. Identifying the causes and implementing effective cleaning methods can keep these issues at bay.
Causes of Mold and Mildew
Mold and mildew thrive in moist environments. Here are the main culprits behind their growth on linoleum floors:
- Moisture source: Excessive humidity or water leaks create ideal conditions for mold growth.
- Poor ventilation: Lack of air circulation traps moisture, promoting mold and mildew development.
- Temperature fluctuations: Warm, damp areas are breeding grounds for fungal growth.
- Organic material: Dirt and debris on the floor provide food for mold spores.
- Improper cleaning: Using too much water or not drying the floor thoroughly after cleaning.
Prevention and Cleaning Methods
Keeping mold and mildew at bay requires a combination of preventive measures and effective cleaning techniques. Here’s how to tackle the problem:
Humidity control: Use a dehumidifier in damp areas to reduce moisture in the air.
Proper ventilation: Ensure good air circulation by opening windows or using fans.
Regular cleaning: Clean linoleum stains and spills immediately to prevent moisture buildup.
Dry thoroughly: Always dry the floor completely after cleaning to discourage mold growth.
Use vinegar solution: Mix equal parts water and white vinegar for a natural mold deterrent.
Apply tea tree oil: Add a few drops of tea tree oil to your cleaning solution for its antifungal properties.
Baking soda scrub: For stubborn mold, make a paste with baking soda and water.
Professional cleaning: Consider professional services for severe mold infestations.
Maintaining the Shine of Your Linoleum Floor
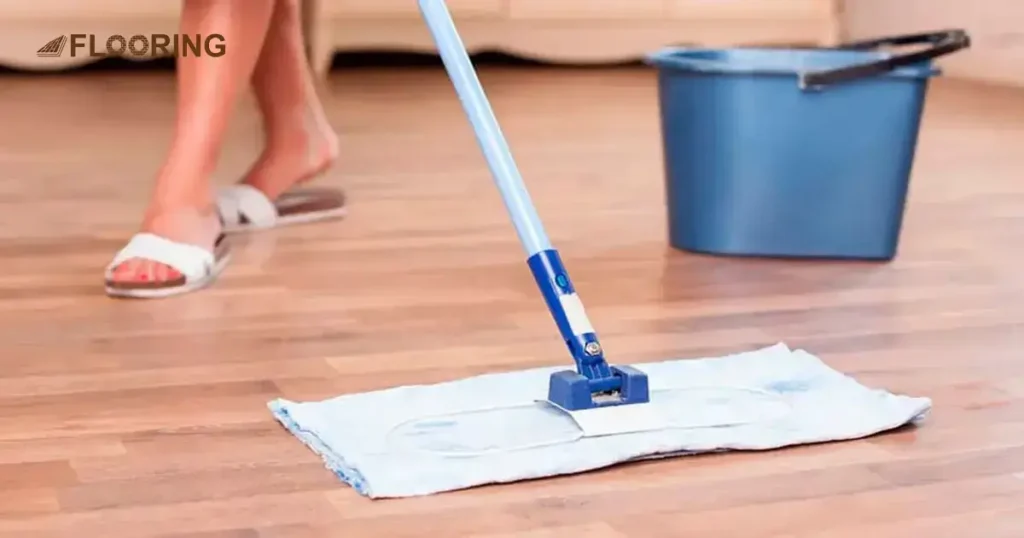
A shiny linoleum floor can brighten up any room and create a welcoming atmosphere. Regular maintenance and proper polishing techniques can help preserve that lustrous finish. Let’s explore how to keep your linoleum floor looking its best.
Regular Polishing Tips
Polishing your linoleum floor is key to maintaining its shine and protecting its surface. Start by thoroughly cleaning the floor to remove any dirt or debris. Then, apply a thin, even layer of polish using a microfiber mop or applicator pad.
Work in small sections, moving in the direction of the floor’s grain. Allow each section to dry completely before walking on it. For best results, polish your floor every two to three months, depending on foot traffic. Remember, consistency is key to maintaining that beautiful shine.
Best Products for Polishing Linoleum
Choosing the right polish can make a significant difference in the appearance and longevity of your linoleum floor. Look for products specifically designed for linoleum, as these will provide the best results without causing damage.
Acrylic-based polishes are popular choices, offering a durable shine and protective layer. Some top-rated options include Bona Stone, Tile & Laminate Floor Polish, and ZEP Commercial Wet Look Floor Polish. Always follow the manufacturer’s instructions for application and drying times to achieve the best shine.
Avoiding Common Mistakes When Cleaning Linoleum Floor
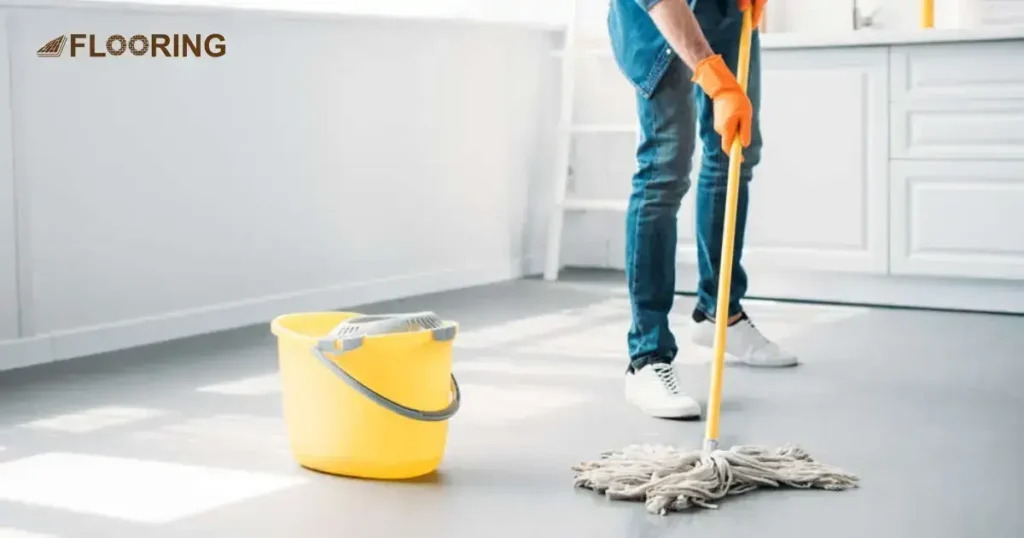
| Common Mistake | Correct Approach |
| Using abrasive cleaners | Opt for pH-neutral, gentle cleaners |
| Overwetting the floor | Use a damp mop, not a soaking wet one |
| Neglecting regular sweeping | Sweep or vacuum daily to prevent scratches |
| Using steam mops | Avoid steam, which can damage linoleum |
| Leaving spills unattended | Clean spills immediately to prevent staining |
| Using wax on no-wax linoleum | Check your floor type before applying wax |
| Scrubbing too hard | Use gentle pressure to avoid damaging the surface |
| Ignoring manufacturer instructions | Always follow care guidelines for your specific floor |
| Using bleach or ammonia | Stick to mild, linoleum-safe cleaning solutions |
Frequently Asked Questions
How to get grease off linoleum floor?
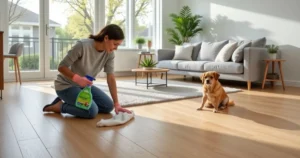
To remove grease from a linoleum floor, mix dish soap with warm water and gently scrub the area with a soft cloth. For stubborn grease, create a paste using baking soda and water, apply it to the spot, let it sit for a few minutes, then wipe clean with a damp cloth.
How to make linoleum white again?
To restore whiteness to linoleum, mix equal parts white vinegar and water in a spray bottle. Spray the solution on the floor, let it sit for a few minutes, then scrub gently with a soft brush. Rinse with clean water and dry thoroughly.
Can you use bleach on linoleum?
While bleach can be used on linoleum, it’s not recommended for regular cleaning as it can be harsh and damage the floor over time. If you must use bleach, dilute it heavily with water and use it sparingly for tough stains or disinfecting.
How to get stains out of linoleum floors?
To clean linoleum stains, first identify the type of stain. For most stains, a mixture of baking soda and water applied as a paste can be effective. For tougher stains, try a solution of white vinegar and water, letting it sit for a few minutes before wiping it clean.
How to clean linoleum floors with bleach?
If using bleach to clean linoleum floors, mix 1/4 cup of bleach with a gallon of warm water. Mop the floor with this solution, then rinse thoroughly with clean water. Always ensure good ventilation when using bleach and test on a small, inconspicuous area first.
How to clean linoleum floors with hydrogen peroxide?
To clean linoleum floors with hydrogen peroxide, mix equal parts 3% hydrogen peroxide and water in a spray bottle. Spray the solution on the floor, let it sit for a few minutes, then wipe with a damp cloth. Rinse with clean water and dry thoroughly.
How often should you clean your linoleum floors?
For regular maintenance, sweep or vacuum linoleum floors daily and mop weekly with a mild cleaning solution. Deep clean your linoleum floor every two to three months, depending on foot traffic and wear.
Can you steam mop linoleum floors?
It’s generally not recommended to use a steam mop on linoleum floors. The high heat and moisture can damage the flooring, causing it to warp or peel. Instead, use a damp mop with a gentle cleaning solution for regular cleaning.
How often does linoleum need to be sealed?
Linoleum typically needs to be sealed every 2-3 years, depending on wear and tear. However, some modern linoleum floors come pre-sealed and may not require additional sealing. Check your flooring manufacturer’s recommendations for specific guidance.
Conclusion
Learning how to clean a linoleum floor effectively ensures it stays beautiful and lasts longer. Regular cleaning and maintenance help prevent damage and keep the floor looking its best. By following the right techniques and using appropriate cleaners, you can avoid common mistakes and extend the life of your linoleum.
Maintaining a linoleum floor offers similar benefits of wood flooring in terms of durability and appearance. Linoleum is a versatile and eco-friendly choice for your home, and proper care enhances its natural charm. Whether dealing with everyday dirt or tough stains, knowing the right methods makes a significant difference in the outcome.
How to clean a linoleum floor involves simple, consistent practices that make a big impact. From sweeping regularly to using the correct cleaning solutions, each step contributes to a clean and polished floor. By dedicating a little time and effort, you can enjoy the lasting beauty and practicality of linoleum flooring.
