Thinking about giving your stairs a fresh, modern look? Installing vinyl plank flooring is one of the best ways to do it. It’s stylish, durable, and easier to maintain than carpet or hardwood. The best part? You can install it yourself with the right tools and steps.
In this guide, we’ll walk you through how to install vinyl plank flooring on stairs — even if you’re a beginner. Let’s dive right in!
📑 Table of Content
Why Choose Vinyl Planks for Stairs?
Before we get into the “how,” let’s quickly talk about the “why.”
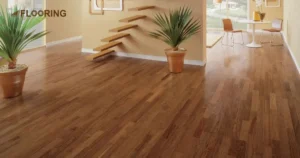
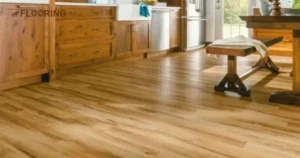
Vinyl plank flooring is a smart choice for stairs because:
- Durability: It handles heavy foot traffic easily.
- Water Resistance: Perfect for homes with kids and pets.
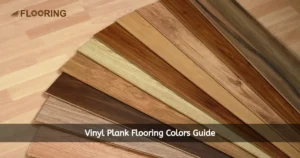
- Style Variety: Tons of colors and textures to match your home.
- Easy Maintenance: Just sweep and mop!
Many homeowners love the real wood look of vinyl without the heavy price tag or maintenance stress.
Tools and Materials You’ll Need
Before starting, gather all your tools. Here’s what you’ll need:
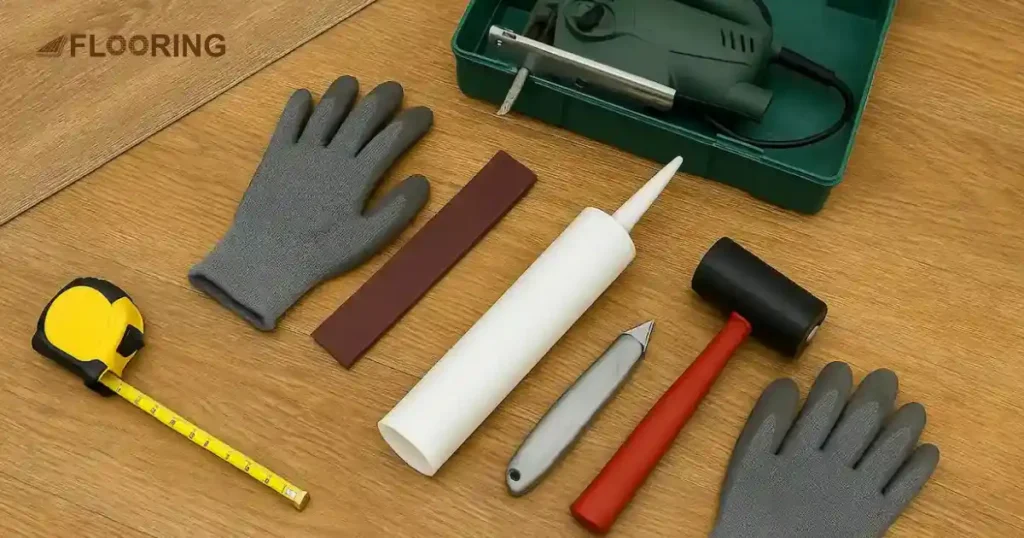
- Vinyl plank flooring (plus a few extra pieces)
- Stair nose moldings
- Measuring tape
- Pencil or chalk
- Utility knife or jigsaw
- Construction adhesive (strong bond)
- Caulking gun
- Roller
- Safety gear (gloves, knee pads)
Pro Tip: Buy 10% extra vinyl planks to cover mistakes or future repairs!
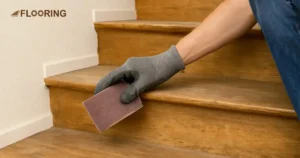
Preparing Your Stairs
Preparation is the key to a professional-looking finish. Follow these steps carefully:
1. Remove Old Flooring
If there’s carpet, tiles, or old wood, remove them.
Make sure the stairs are bare before starting.
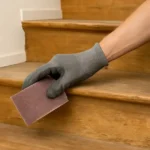
2. Clean and Level the Surface
- Sweep and vacuum any debris.
- Fill gaps, cracks, or holes using wood filler or patching compound.
- Make sure the stairs are smooth and even.
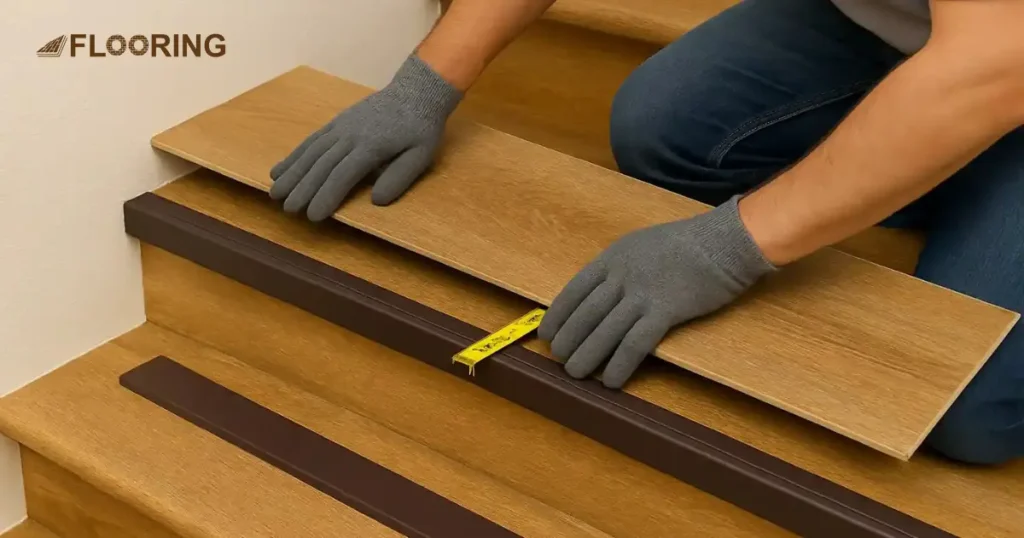
3. Measure Everything Twice
Use a measuring tape to measure:
- Tread width (the part you step on)
- Tread depth
- Riser height (the vertical part of the stair)
Tip: Stairs can vary slightly in size — measure each one individually!
How To Install Vinyl Planks On Stairs: Step-By-Step
Here’s where the magic happens!
Step 1: Start from the Bottom
Always work from the bottom stair up.
It’s easier and looks more natural.
Step 2: Cut the Vinyl Planks
- Mark the measurements on the back of the plank.
- Use a utility knife or jigsaw to cut the plank.
- Dry-fit the pieces first to ensure they fit properly.
Remember: Vinyl is flexible but still needs careful handling to avoid cracks.
Step 3: Apply Adhesive
- Apply a strong construction adhesive to the back of the plank.
- Place the plank firmly on the stair tread.
- Press down with a roller for even contact.
No nails or staples are needed for vinyl!
Step 4: Install the Stair Riser
- Cut a vinyl plank to fit the riser.
- Apply adhesive and press it into place.
It should sit snugly against the tread without gaps.
Step 5: Add the Stair Nose
The stair nose (the rounded edge) is important for safety and looks.
- Apply adhesive to the stair nose molding.
- Press it onto the edge where tread and riser meet.
- Hold it for a few seconds or tape it temporarily until the adhesive sets.
Pro Tip: Some stair noses click into the plank, while others sit on top. Follow the manufacturer’s instructions.
Step 6: Repeat for Each Step
Keep moving up one step at a time:
- Tread
- Riser
- Stair Nose
Patience pays off!
Common Mistakes to Avoid
Many DIYers make small mistakes that lead to big problems later. Avoid these:
- Skipping surface prep: Uneven stairs = messy finish.
- Wrong adhesive: Always use strong bonding glue made for vinyl.
- Poor measurements: Double-check every measurement.
- Ignoring expansion gaps: Some vinyl needs a little room to expand (check your product specs).
Take your time because a clean, professional result is worth the extra effort.
How Long Does It Take?
- Small staircases (up to 10 steps): About 1 day.
- Large or complex staircases: 2–3 days.
Most of the time is spent prepping and making precise cuts.
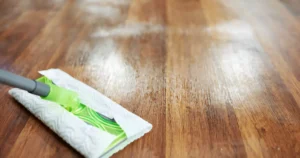
Maintaining Your New Vinyl Stairs
Once installed, caring for vinyl stairs is easy:
- Sweep regularly: Remove dirt and debris.
- Use a damp mop: Mild cleaners only — avoid harsh chemicals.
- Protect edges: Use furniture pads if placing items nearby.
Proper maintenance keeps your stairs looking fresh for years.
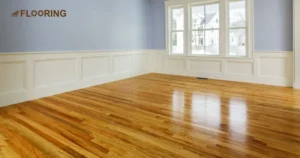
Final Thoughts
Installing vinyl plank flooring on stairs is a smart upgrade that boosts your home’s style and value. While it takes careful measuring and a bit of patience, the process is beginner-friendly and very rewarding.
If you want stairs that look modern, are easy to clean, and last for years, vinyl planks are the way to go!
Frequently Asked Questions
Can I use peel-and-stick vinyl planks on stairs?
Yes, but they might not last as long on high-traffic stairs. Full glue-down vinyl is a stronger choice.
Do I need to use a stair nose with vinyl plank flooring?
Yes, stair noses are essential for safety and help protect the edges of your stairs, making them last longer.
What if my stairs are not perfectly even?
If your stairs are uneven, use a self-leveling compound or sand down any high spots to create a smooth surface before installing vinyl planks.
Yes, it’s important to glue down vinyl planks on stairs to make them safe and prevent slipping.
No, you should remove old carpet first. Vinyl planks need a clean, flat surface to stick properly.
It’s possible but tricky. You may need to custom cut the planks carefully or hire a professional for a perfect fit.
Use a strong flooring adhesive that’s made for vinyl. Many experts recommend pressure-sensitive or multi-purpose adhesives.
Need help with your stair makeover? Ask us in the comments below — let’s make your project easy and stress-free! ✨