Considering vinyl plank flooring installation? You might be aware of the significance of staggering the planks for a more appealing look. While these cautions might seem daunting, the actual process is quite simple. Stagger vinyl plank flooring not only enhances the appearance of your flooring but also contributes to a more durable finished floor.
Many homeowners struggle with how to stagger vinyl plank flooring properly, leading to a less-than-ideal finish. Nothing ruins the aesthetic of a space quite like a floor with a repetitive pattern that screams artificial. Staggering is essential for both aesthetics and durability and getting it right can be challenging.
Therefore, we have compiled a detailed, step-by-step guide to assist you in staggering and installing your vinyl plank flooring with expertise.
📑 Table of Content
Key Takeaways
Planning Your Layout: Proper planning ensures a seamless and aesthetically pleasing vinyl plank flooring installation.
Tools Needed: Gather essential tools like a utility knife, straight edge, and spacers for a smooth installation process.
Choosing Vinyl Planks: Select high-quality planks that match your room’s decor and meet durability standards.
Measuring and Cutting: Accurate measurements and precise cutting are crucial for a perfect fit and professional finish.
Staggering Patterns: Use a staggered pattern to enhance both the look and stability of your flooring.
Avoiding Common Mistakes: Be mindful of acclimation, subfloor preparation, expansion gaps, and using the right tools.
Maintenance Tips: Regular cleaning and proper maintenance extend the lifespan and beauty of your vinyl plank flooring.
Final Touches: Ensure a neat finish by properly installing the last row and adding necessary trims and moldings.
Why Stagger Vinyl Plank Flooring
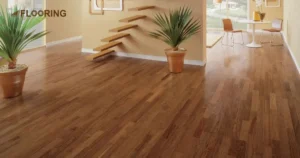
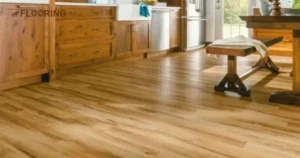
One benefit of staggering the planks is that they create a beautiful and natural appearance that closely resembles real hardwood. By mimicking the randomness and blending of real wood patterns, the floor achieves a visually pleasing look. Staggered seams play a crucial role in achieving this effect, making the floor appear more authentic and less artificial.
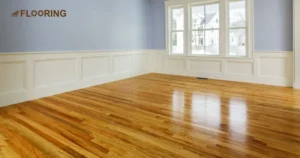
Staggering the planks contributes to the overall structural integrity of the floor. When planks are staggered correctly, they interlock securely, reducing the chances of movement and seam popping as time goes by. This not only enhances the aesthetic appeal of the floor but also prolongs its lifespan, ensuring that your investment in new flooring is worthwhile in the long term.
Luxury Vinyl – How to Stagger Vinyl Plank Flooring Effectively
Vinyl planks are typically available in just two standard sizes, making it crucial to have a good grasp of the staggering technique when installing them. It may seem overwhelming at first but fear not, we are here to guide you through the process. And equip you with the knowledge needed to achieve stunning flooring results on your own.
Our goal is to empower you with the necessary skills to become a savvy DIYer who can transform your space with confidence. By following our expert advice, you will be able to navigate the staggering process with ease, ensuring that your investment pays off and the final outcome exceeds your expectations.
Whether you prefer environmentally friendly options or desire a more robust flooring solution, incorporating a staggering pattern into your installation will elevate the overall look of your space. No matter the size of your floor, you can personalize the staggering of the planks to create a visually striking and unique aesthetic that will leave a lasting impression.
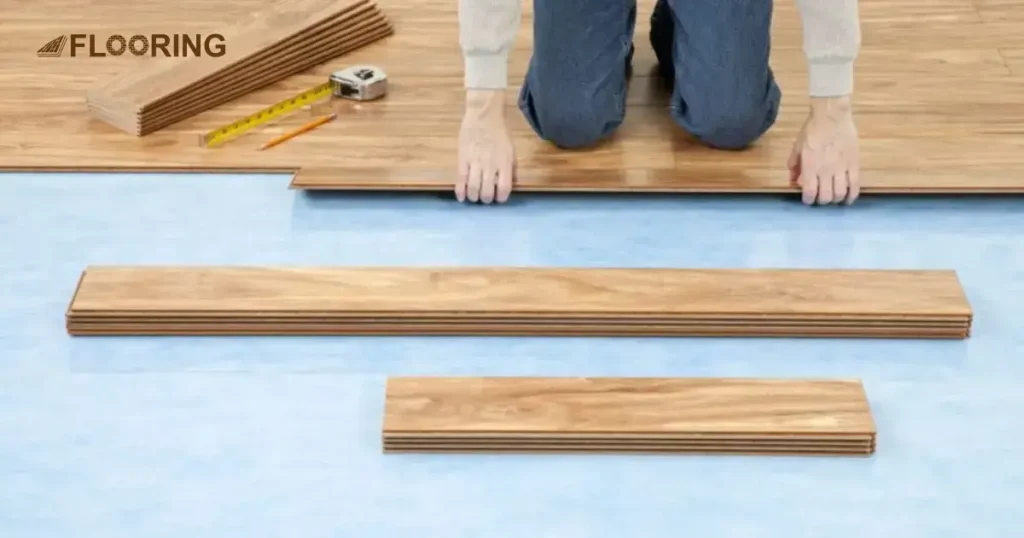
Tools Needed for Staggering Vinyl Plank Flooring
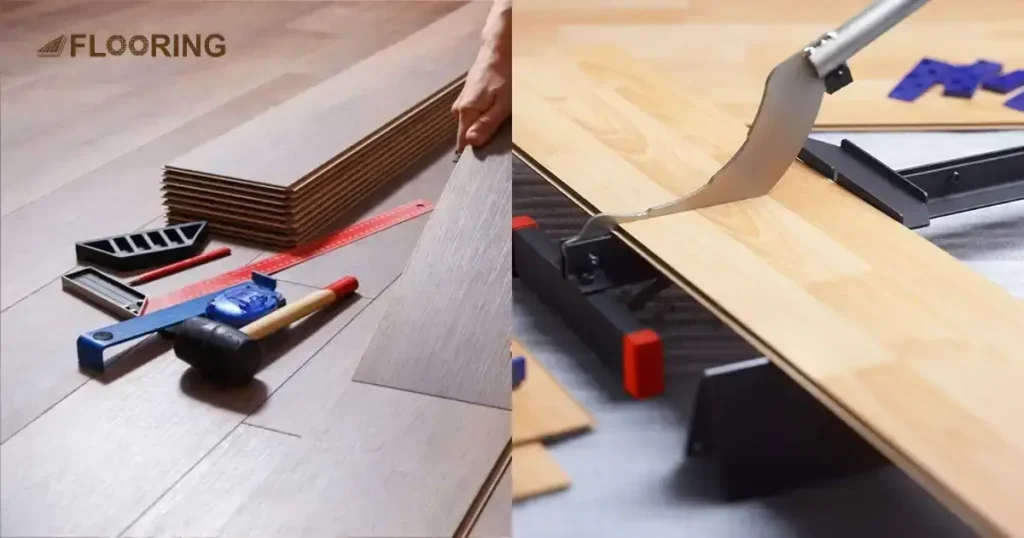
To properly stagger vinyl plank flooring, you need a specific set of tools. Here’s a list of essential items:
- Measuring Tape: Used to measure the length and width of the room and the planks accurately.
- Utility Knife: Necessary for cutting the vinyl planks to fit around edges and obstacles.
- T-Square or Carpenter’s Square: Ensures straight, accurate cuts.
- Rubber Mallet: Helps tap planks into place without damaging them.
- Pry Bar: Useful for removing baseboards and other fixtures.
- Spacers: Keep consistent gaps between planks and walls for expansion.
- Pencil and Chalk Line: For marking cutting lines and layout patterns.
- Moisture Meter: Ensures the subfloor is dry enough for installation.
- Safety Gear: Gloves and knee pads for protection during installation.
Choosing the Right Vinyl Planks
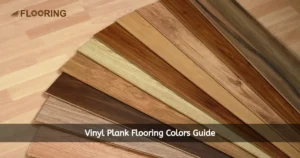
Choosing the right vinyl planks is crucial for both the appearance and durability of your floor. Start by considering the room’s overall design and how the flooring will complement it. Vinyl planks come in various colors, patterns, and textures, so you can find options that mimic real wood, stone, or other materials.
Next, think about the plank size. Wider planks can make a small room look larger, while narrow planks might be better for intricate layouts. It’s also essential to consider the thickness of the planks. Thicker planks are more durable and can better withstand high-traffic areas.
Quality is another important factor. Luxury vinyl planks often have additional layers that make them more resistant to scratches and moisture. Checking the warranty offered by the manufacturer can also give you an idea of the product’s durability and the company’s confidence in its product.
Essential Steps for Staggering Vinyl Plank Flooring

- Begin the initial row with a full-length plank.
- Proceed with installing full-length planks in the first row, trimming the final plank if needed.
- Commence the second row with a partial plank that is a minimum of 6” long, then progress along the row.
- Utilize assorted plank lengths to start each row to prevent H-patterns, stair steps, and parallel joints throughout the floor.
- Ensure to follow these guidelines for a seamless and visually appealing flooring installation.
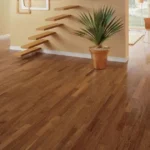
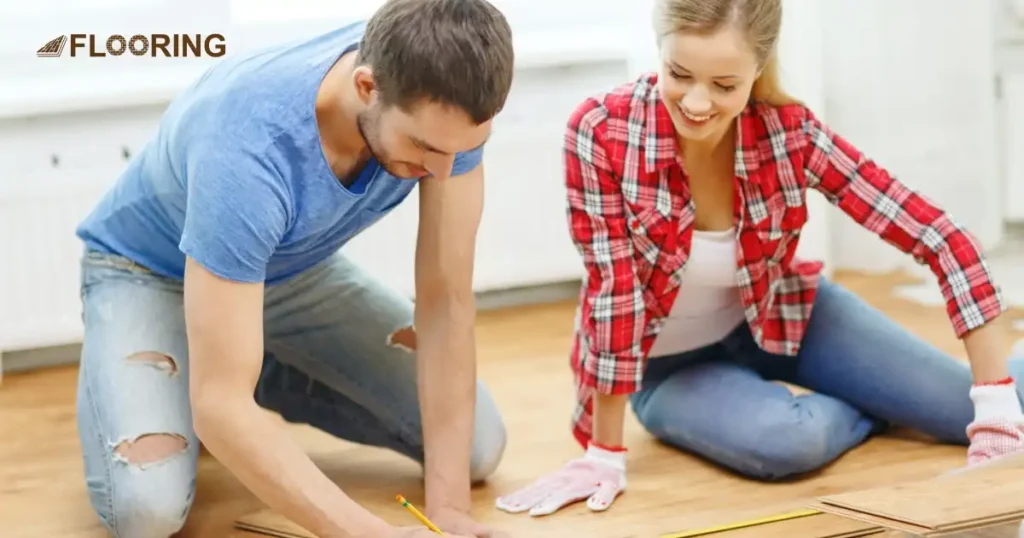
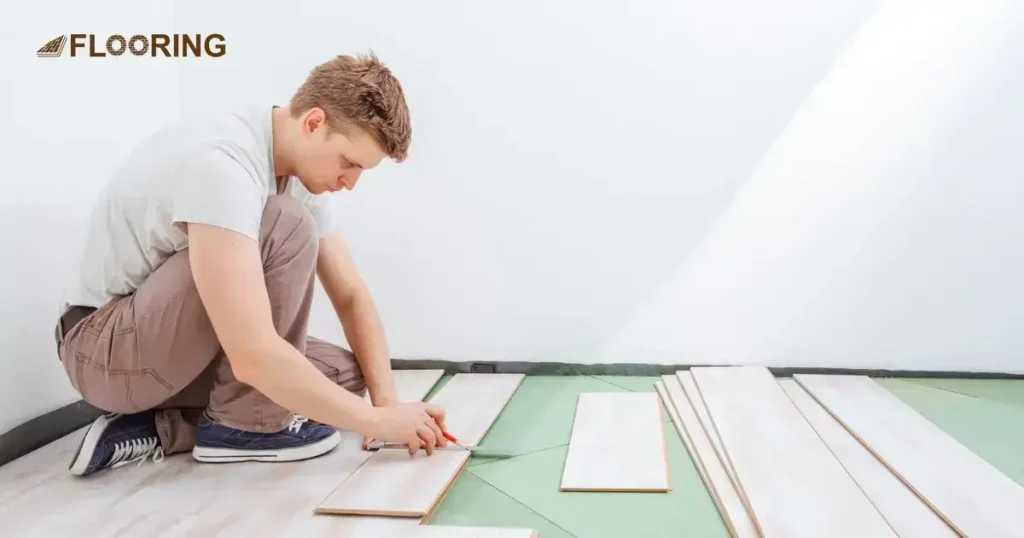
1. Planning Your Layout to Stagger Vinyl Plank Flooring
Before installing vinyl planks, planning your layout is crucial to achieve a professional look. Proper planning helps you visualize the final result and avoid mistakes. Consider the direction of the planks, the layout pattern, and the starting point.
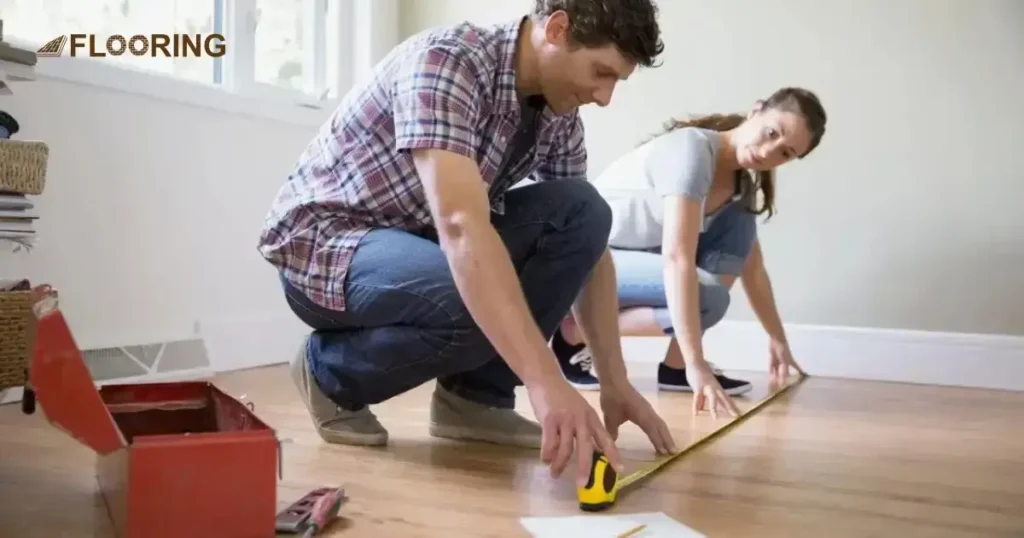
Measuring Room & Planks
Make sure to measure the area you want to re-floor accurately before you start installing vinyl plank flooring. Take precise room measurements and then figure out how many rows of full planks you’ll need by dividing the width of your room by the width of the planks. This will help ensure that you have the right amount of materials for the job.
- Find the room’s width in inches by converting the feet measurement. For instance, a 14.25’ room equals 171”.
- Determine how many rows of planks you need by dividing the room’s width in inches by the width of one plank. For example, a 171” room would require 28.5 rows of 6” wide vinyl planks.
- Remember to purchase 10% more flooring than you estimate to allow for any errors or miscalculations.
Calculations for the First and Last Rows
If your room’s width doesn’t divide evenly into the width of the plank, simply round down to the nearest whole number and then multiply that number by the width of one plank.
- Round down to the nearest whole number when calculating the number of rows needed for your flooring project. In this case, it will be rounded to 28 and multiplied by 6 resulting in 168”.
- Subtract the total width of the planks from the room width to determine the width of the final row. It would be 171” 168” = 3”, therefore the width of the plank for the last row is 3” wide.
- If the final row measures less than half (½) the width of a plank, you can modify the width of the initial row by adding the width of the last row to the width of a complete plank and then dividing the total into half.
- Keeping the example in mind, add 3” to the 6” plank, and the answer will be 9”. Now divide it by half, so cut the planks of the first and last row to 4½” for better symmetry and clean edges.
- For a smoother finish when cutting vinyl planks narrower, opt for the circular saw method to ensure a neat and professional-looking edge. While scoring and snapping can work well for shortening the plank but using a saw will provide a cleaner cut.
Use Different Planks to Mix Wood-Grain Patterns and Colors
To achieve a more natural look and professional installation, it is recommended to open multiple boxes and select planks from each box as you progress. By using planks from various boxes, you can evenly distribute woodgrain patterns and colors throughout the finished floor. This simple step can greatly enhance the overall appearance of your floor and elevate the quality of your installation.
Review the Manufacturer’s Installation Guide
Every company provides guidelines for the optimal installation of their merchandise. These instructions typically involve advice about installing planks. How to connect the planks and the utilization of spacers are included in these instructions.
2. Preparing for Staggering Vinyl Plank Flooring
Preparation is key to a successful vinyl plank flooring installation. Before you start, make sure your subfloor is clean, dry, and level because this ensures a smooth, long-lasting installation.
Remove Any Baseboards in Your Room
To uninstall the baseboards, try sliding a putty knife between the board and the wall, then gently pry to release them. Next, locate the nails that are holding the baseboards in place against the wall. Carefully use a pry bar to extract them.
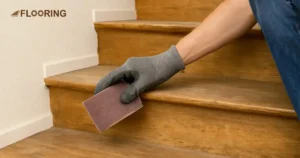
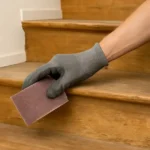
Level Your Floor and Make any Necessary Repairs
For optimal outcomes, it is recommended to place vinyl plank flooring on a flat surface. Take a moment to inspect various spots in the room to ensure that the surface is level. It is common for floors to have some degree of natural unevenness. As long as the differences are under 3/16” every 10’, you can proceed with the installation confidently.
If any uneven sections on your floor are larger than 3/16″, simply use a pencil to mark them. After marking, you can then proceed to level out these sections using the suitable technique for your subflooring.
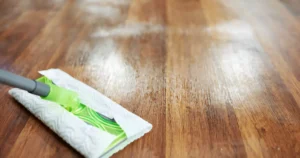
Vacuum and Wash the Subfloor
Clean up any loose particles using a small broom, followed by a thorough vacuuming to eliminate any remaining dust. After that, wash or mop the floor with a suitable cleaner designed for the specific type of flooring material.
Make sure to wait until the flooring is fully dry before you proceed with the installation process. This step is crucial to ensure that the installation goes smoothly and the flooring sets properly.
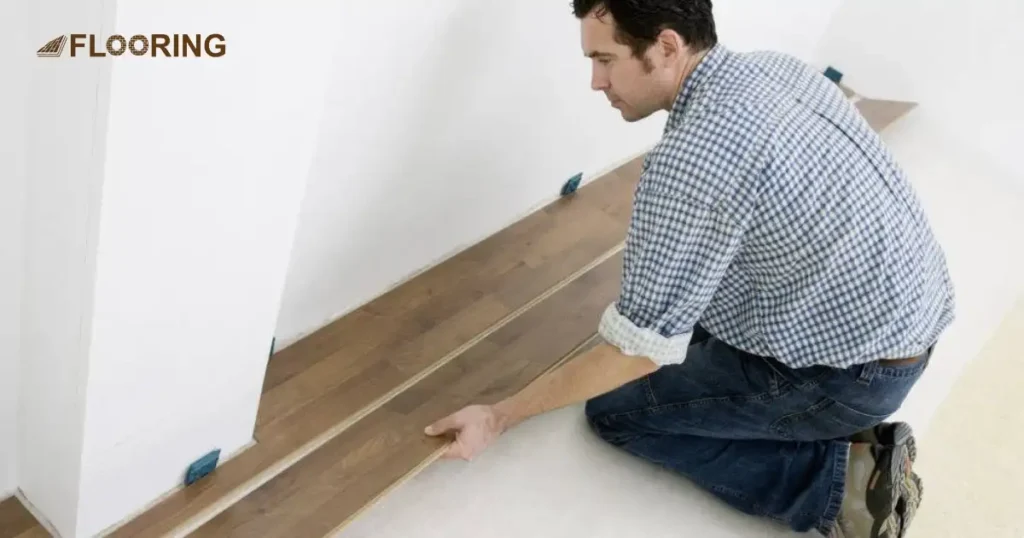
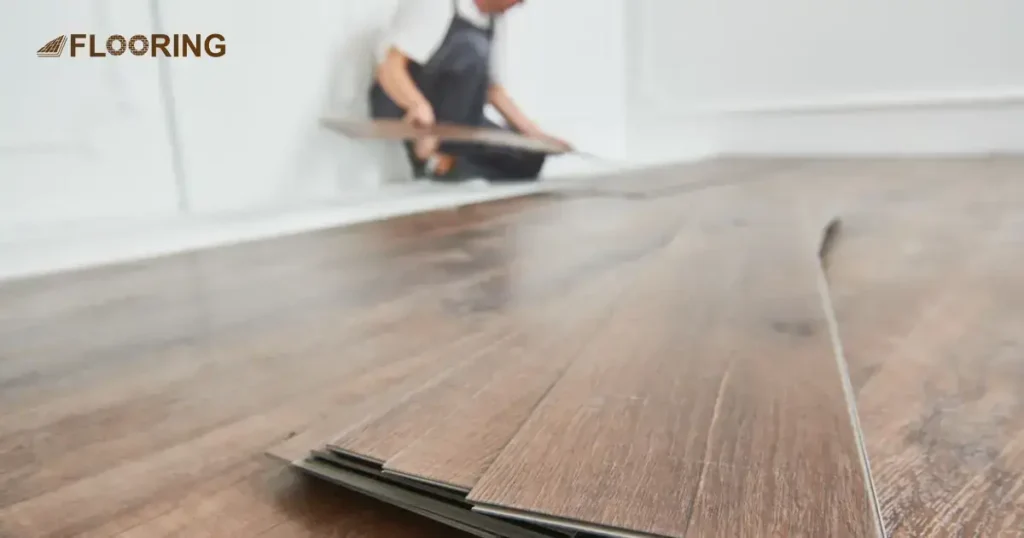
3. Installing the First Row

The first row of your vinyl plank flooring sets the foundation for your entire project. It’s crucial to get this step right to ensure a successful installation, so let’s break down the process into manageable steps.
Lay Out the First Row of the Planks
Begin by placing a full-length plank at the start of the row. Then, dry-fit the planks across the width of the room or the longest wall, starting from the left-hand corner. If the last plank ends up being less than 8 inches long, make sure to cut the first plank so that both ends are longer than 8 inches.
Cut the Tongue Off the First Plank and Install Vinyl Plank Flooring
The tongue runs along one side of the plank and fits into a slot on the next plank. Since this side will be against the wall, use a utility knife to remove the tongue to reduce any noticeable gaps after the installation is finished.
After removing the tongue, make sure to insert a ¼” spacer between the end and length of the plank and the walls to keep the expansion gap intact.
Cut the Tongue Off the Second Plank and Attach to the First Plank
Cut the tongue off the second plank and then affix it to the end of the first plank by carefully following the instructions provided in the manufacturer’s installation manual. Utilize a mallet and tapping block to gently tap it into position for a secure fit.
Continue to Cut Off the Tongues and Install the Planks
After placing the last partial plank, the initial row is complete. Make sure to trim only the tongues from the sides of the planks in the first row. Proceed to install the remaining planks without taking off the tongues.
4. Staggering the Second Row of Vinyl Flooring
The second row is where your plank flooring stagger pattern starts to take shape. This row sets the tone for the rest of your floor, creating a natural, appealing look. Let’s dive into the details of this crucial step.
Begin the Second Row with a Partial Plank
Adjust the length of the first plank in the second row so that it differs from the length of the first plank in the first row. Since the first plank in the first row is a complete plank, altering the length of the first plank in the second row from ½ to ¾ of its original length will do the trick.
- Keep pieces that are longer than 6 inches but shorter than 10 inches aside to start or finish subsequent rows. For narrower planks, aim for 6 inches in length, while for wider planks, opt for pieces between 8 to 10 inches long.
- It is recommended to refrain from positioning end joints within a range of 6-10 inches from the joints in neighboring rows. When end joints are situated closer than 6-10 inches, it compromises the structural integrity of the floor. This proximity can lead to planks becoming dislodged when pressure is applied while walking on the floor.
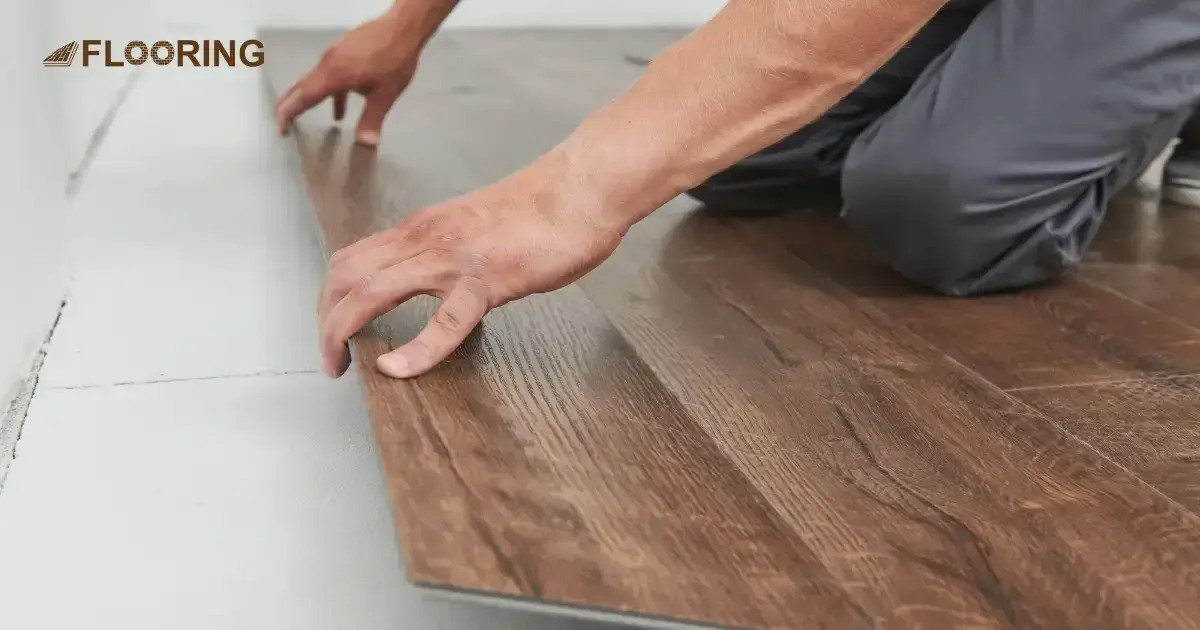
Fit the Tongue and Install the First Plank
Position the plank diagonally against the edge of the initial plank in the first row. Align the tongue of the plank in the second row with the groove of the plank in the first row. Apply pressure to secure it in position by snapping it into place.
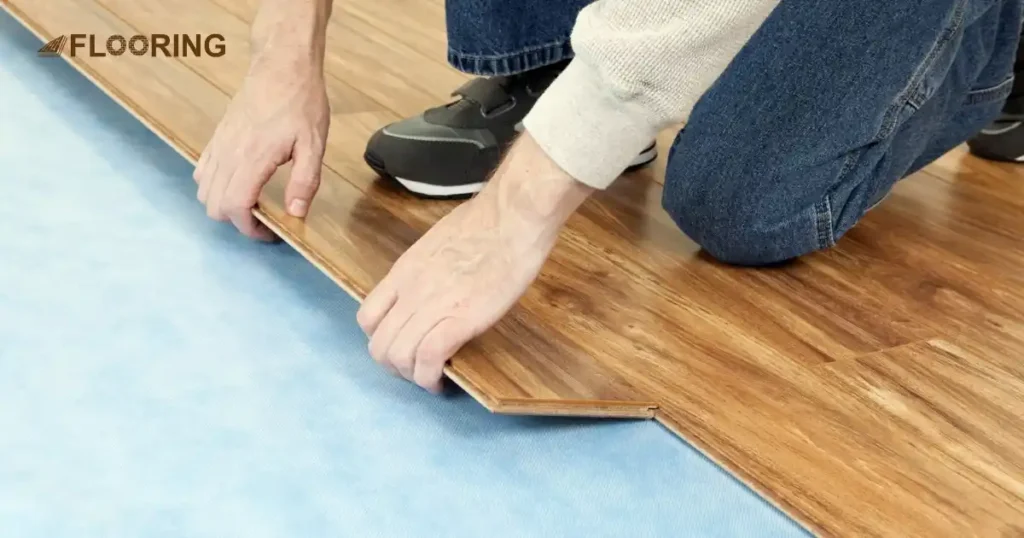
Install the Rest of the Second Row
Start by connecting the longer side first before using a mallet and tapping the block to tap the plank from the shorter end. This will ensure that once the short and long sides are locked together, they will stay aligned and won’t fall apart as you continue to install more rows.
When installing the planks near the wall in a tight space, consider using a pull bar to gently tap them into place. This tool can help you secure the planks without the need for a tapping block, ensuring a snug fit against the wall.
5. Staggering the Rest of the Rows of Vinyl Flooring
With your first two rows in place, you’re ready to tackle the rest of your floor. The key is to maintain a consistent stagger pattern while avoiding any noticeable repetition. So, let’s break down this process into manageable steps.
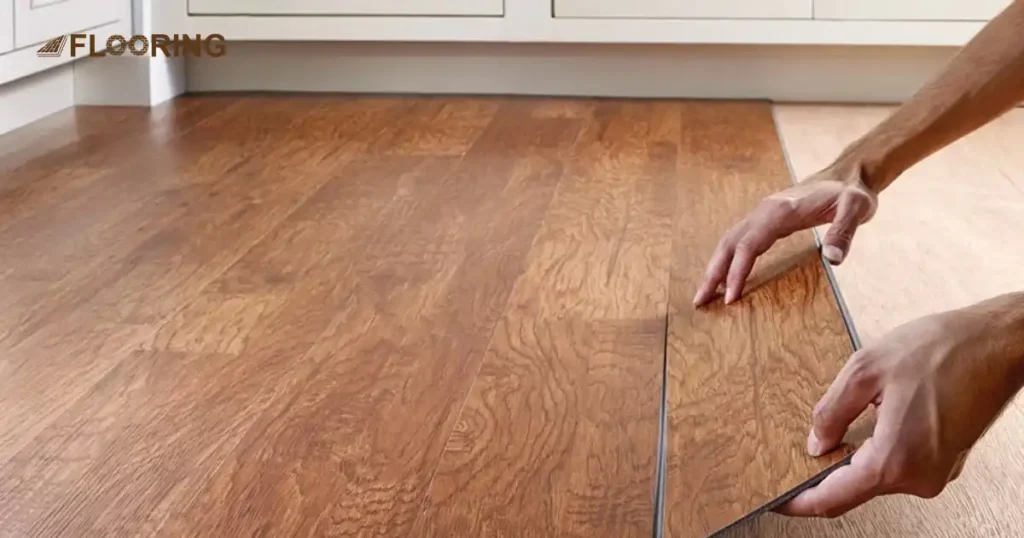
Begin Each Row with a Different-Sized Plank
Begin each row with planks of varying lengths for a unique look. Opt for full-length planks or cut pieces exceeding 6 inches to add character to your flooring.
- Consider breaking down the planning process by focusing on a few rows at a time. This can make it easier to envision how the next section of the floor will come together.
- Once you’ve completed the first row, you can utilize the cut piece from the previous row to kickstart the next one, provided that it’s longer than 6 inches. To prevent a stair-step pattern, try incorporating planks of varying lengths instead of using the same length repeatedly.
Continue Building the Rows by Cutting and Installing Planks
While moving around the room, take a moment to pause and carefully examine the entire floor to ensure that the woodgrain patterns and colors are evenly spread out. This will help create a cohesive and visually appealing look throughout the space.
- Make sure to maintain a distance of 6-10” between joints and the ones in the rows on each side.
- When joints align every other row, it creates an H pattern.
- Look out for this pattern and select or trim random plank lengths to disrupt it.
Cut Planks Lengthwise to Install the Final Row
Start by selecting a plank length at random to start the last row. Adjust its width accordingly to perfectly fill the remaining gap. Remember to keep a ¼” expansion space in mind to allow for any movement.
Keep trimming the width of every board and placing it in position until you get to the last one in the line.
6. Finishing the Staggering of Vinyl Plank Flooring
After you finish installing the planks, take out the ¼” spacers that were used for the expansion gap. Make sure to inspect the original baseboards for any cracks. If the baseboard is in good condition, secure it back onto the wall by using finishing nails.
- When it comes to installing new baseboards, it’s important to handle the removal and storage of the existing baseboards with care to prevent any damage to the original pieces.
- In case one of your baseboards gets cracked or broken, you will have to purchase new boards, measure the length of the wall, and cut the boards to perfectly fit over the vinyl.
If you are installing laminate flooring, follow this post “stagger pattern for laminate flooring” to get a professional look.
Maintenance Tips for Vinyl Plank Flooring
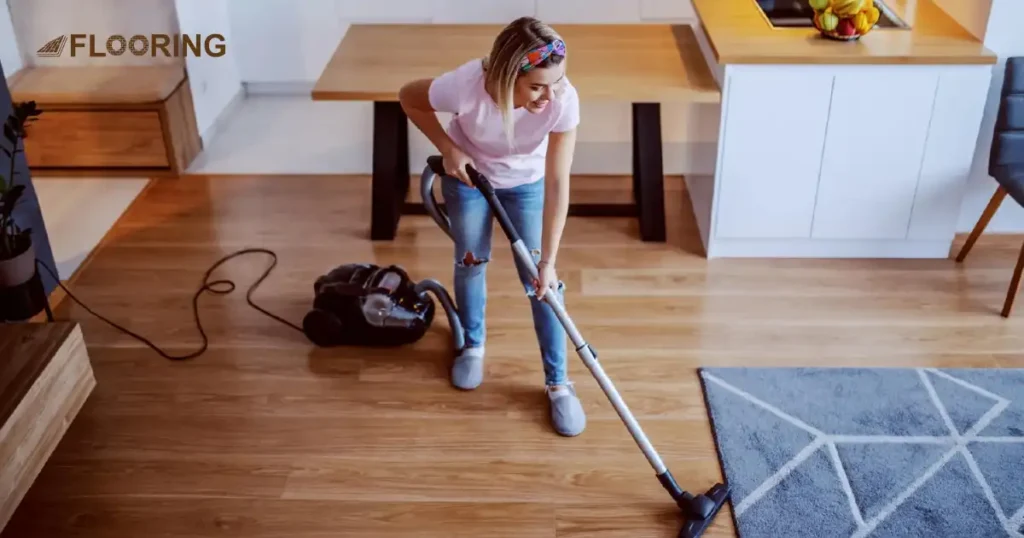
Keeping your vinyl plank flooring in top shape is easier than you think. Follow these simple tips to maintain the beauty of your floor for years to come.
Daily Cleaning: Sweep or vacuum your floor daily to remove dirt and prevent scratches.
Weekly Mopping: Use a damp mop with a vinyl-safe cleaner once a week for deeper cleaning.
Spill Management: Clean up spills right away to prevent staining and potential water damage.
Furniture Protection: Place felt pads under furniture legs to avoid scratches when moving items.
Sun Protection: Use curtains or blinds to protect your floor from direct sunlight and prevent fading.
Mat Placement: Put doormats at entrances to catch dirt and reduce the amount of cleaning needed.
Avoid Harsh Chemicals: Don’t use abrasive cleaners or wax-based products on your vinyl planks.
Proper Tools: Use a soft-bristled broom or a vacuum without a beater bar to prevent scratching.
Temperature Control: Maintain a consistent room temperature to prevent expansion and contraction.
Regular Inspection: Check your floor regularly for any signs of damage and address issues promptly.
Common Mistakes to Avoid When Staggering Vinyl Plank Flooring
Avoiding common mistakes while staggering vinyl plank flooring is crucial for achieving a professional finish. Awareness of these errors can save time, money, and effort.
Skipping The Acclimation Period
Skipping the acclimation period is a frequent mistake. Vinyl planks need to adjust to the room’s temperature and humidity. Spread out the planks in the room for 48 hours before starting the installation. This process helps prevent issues like expansion or contraction after the flooring is installed.
Skipping Subfloor Preparation
Not preparing the subfloor properly can lead to many problems. Ensure the subfloor is clean, dry, and level then remove any old flooring, debris, or adhesive residues. A well-prepared subfloor provides a stable base for your vinyl planks, preventing uneven surfaces and squeaky floors.
Ignoring Expansion Gaps
Ignoring expansion gaps can cause the vinyl planks to buckle or warp. Vinyl plank flooring needs space to expand and contract with temperature changes. Use spacers to leave a ¼-inch gap between the planks and the walls. This allowance enables natural movement and prevents damage over time.
Using The Wrong Tools
Using incorrect tools can result in a subpar installation. Use a utility knife for cutting planks, a tapping block to fit planks together, and spacers to maintain expansion gaps. Avoid tools not designed for vinyl flooring, as they can damage the planks and hinder the installation process.
Neglecting Regular Maintenance
Neglecting regular maintenance shortens the lifespan of vinyl plank flooring. Follow a routine cleaning schedule to keep the floor free from dirt and debris. Use suitable cleaning products and avoid harsh chemicals. Regular maintenance ensures your floor remains in excellent condition and retains its aesthetic appeal.
Inconsistent Vinyl Plank Flooring Staggering Patterns
A common aesthetic mistake is failing to maintain a consistent stagger pattern. This can result in a vinyl plank flooring pattern repeat that looks unnatural and manufactured. Aim for a minimum 6-inch stagger between end joints in adjacent rows. This technique creates a more authentic wood-like appearance and adds visual interest to your floor.
Conclusion
Mastering how to stagger vinyl plank flooring is an essential skill for creating a beautiful and durable floor in your home. By following the steps outlined in this guide, you can achieve a professional-looking result that rivals the benefits and uses of wood flooring. The key to success lies in careful planning, consistent staggering, and attention to detail throughout the installation process.
Don’t be discouraged if your first few rows aren’t flawless, with patience and persistence, you’ll soon develop an eye for creating stunning vinyl plank flooring staggering patterns. The result will be a great floor that offers durability and easy maintenance, making vinyl planks a popular choice for modern homes.
Frequently Asked Questions
What is the best pattern to lay vinyl plank flooring?
The best pattern for vinyl plank flooring is a random stagger. This involves varying the starting length of each row to create a natural, wood-like appearance. Aim for at least a 6-inch stagger between end joints in adjacent rows for the most attractive result.
What patterns should be avoided in LVP?
Avoid repeating patterns or “stepping” layouts in LVP installation. These can create a noticeable vinyl plank flooring pattern repeat that looks artificial. Also, steer clear of H-patterns or layouts with too many short pieces at the ends of rows.
Does it matter which way you lay vinyl plank flooring?
Yes, the direction of vinyl plank flooring matters. Generally, it’s best to install planks parallel to the longest wall or in the same direction as the main light source. This approach can make your room appear larger and more cohesive.
Should flooring run the same direction in all rooms?
While it’s not strictly necessary, running flooring in the same direction throughout your home creates a sense of flow and continuity. However, in large or oddly shaped spaces, changing direction can sometimes be more visually appealing or practical for installation.
How often should I stagger vinyl plank flooring?
Stagger vinyl plank flooring at least every 6 inches. This creates a natural-looking plank flooring stagger pattern that mimics real wood. Avoid using a set pattern; instead, vary the stagger lengths for the most authentic appearance.
Can I install vinyl plank flooring over existing tile?
Yes, you can install vinyl plank flooring over existing tile if the surface is level and in good condition. However, ensure the tile is clean, any grout lines are filled, and the surface is properly prepared to prevent issues with the new flooring.
What is the purpose of leaving expansion gaps?
Expansion gaps allow the flooring to expand and contract with temperature changes. This prevents buckling and other damage over time.