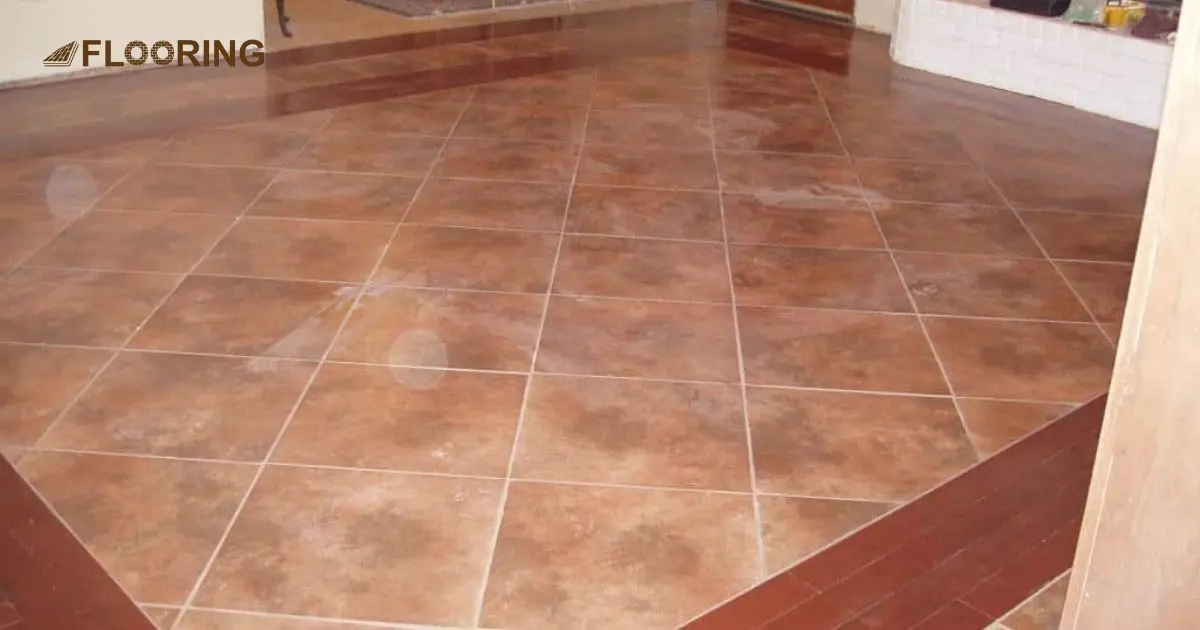
Are you looking for the perfect way to combine tile flooring and hardwood flooring in your home? In this blog post, we will explore how to combine tile and wood flooring together tastefully. As well as we’ll discuss design tips, color combinations, and installation techniques that can help create a beautiful flooring solution for any living space in your house.
With our helpful advice and careful planning, you’ll be able to find a unique combination of floor color with dark cabinets that is both visually appealing and practical.
📑 Table of Content
Key Takeaways
- Mixing tile and wood floors creates a stunning, inviting atmosphere in your home.
- Proper planning is essential for a seamless blend of tile and wood.
- Choose complementary colors and styles that flow naturally together.
- Prepare the subfloor correctly to ensure a level surface.
- Install wood flooring first, then add tile in high-moisture areas.
- Use transition strips or area rugs for a smooth transition between floors.
- Match grout and wood colors for a cohesive, pulled-together look.
- Regular cleaning and protection will keep your combined floors looking gorgeous.
Methods of Combining Tile and Wood Flooring
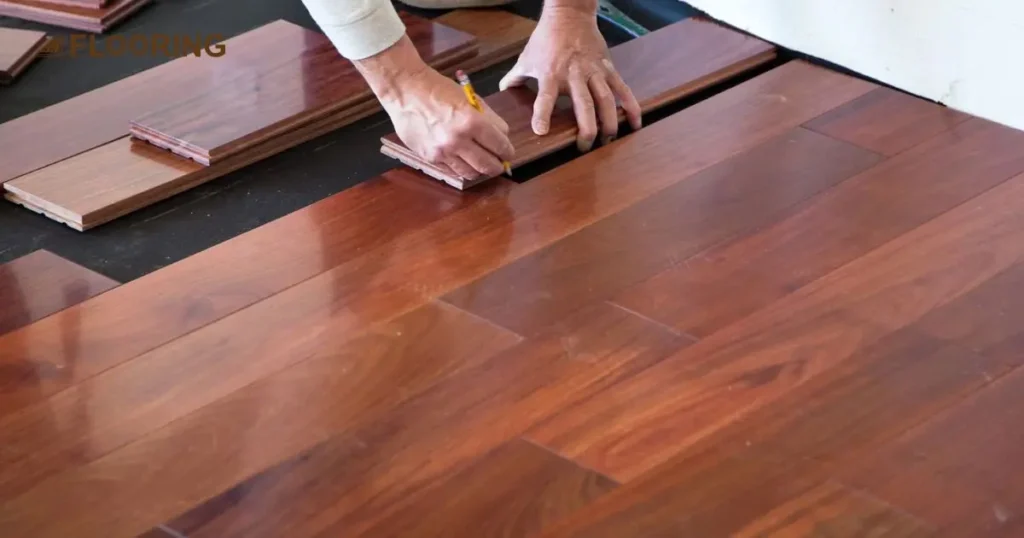
To start, think about which tile and wood floors you like. Do you want classic dark wood or modern ceramic or porcelain tiles? Consider your room’s colors, size, and shape. Once you’ve picked your floors, there are cool ways to mix them:
One way is called the patchwork pattern. It’s when you mix different tile and wood pieces in a cool design.
Another way is using both tiles and wood together. It makes your space look special.
Patchwork Pattern
Step 1: Measure your room using a tape measure or ruler to know how much tile and wood you’ll need. Figure out the size and shape of the space.
Step 2: Choose different colors, sizes, and textures for your tiles and wooden planks. Think about what style you want and how practical it needs to be. Natural wood tones and neutral colors give a classic look, while brighter colors and hexagonal tiles bring a modern touch.
Step 3: Draw your design on paper before you start installing to see how it’ll look. You can find helpful tutorials online, and if you need more guidance, you can always ask us at floor-tile.org.
Step 4: Begin laying the tiles and planks according to your design. Use a level and tape measure to make sure everything lines up correctly.
Step 5: Once all the tiles and planks are in place, fill the gaps between them with grout to make it look seamless. Remember to apply a sealant after grouting to protect your floor from damage.
Strips and Borders
- You can mix tile and wood floors by adding strips and borders. It’s like putting puzzle pieces together.
- First, pick the size and shape of your tiles or wooden strips. Think about the room’s size and colors to choose what fits best.
- Measure how much of each material you’ll need and mark where they’ll go on the floor.
- Start by laying down the wood along one side of the room. Make sure each piece is straight and level. You might need to use nails or screws to keep it in place.
- Then, put the tiles down on the other side, making sure they’re straight and level too. You can create patterns with them, like making a border between two pieces of wood.
- Once everything’s in place, use a special sealant to keep it all together and protect it from wear and tear.
- Finally, seal both the tiles and wood for extra protection, especially in busy areas.
Color Blocking
- Color blocking is a cool way to mix tile and wood floors in a room. It’s like dividing the floor into sections and using two different colors – one for tiles and one for wood. You can also use different types of wood to join the two areas.
- First, pick two colors for your tiles and wood. Think about what colors would look good together in your room. If you want a soft look, go for neutral colors like white or gray. For a bold look, try brighter colors like red, blue, orange, or yellow.
- Measure how much tile and wood you need for your design. Then, mark where each piece should go with chalk or marker lines on the floor. This helps you keep your design neat and tidy.
- Start by putting down your tiles in one area, following the marked lines. Use a level to make sure each tile is straight. Stick them in place with glue or adhesive.
- Now, move on to the wood planks in another area. Keep everything straight and level as you go.
- Before you finish, coat both the tile and wood with a sealant. This helps protect them and keeps your floors looking good.
- Fill in the gaps between tiles with grout. Use a rubber tool to spread it evenly. Let it dry completely before walking on it.
- Once everything is dry, seal both the tile and wood again for extra protection.
- Now you’ve got a cool, colorful floor that’s all your own!
Mixed Media
Mixed media is a cool way to mix tile and wood flooring in a room. It adds a special touch and makes the room more interesting. You can mix different materials like stone, glass, metal, or ceramic tiles with traditional hardwood planks. This makes your floor unique and cool.
Step 1: Measure the Room
Start by measuring how big the room is. This helps you figure out how much tile and wood you need.
Step 2: Choose Your Materials
Decide which materials you want to use for your floor. You can mix different colors, sizes, textures, and materials like stone, glass, metal, or ceramic tiles with hardwood planks.
Step 3: Make a Design Sketch
Draw your design on paper before you start installing. This helps you see how it will look. Try different shapes and patterns to make it look cool.
Step 4: Install the Flooring
Start putting down the tiles and wood in the pattern you chose. Make sure each piece is straight using a level and measuring tape. It might help to mark sections on the floor before you start.
Step 5: Grout the Flooring
Once all the tiles and wood are down, fill the gaps with grout. Grout is a special paste that holds everything together. Make sure to use a good sealant to protect the floor.
Step 6: Seal the Floor
Finally, seal both the tile and wood with a special solution. This protects them and makes them last longer.
That’s it! Your mixed media floor is ready to impress everyone who walks in.
Wood Flooring Tools
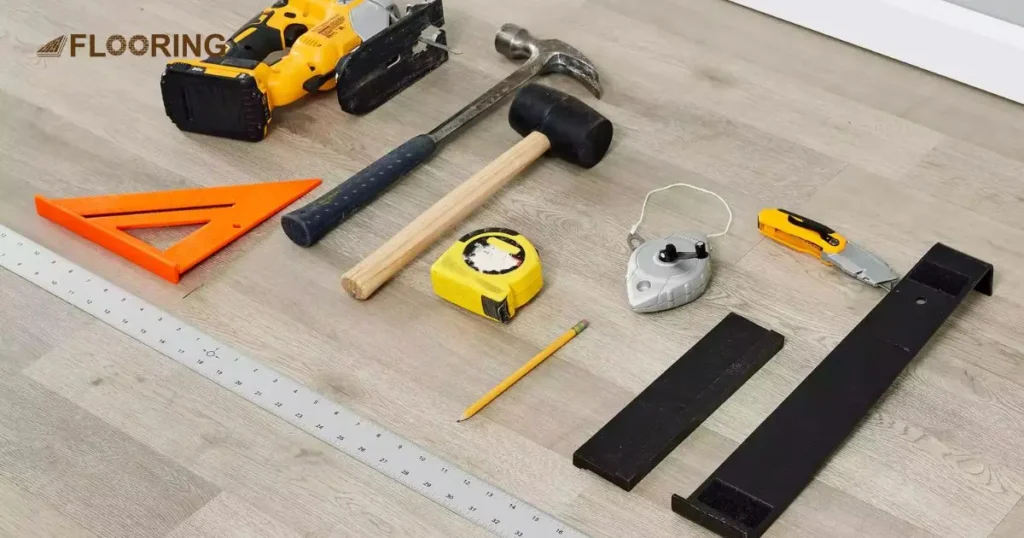
Again, remember that you’ll also need safety equipment and general tools like a measuring tape, gloves, etc. However, to install wood floors, you’ll also (likely) need the following:
- Miter Saw: A miter saw is a versatile tool that can cut straight or angled cuts. It’s perfect for making precise cuts when installing hardwood flooring.
- Hammer and Nails: Hardwood flooring usually requires nail guns or air compressors. Hammers and nails are an alternative to these methods that can effectively install wooden floors.
- Pry Bar: A pry bar is necessary for removing existing flooring or trim pieces before installation. It’s also handy for removing nails or staples stuck to the subfloor.
- Chalk Line: A chalk line ensures that all your boards are laid in a straight line. It works by snapping a chalk line on your baseboards, indicating the exact position of your flooring planks.
- Tapping Block and Pull Bar: These tools ensure that your hardwood boards fit snugly together without any gaps. The block is used to tap each plank into place while the pull bar pulls planks together tightly.
Always work safely when installing floors and follow the manufacturer’s instructions. If you’re uncomfortable with any of these tools or processes, it’s always best to consult a professional to ensure everything is installed correctly and safely.
Color and Style
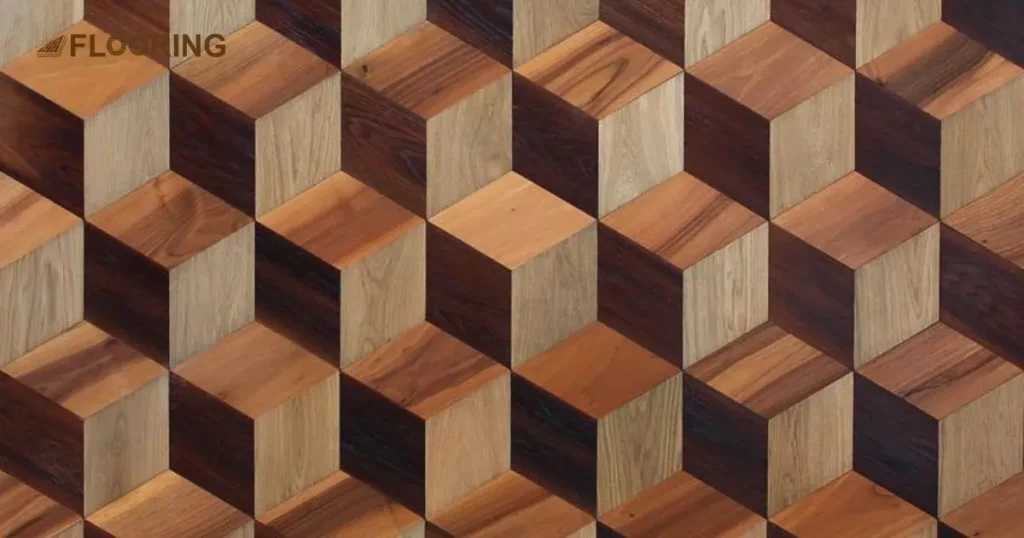
First off, tile floors are super sturdy against water and scratches. But let’s face it, they’re not always the prettiest. That’s where wood floors can swoop in and save the day, adding a touch of elegance. Lucky for you, there’s a whole bunch of colors and styles to pick from!
Now, when you’re choosing, think about what fits your place’s style best. And hey, think of it as an investment. You gotten pick the right materials for your flooring gig.
But not every color or style of tile and wood is gonna be a match made in heaven. Take a minute to understand the differences between stuff like hickory and oak flooring, so you can pick tiles that vibe with your wood floors.
So, trust your gut when it comes to picking the perfect combo. And if you need some pro advice, don’t be afraid to ask the experts. Hit up Santiago’s Hardwood Flooring Inc. for some personalized tips on blending tile and wood floors just right.
What to Consider Before Installation
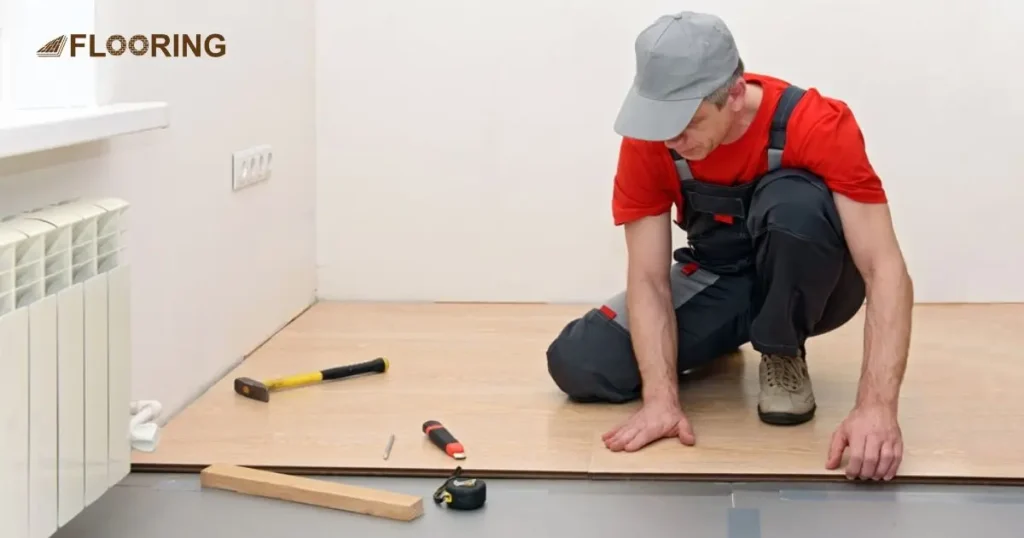
Before you begin combining tile and wood flooring, it’s crucial to think about a few important factors. Mixing these flooring types can make your space look really cool, but you’ve got to get it spot on to make sure the switch between them looks smooth. Here’s what you need to think about before diving into your project:
- Firstly, think about the overall vibe you want for your space. Do you want it to feel cozy and warm or sleek and modern? Your choice will guide which types of tile and wood to pick.
- Consider the size and layout of the room. Are there any obstacles or tricky corners to work around? Planning this out beforehand will make the installation process much smoother.
- Don’t forget about practicalities like maintenance and durability. Some types of tile might need more upkeep than others, and wood flooring can vary in how it handles wear and tear. Make sure you choose materials that match your lifestyle.
- Lastly, think about how the transition between the two flooring types will look. You want it to blend seamlessly, so take your time to plan out the design and installation carefully.
By considering these factors beforehand, you’ll be well-prepared to create a stunning combination of tile and wood flooring in your home.
Design
Think about how your room looks before you mix tile and wood flooring. Look at the colors, the style, and how light comes in. Picking materials that match your room’s style helps everything look good together. This way, your room feels like it belongs together.
Durability
When picking out your tile and wood flooring, think about how tough they are. Tiles are really strong and don’t need much looking after. But wood is a bit softer and can easily get scratched or damaged. If you’ve got pets or kids around, it’s smart to go for tiles or wood that can take a bit more wear and tear. So, choose something strong that can handle your busy home life.
Moisture
When mixing tile and wood flooring, you need to think about moisture. Tile is great with moisture, so it’s perfect for places where there’s a lot of water, like bathrooms or kitchens. But wood flooring can get damaged if it gets too wet. That’s why it’s smart to use tile in wet areas and wood in dry ones, like the living room.
Transition
When you’re mixing tile and wood floors, how you transition between them is super important. You want it to look smooth, like they belong together. You can do this with a cool border of tiles or some simple molding. Just make sure it matches the vibe you want in your space.
Combining tile and wood floors can make your home look really awesome, but you’ve to think about these things first. If you pick the right stuff and transition nicely between them, you’ll end up with a flooring style that’s super stylish and impresses everyone who walks in.
Frequently Asked Questions
Is it OK to mix tile and wood floors?
Mixing tile and wood floors creates a stunning, eye-catching look. When done right, it makes your space feel warm and inviting. You absolutely can blend these two flooring types beautifully.
How do you blend tile and wood floors?
To blend tile and wood perfectly, plan transition areas carefully. Use complementary colors and styles that flow seamlessly. Proper subfloor prep is key for a smooth, level surface.
What is the rule of 3 flooring?
The rule of 3 for flooring means using a maximum of three different flooring materials. This adds interest while preventing a busy, overwhelming look. Wood, tile, and an area rug make a gorgeous trio.
Conclusion
Combining wood flooring and tile is an excellent way to create a warm, inviting, and visually appealing space. With proper planning and execution, you can achieve a cohesive look that perfectly blends the beauty of natural wood in the interior with the durability and low maintenance of tile.
As you embark on this exciting project, remember that attention to detail is crucial. Take the time to carefully select complementary colors, textures, and styles that harmonize seamlessly. Ensure a level subfloor and plan transition areas thoughtfully to avoid unsightly gaps or tripping hazards.
Embrace the challenge of combining these two flooring types, and revel in the joy of creating a stunning, personalized haven that reflects your unique style. With a little creativity and the right guidance, your dream of a seamlessly integrated wood flooring and tile space can become a stunning reality.
