In today’s home designs, it’s common to have two different types of wood floors next to each other. But making them look good together can be tricky if you’re not careful. It’s important to know how to transition between two different wood floors properly.
Table of Contents
Have you ever walked into a room and noticed an awkward and unattractive transition between two different wood floors? It can be a real eyesore and take away from the overall aesthetic of the space. Not to mention, it can also create a tripping hazard if not done correctly.
In this easy guide, I’ll walk you through various ways to transition between wood floors: T-molding, seam binders, and custom transition strips. I’ll also give you tips on picking the best method for your floors, easy-to-follow instructions for putting it all together, and some expert advice to make sure your project turns out just right.
Key Takeaways
- Floor transition ideas can help you to mix different wood floors can add character and visual interest to your home.
- Use stylish transitions like T-moldings or seam binders for a seamless look.
- Match undertones and multi-color wood floors carefully for a cohesive, coordinated vibe.
- Consider custom transition strips for floors with varying heights.
- Take your time with planning and installation for the best results.
- Apply a protective finish to ensure your transitions stay beautiful longer.
- Test pre-finished transitions first to ensure a perfect color match.
- Install transitions before baseboards for easier access and secure fitting.
- Fix poorly executed transitions from previous owners for an elevated look.
- Trust your instincts and choose floors that spark joy and reflect your style.
Is Transitioning Between Wood Floors Difficult?
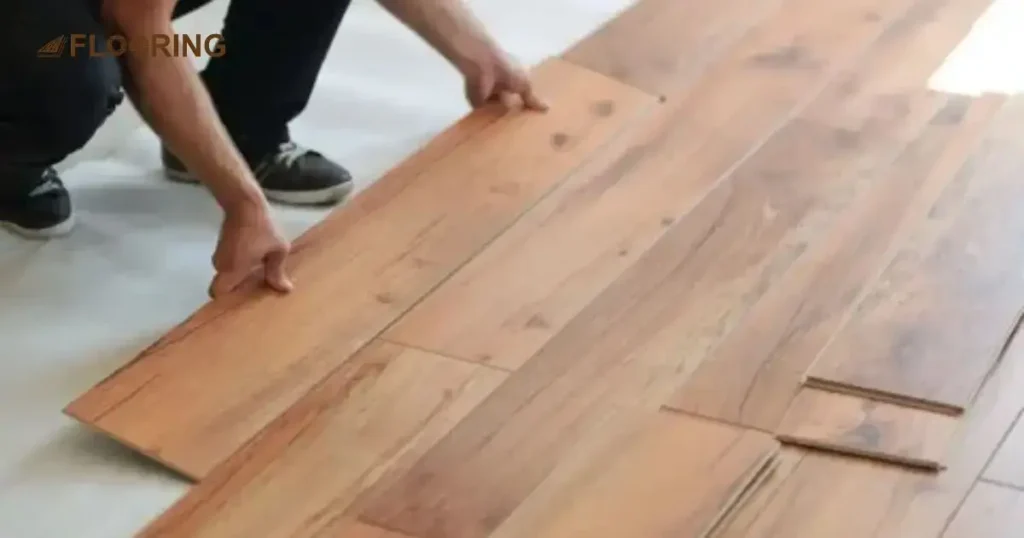
Transitioning between two different wood floors meeting might seem scary. But if you have the right stuff and follow these tips, you will be confident to make it look nice. It’s all about planning and taking your time to execute uneven floor transition ideas effectively.
Don’t worry if your floors don’t match perfectly. With some carpentry skills, you can make them blend seamlessly. It’ll look like they were always meant to be that way. Just take it step by step, and you’ll end up with a floor that looks great in every room.
9 Methods to Transition Between Two Different Wood Floors
Here are nine easy methods for floor transition for uneven floors that have been explained to get the best results. Opt for any of these methods according to your existing setup and transform your flooring with a new style:
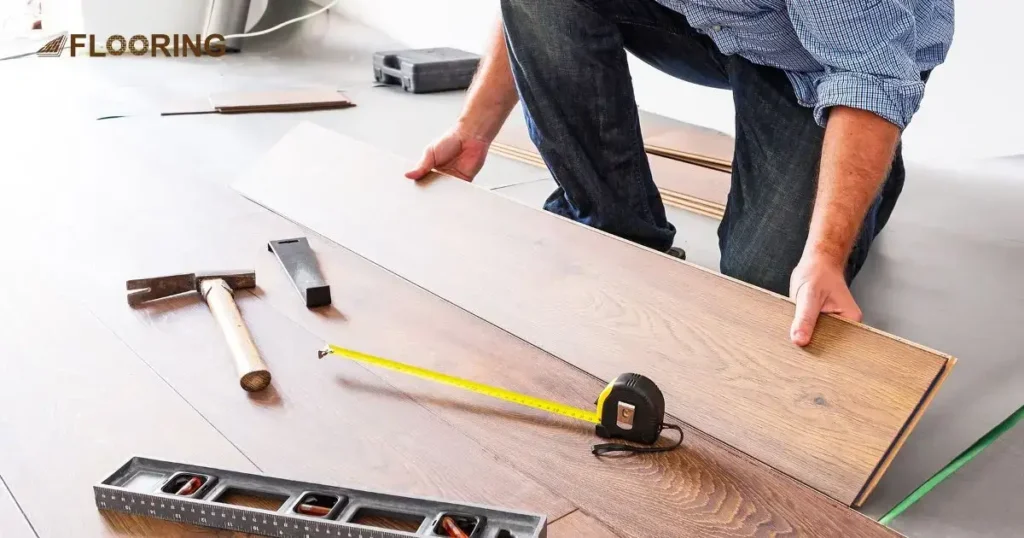
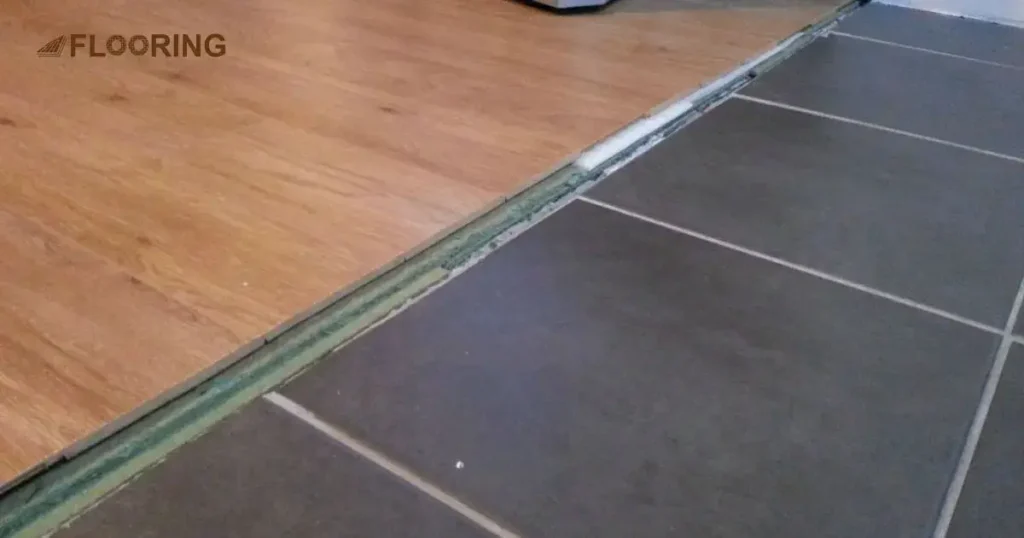
1. Place A Seam Binder Over The Transition
Follow these steps carefully to ensure a professional and durable finish for your floors.
- Utilize a seam binder as a straightforward and efficient solution for covering gaps between floors.
- A seam binder, also known as a transition strip, is a narrow strip made of wood or metal designed to conceal the space between different types of flooring.
- Place the seam binder over the gap between the floors and cut it to the appropriate size using a saw.
- Secure the seam binder in place by screwing it into the subfloor.
- For a visually appealing look, position transitions near doorways or pathways connecting different rooms.
- It is advisable to avoid installing transitions in the middle of a room whenever possible.
- Refrain from attaching the seam binder directly onto the floorboards to prevent potential damage.
- Floorboards tend to expand and contract due to changes in humidity, so screwing them down may lead to issues when they swell.
- By using a seam binder, you can achieve a seamless and polished appearance for your flooring transitions.
2. Use a T-Molding Transition Between Two Different Wood Floors
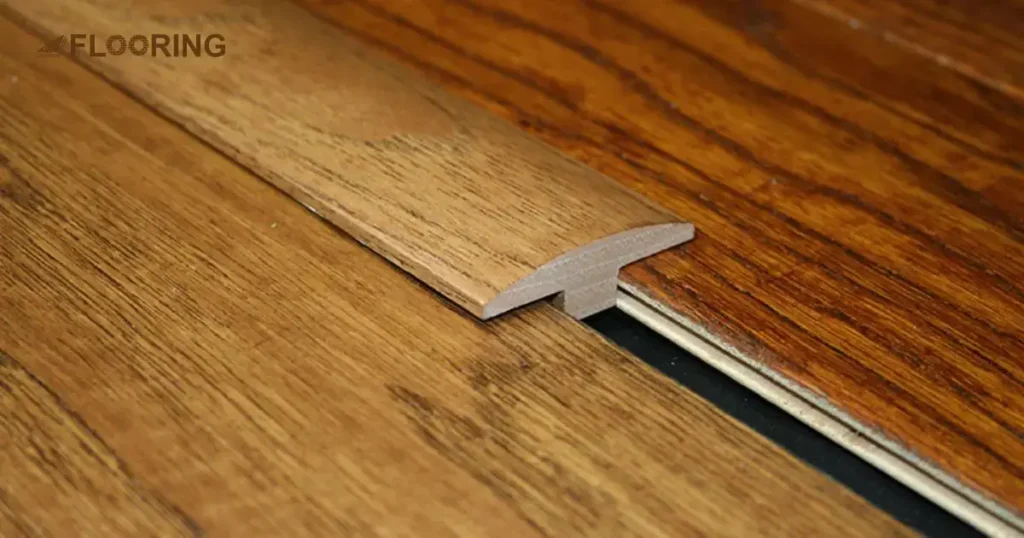
- T-molding is a great option when you have two different floors that are the same height.
- It is a trim made of wood or vinyl with a rounded top and a stem piece that fits between the gaps in your floor.
- Leave a space of about 1 3⁄4 inches (4.4 cm) between the two floors to expose some of the subfloor.
- Apply a line of construction adhesive on the top edge of one of the floorboards and press the molding down to secure it.
- When looking for T-molding, try to find a color that matches one of the wood floors. If you can’t find a perfect match, you can stain the wood to match.
- Only attach the T-molding to one of the floors to allow the wood to expand and contract freely.
- The T-molding will effectively conceal any gaps that may form between the two floors.
- For added security, you can nail the T-molding directly to the subfloor. Remember to pre-drill holes to prevent cracking the wood.
- By following these steps, you can ensure a seamless and secure installation of T-molding between two different floors of the same height.
- Enjoy the finished look of your floors with the neatly installed T-molding that blends in perfectly with your existing flooring.
3. Add A Threshold Between Rooms
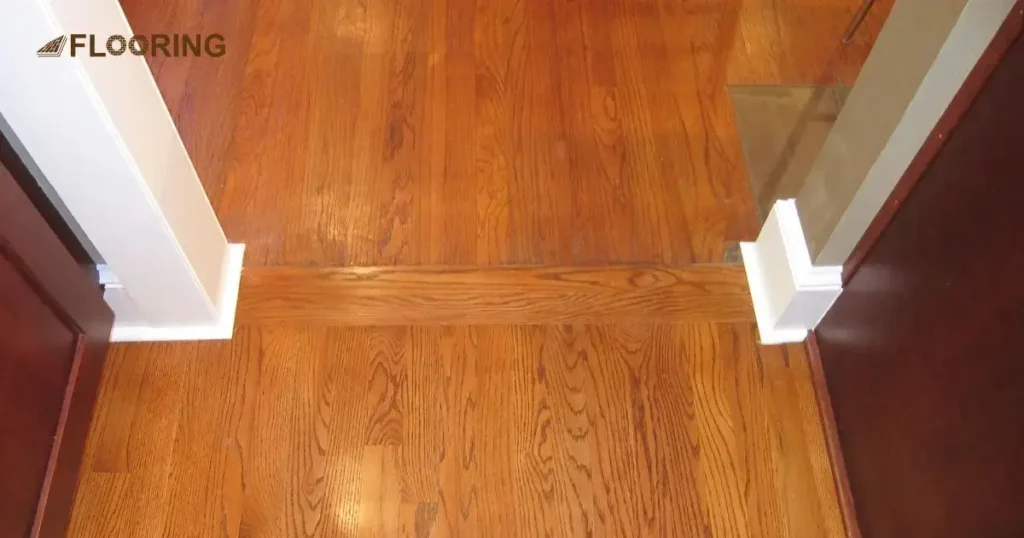
- The best place to install a threshold is in a doorway where two wood floors meet.
- A threshold has a distinct appearance, with one side slightly higher than the other, giving it a blockier look.
- When fitting the threshold, ensure that the bottom part sits perfectly in the gap between the two floors.
- To achieve a seamless transition, make sure that the top edge of the threshold overlaps one side of the floor by 1⁄2–3⁄4 inch (1.3–1.9 cm).
- To secure the threshold in place, apply a line of construction adhesive on the subfloor and firmly press the threshold down.
4. Try Square Or Angle Nose Molding
- Utilize square and angle molding to bridge the gap between floors of varying heights. Square nose molding features a distinct raised blocky edge, while angle nose molding boasts a gently sloped edge to reduce the risk of tripping.
- Position the bottom of the molding against the subfloor where the two wood floors meet, ensuring that 1⁄2–3⁄4 inch (1.3–1.9 cm) extends over the taller flooring. Secure the molding in place by either gluing it down with construction adhesive or nailing it down.
- For optimal results, opt for square nose and angle nose molding when the height disparity between your floors is 1 inch (2.5 cm) or less.
- When nailing the molding down, be sure to drive the nails through the solid section of the trim rather than where it overlaps the floors. This precaution is essential to allow the wood floors to expand and contract without any hindrance.
- By following these steps and using the appropriate molding, you can seamlessly transition between floors of different heights while ensuring safety and stability in your living space.
5. Install Stair Nose Molding On Steps
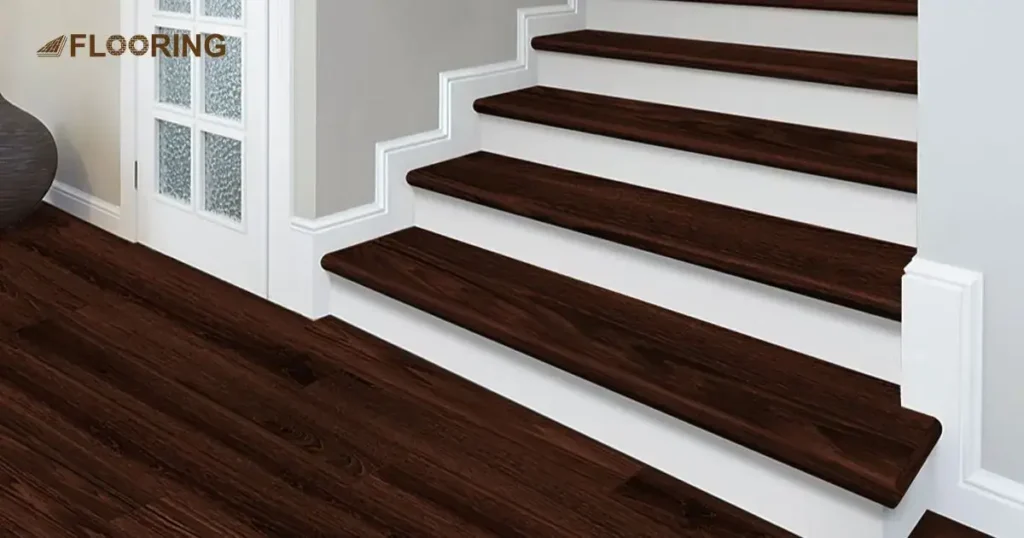
- Stair nose molding is designed to provide seamless transitions between various levels within your home.
- This type of molding is specifically shaped to fit along the edge of a step, offering a rounded finish for safety and aesthetics.
- You can choose between two installation methods: inserting the molding into the tongue and groove of your floorboard or overlapping the wood’s edge to create a smooth transition.
- Before securing the molding in place with glue and nails, make sure to properly fit it along the edge of the step for a snug and secure finish.
- Stair nose molding is most effective for transitions that are larger than 1 inch (2.5 cm), making it ideal for areas like the top of a staircase or a small step leading down to another level in your home.
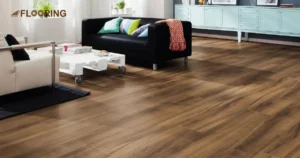
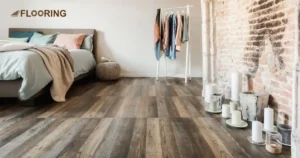
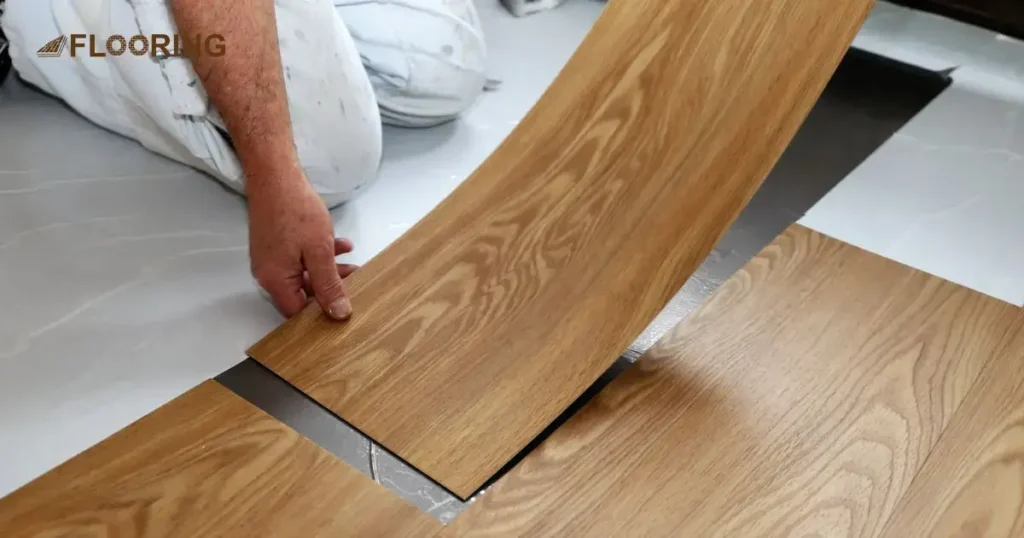
6. Use A Different Colored Wood For a Smooth Transition
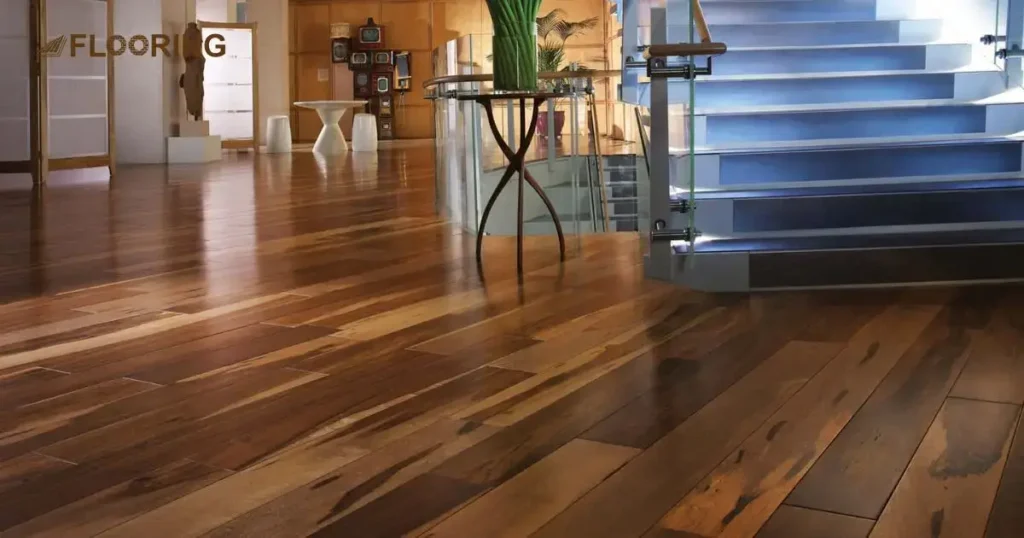
- Mixing different colors of wood flooring creates a deliberate contrast and adds visual interest to the transitioning wood flooring between rooms.
- If you already have light wood flooring in one room, pairing it with a darker color will naturally separate the areas and create a distinct boundary.
- For a more contemporary design, opt for darker wood flooring in rooms where you want to achieve a modern look. On the other hand, medium or light tones of wood flooring can help create a classic feel.
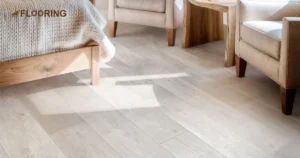
- Lighter wood floors have the advantage of making a room feel brighter, making them ideal for smaller rooms or hallways where you want to maximize the natural light.
- In open rooms, dark wood floors can make the space feel larger and more expansive, making them a great choice for such areas.
- When choosing wood floors, consider how they complement the colors of your decor and walls. Light wood floors pair well with warm wall colors and dark wood furniture, while dark floors can create a striking contrast when paired with cooler-colored walls.
- To maintain a cohesive look, it is recommended to stick to 2 or 3 styles of wood floors throughout your home. Using too many different styles could result in an eclectic and disjointed feel.
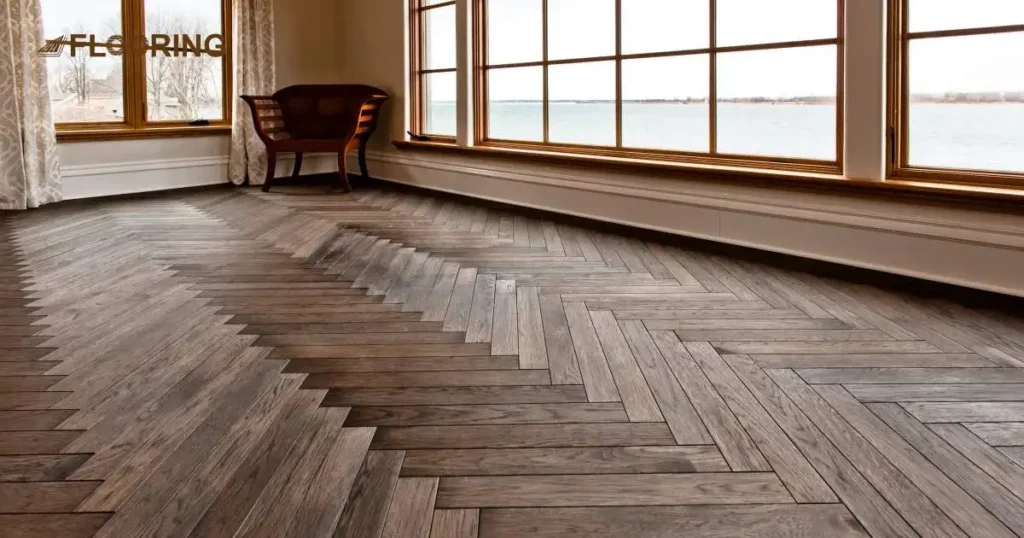
7. Lay The Flooring In A Different Pattern
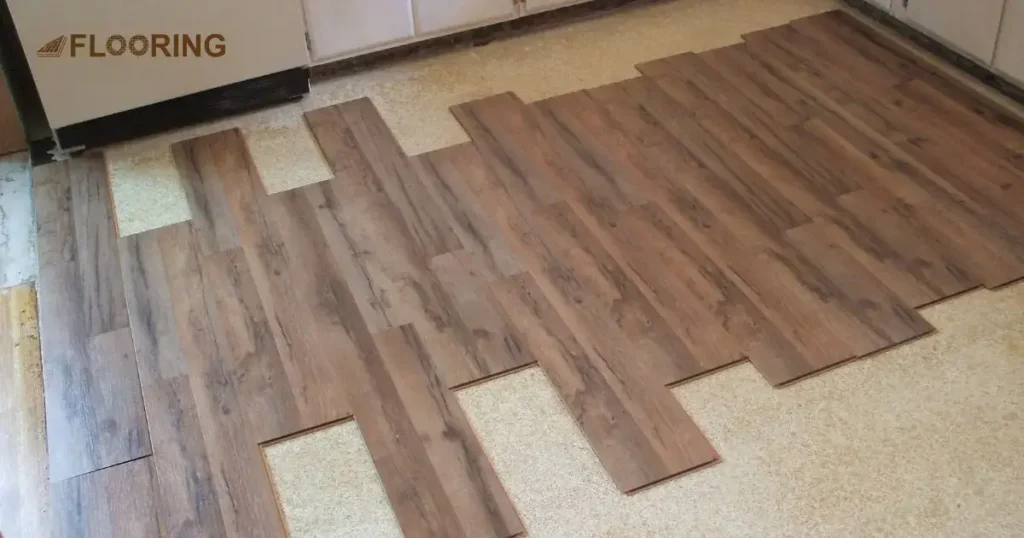
- Create a unique look by using a different pattern for each of the two wood floors in your space.
- Instead of having both floors with the floorboards running in the same direction, mix it up by choosing a new layout.
- For example, if one floor has horizontal floorboards, consider installing the second wood floor with vertical or diagonal orientation for a contrasting effect.
- Experiment with different patterns like herringbone or parquet to add a touch of elegance and individuality to your room.
- By incorporating varied patterns, you can achieve a distinctive design that sets your space apart and adds visual interest.
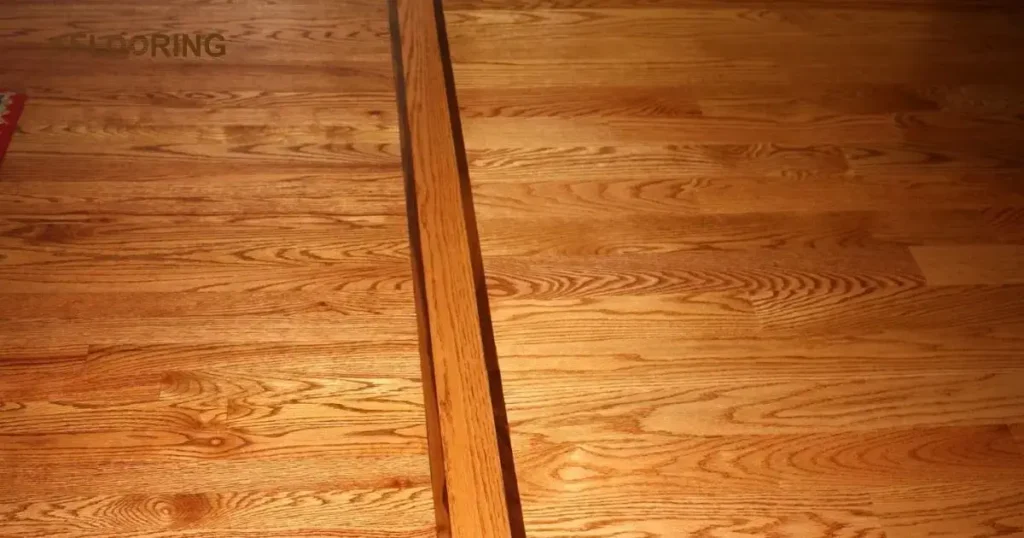
8. Create A Border With Your Floorboards
- Create an elegant border to separate the various levels within your space, adding a touch of decoration to the overall design.
- Ensure that when laying down your floor, establish a perimeter around the room that consists of 1 or 2 floorboards in width, maintaining a consistent thickness throughout.
- To make the border visually distinct, consider installing the floorboards at a diagonal angle or in a different orientation compared to the rest of the flooring, enhancing the aesthetic appeal of the room.
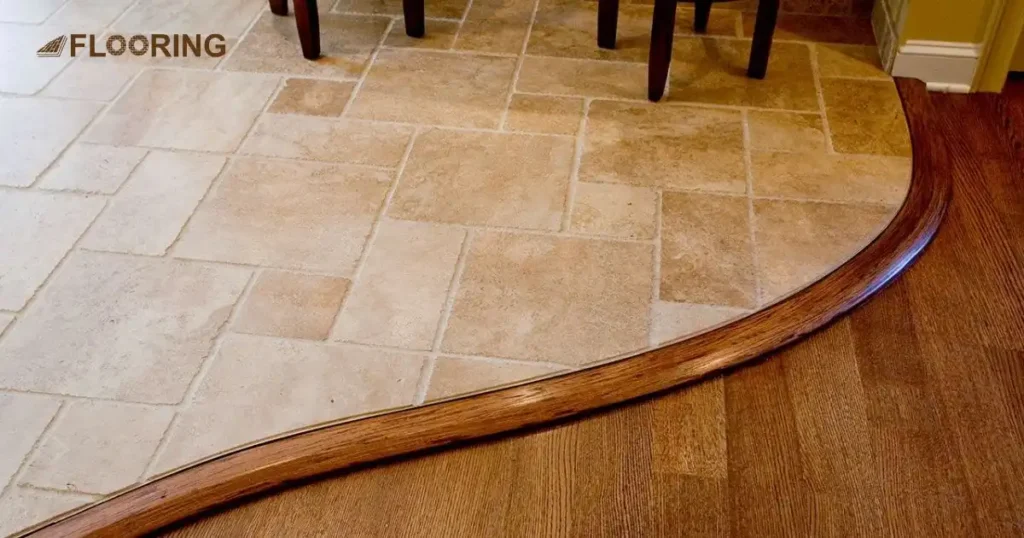
9. Add A Tile Accent Between Your Floors for a Smooth Transition
- Create a sophisticated and polished transition between your hardwood floors by incorporating a few tiles in between them. This will not only add a touch of elegance to your space but also serve as a practical buffer between the two types of flooring.
- To achieve this look, simply install the tiles in a neat row or pattern between the hardwood floors. This will create a visually appealing separation that enhances the overall aesthetic of the room.
- After installing the tiles, be sure to fill in the gaps between them and the wood floors with grout. This will help to seal the tiles in place and prevent any dirt or debris from accumulating in the crevices.
- Keep in mind that wood naturally expands and contracts with changes in temperature and humidity. As a result, you may need to periodically repair the grout where it meets the wood floors to ensure a seamless transition between the two surfaces.
- If you prefer a more discreet transition, consider installing trim molding over the gaps between the tiles and wood floors. This will not only hide any imperfections but also add a finishing touch to the overall design of the room.
Additional Tips for Smooth Transition
Here are some extra tips to help you make your transition between wood floors flawless:
Matching Colors
If your floors are different colors, you can choose to match the transition piece to one of the floors or pick a contrasting color. This way, even if the colors are different, it will look deliberate and stylish.
Checking for Heating Systems
Before installing transitions, make sure to check for radiant floor heating systems. You don’t want to accidentally damage the heating tubes with nails or screws.
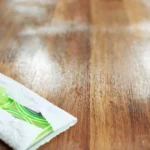
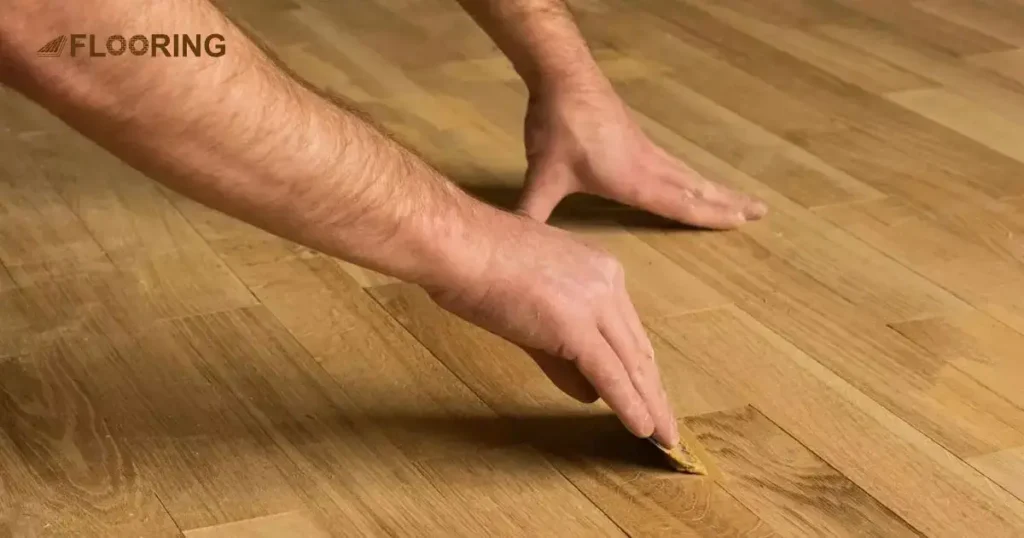
Protective Finish
If you’re using unfinished wood transitions, it’s a good idea to apply a protective finish. This will help prevent scratches, splintering, and water damage, keeping your transitions looking good for longer.
Nailing into Subfloor
When installing transitions, try to nail them into the subfloor rather than just the flooring. This adds stability and prevents the transitions from shifting later on.
Testing Pre-finished Transitions
Before fully installing pre-finished transitions, it’s wise to test them first. Sometimes, there can be variations in stain batches, making it hard to get an exact color match. Don’t assume that two products labeled as “oak” will match perfectly.
Installing Before Baseboards
It’s a good idea to install transitions before laying down baseboards and trim. This gives you better access and makes it easier to nail and fit the transition pieces into place securely.
By following these simple tips, you can ensure that your transition between different wood floors looks seamless and stays in great condition for years to come.
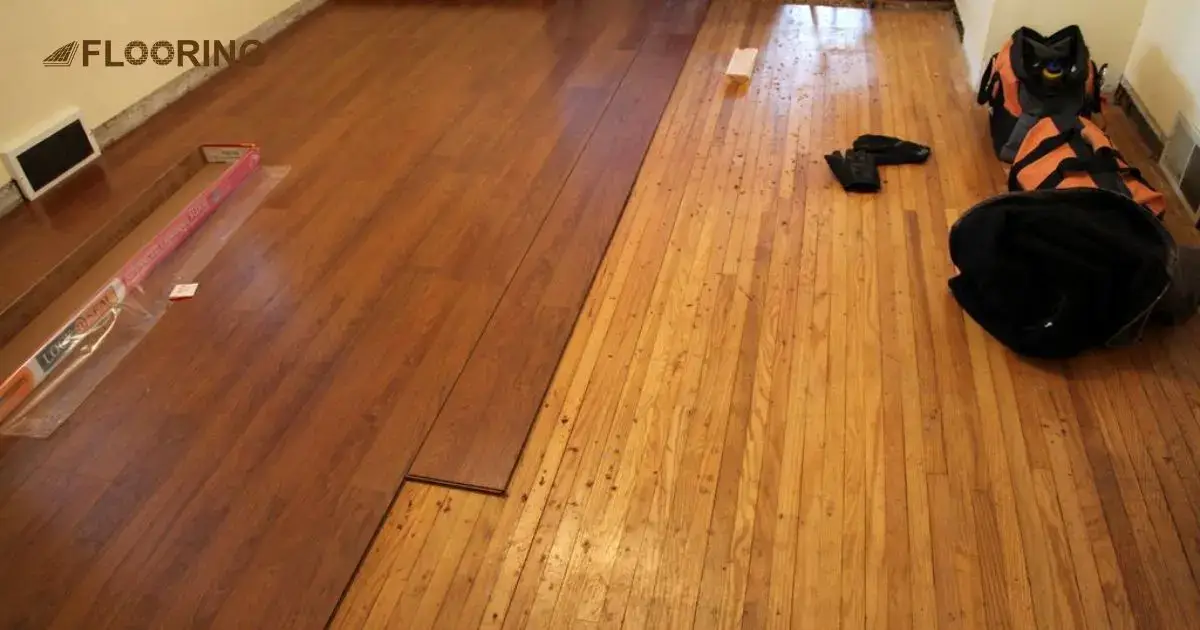
Unplanned Wood Unions of Floor Transition
- Transitioning between two different wood floors can be a breeze when you’re the one initiating the project, such as when you’re expanding your living space.
- However, if you move into a house with a poorly done transition, you may want to consider fixing it to improve the overall look of your home.
- This often involves removing one of the floors and either keeping it or replacing both for a more cohesive look.
- Sometimes, you may have two floors that are similar in color or type of wood, but they just don’t complement each other well.
- In such cases, you’ll need to decide whether to keep one of the floors and replace the other with wood that is either lighter or darker to create a better match.
- If the floor you choose to keep appears worn out, you could opt for a new one with a distressed look to help them blend in seamlessly.
- The key is to ensure that the transition between the floors appears natural and visually appealing to enhance the overall aesthetic of your space.
- By carefully selecting the right wood and paying attention to detail, you can achieve a harmonious transition that ties the two floors together beautifully.
- Remember that the goal is to create a seamless flow between the different wood floors, so take your time to make the best decision for your home.
- Ultimately, the effort put into improving the transition between the floors will result in a more polished and cohesive look that you can enjoy for years to come.
Owning The Transition Between the Floors
- Have confidence in your decision when switching between different types of wood floors.
- Don’t worry about what others may think, as it’s your home and your choice should be what you love.
- Take some time to envision how you want your floors to look and feel.
- The more thought you put into it, the more likely you’ll be satisfied with the result.
- Remember, the main goal is for you to be happy with your floors.
- If you’re considering selling your house, it’s okay to take others’ preferences into account but prioritize your enjoyment.
- Don’t forget that it’s your home, and you’re the one who will be living with the floors every day.
- Trust your instincts and choose something that resonates with your style and taste.
- Don’t be afraid to explore different options and gather inspiration before making a decision.
- Ultimately, the most important thing is that you love the floors you choose for your home.
Frequently Asked Questions
Can you have different wood floors next to each other?
Absolutely! Mixing wood floors adds spice to your home. Embrace contrasting tones and textures for an inviting, vibrant vibe. Be bold and creative!
How do you coordinate two different wood floors?
Clever transitions are key to harmonizing wood floors. Install chic T-moldings or sleek seam binders for a seamless flow. Match undertones skillfully for visual magic.
What flooring looks best next to hardwood?
Pairing cool tile with warm hardwood is a match made in heaven. Or combine hardwood’s elegance with carpet’s plush comfort. Explore unique blends that spark joy.
Should all your wood floors match?
No way! Having diverse wood floors adds undeniable charisma. Unleash your inner designer by melding complementary hues and grains artfully. Your unique taste shines through.
Conclusion
Flooring transition ideas between two different wood floors may seem frightening, but with the right approach, it can be a fun and rewarding project. Follow the simple tips we’ve shared, and you’ll create a seamless, eye-catching flow that ties your space together beautifully. Don’t be afraid to get creative while joining two different level floors and let your style shine through.
Whether you choose sleek T-moldings, elegant seam binders, or custom transition strips, the key is taking your time and paying attention to detail. With careful planning and execution, you can transform a potential eyesore into a stunning focal point. Embrace the opportunity to showcase your unique taste and create a space that truly reflects your personality.
The transition between your wood floors should fill you with pride and joy every time you walk across it. With a little effort and the right mindset, you can achieve a polished, cohesive look that not only impresses guests but also brings you daily satisfaction. Trust the process, and let your floors become a beautiful expression of your individuality.