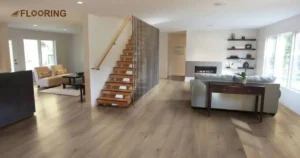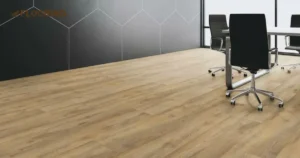
Mastering how to stagger laminate flooring for beginners is a key skill for a polished installation. This technique might seem challenging at first, but it’s crucial for both the look and durability of your floor. Proper staggering not only enhances the visual appeal but also strengthens the overall structure of your laminate flooring.
Learning to stagger laminate flooring as a beginner is an essential part of the installation process. It prevents weak points in the floor and creates an attractive, professional pattern. With the right approach, even novices can achieve a beautifully staggered laminate floor that looks great and lasts longer.
Key Takeaways
- Staggering laminate flooring for beginners is essential for a strong and visually appealing floor.
- Use the right tools to make staggering laminate flooring easier as a beginner.
- Follow a step-by-step guide to master the technique of staggering laminate flooring.
- Maintain a minimum 6-inch stagger between end joints when laying laminate flooring as a beginner.
- Troubleshoot common issues to achieve a professional-looking staggered laminate floor, even as a beginner.
Essential Tools for Beginners to Stagger Laminate Flooring
To stagger laminate flooring effectively, beginners need the right tools. These tools will help you measure, cut, and install the flooring accurately. Here’s a list of essential tools for beginners:
- Tape measure: Accurate measurements for precise cuts and proper staggering.
- Pencil: Mark cutting lines and stagger points on laminate planks.
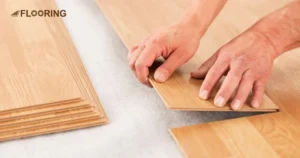
- Utility knife: Score laminate planks for clean breaks.
- Saw: Cut laminate planks to fit around obstacles or at room edges.
- Spacers: Maintain consistent expansion gaps around the room’s perimeter.
- Tapping block: Gently tap planks together without damaging edges.
- Pull bar: Secure planks in tight spaces where the tapping block can’t reach.
- Safety gear: Protect yourself with safety glasses and knee pads.
Beginner’s Step-by-Step Guide to Stagger Laminate Flooring
Understanding why you stagger flooring is crucial for beginners. Staggering prevents weak spots and creates a visually appealing pattern. This step-by-step guide will help beginners achieve a professional-looking stagger pattern. Follow these steps carefully to ensure a successful installation.
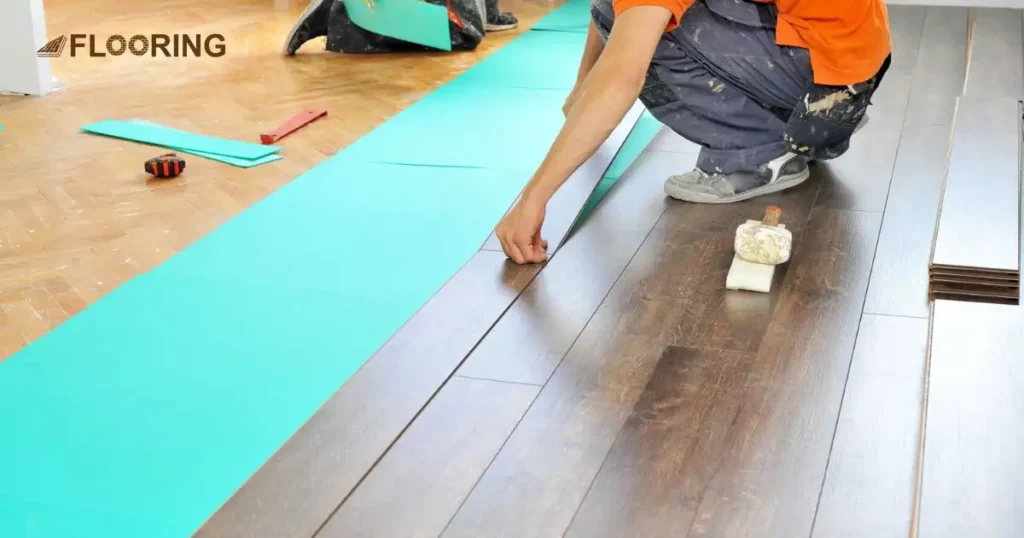
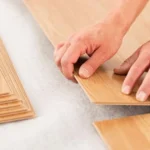
Preparing Your Room: First Steps for Beginners
Before starting the staggering process, prepare your room properly. Remove existing flooring and clean the subfloor thoroughly. Check for any unevenness and level the subfloor if necessary. Install underlayment according to manufacturer instructions to provide a smooth surface for your laminate flooring.
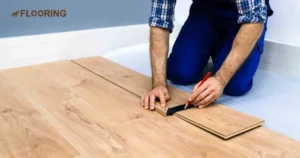
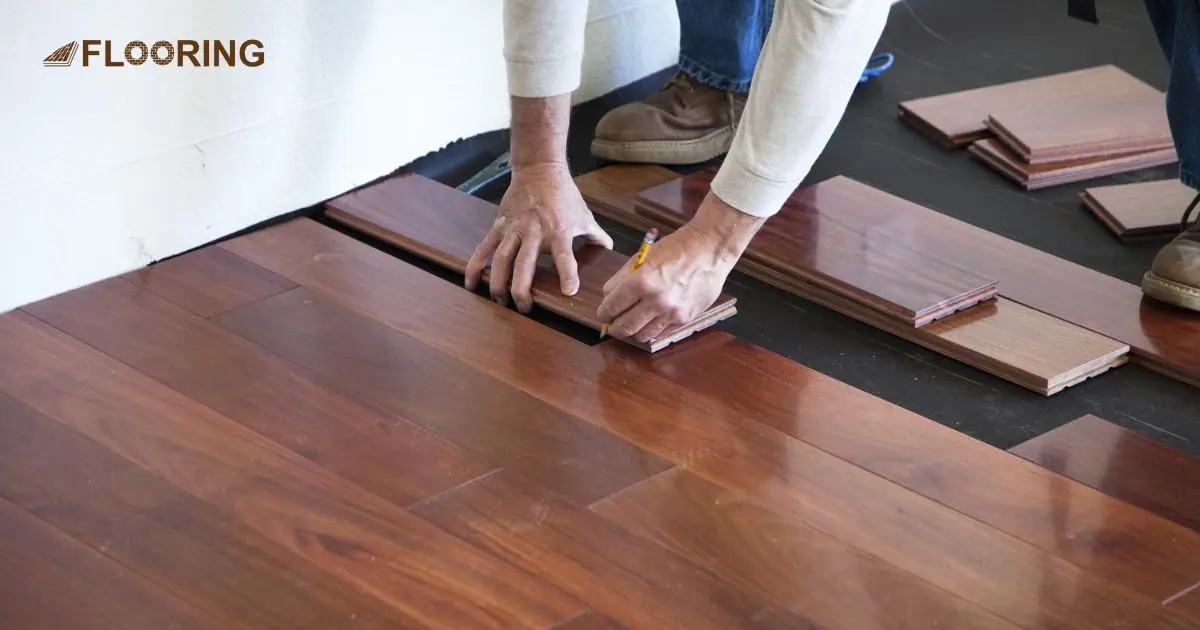
A Beginner’s Approach to Laying the First Row
Start by laying the first row of laminate planks along the longest straight wall. Use spacers to maintain a consistent expansion gap around the room’s perimeter. Cut the last plank in the row to fit, ensuring it’s at least 12 inches long. This first row sets the foundation for your stagger pattern.
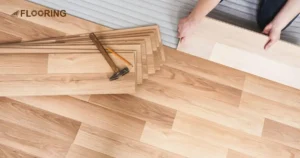
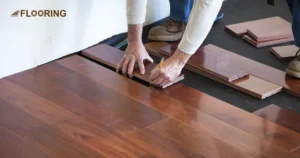
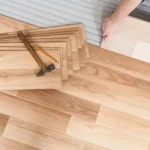
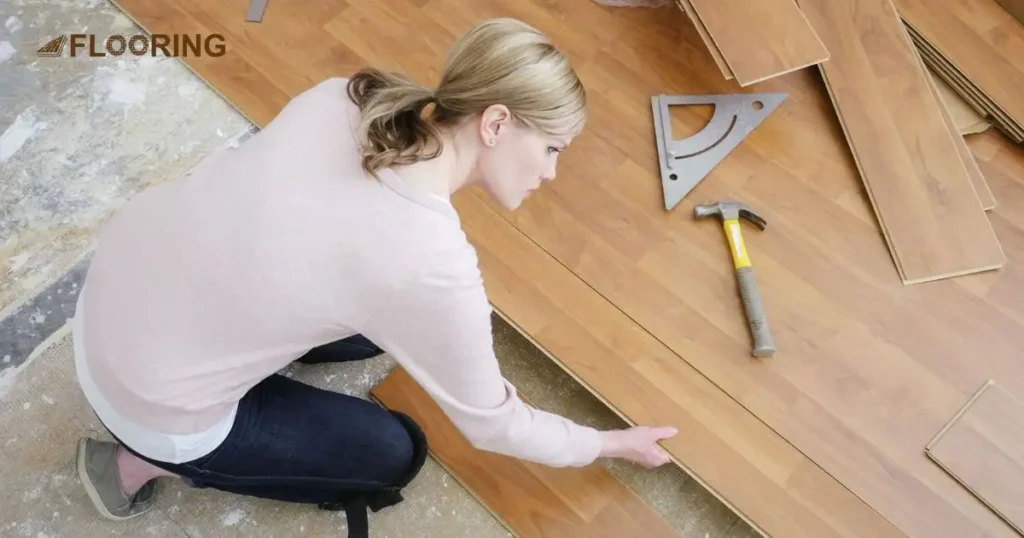
Creating a Stagger Pattern for Beginners
To create an effective stagger pattern, begin the second row with the cut piece from the first row. Ensure the end joints are at least 6 inches apart between adjacent rows. Continue this pattern, varying the plank lengths to create a random, natural look. Aim for a minimum of 12-inch stagger between end joints in consecutive rows.
Beginner-Friendly Tips for Perfect Laminate Floor Staggering
Achieving a perfect stagger pattern takes practice, but these tips will help beginners improve their technique. Follow these suggestions to enhance your laminate flooring installation:
- Plan ahead: Lay out several rows before securing them to visualize the pattern.
- Vary plank lengths: Use a mix of full and cut planks for a natural look.
- Avoid H-joints: Ensure end joints don’t align in adjacent rows to prevent weak spots.
- Use factory edges: When possible, join factory edges for tighter seams.
- Check frequently: Step back and assess your work regularly to catch any pattern issues.
- Maintain minimum length: Avoid using planks shorter than 12 inches, especially at room ends.
- Consider room features: Plan your stagger around doorways and other obstacles for a seamless look.
Troubleshooting Common Staggering Issues for Beginners
Even with careful planning, beginners may encounter issues when staggering laminate flooring. Recognizing and addressing these problems quickly is crucial for a successful installation. Here’s a table of common issues and their solutions:
| Issue | Cause | Solution |
| Visible pattern repetition | Using the same plank lengths consistently | Vary the lengths of cut planks more randomly to create a natural look. Mix full and partial planks throughout the installation. |
| Weak spots in the floor | End joints too close together or forming H-patterns | Ensure end joints are at least 6 inches apart in adjacent rows. Avoid aligning end joints in three or more consecutive rows. |
| Gaps between planks | Improper installation technique or damaged locking mechanism | Use a tapping block to gently secure planks together. Check for debris in the locking system and clean if necessary. Replace damaged planks. |
| Uneven floor surface | Subfloor irregularities or improper underlayment installation | Level the subfloor before installation. Ensure underlayment is properly installed and free of wrinkles or bumps. |
| Planks shifting after installation | Insufficient expansion gap or improper acclimation | Maintain a consistent expansion gap around the room’s perimeter. Acclimate flooring to room conditions before installation. |
To properly stagger laminate flooring, beginners should be aware of common issues that may arise. By following this guide, beginners can successfully stagger laminate flooring for a professional-looking result.
Frequently Asked Questions
Can I stagger laminate flooring in a herringbone pattern as a beginner?
Staggering laminate flooring in a herringbone pattern is challenging for beginners. It requires more precise cutting and planning. Start with a standard stagger pattern to build your skills before attempting complex designs.
How long should I acclimate laminate flooring before staggering?
Acclimate laminate flooring for 48-72 hours before staggering. This allows the material to adjust to room conditions. Proper acclimation helps prevent gaps and buckling after installation.
Is it necessary to stagger laminate flooring in small rooms?
Yes, stagger laminate flooring even in small rooms. This ensures structural integrity and visual appeal. Follow the same staggering principles as in larger spaces, adjusting for room size.
Can I use a staggered pattern to hide an uneven subfloor?
Staggering laminate flooring won’t hide an uneven subfloor. Level the subfloor before installation. A proper stagger pattern on a level surface ensures the best results for beginners.
How do I calculate the number of starter planks needed for staggering?
To calculate starter planks for staggering, divide room width by plank width. Add extra for cuts and mistakes. This helps beginners plan their stagger pattern effectively.
Should I stagger laminate flooring differently in high-traffic areas?
Stagger laminate flooring consistently throughout the room, including high-traffic areas. Use the same principles for a uniform look. Focus on proper installation techniques for durability in busy spaces.