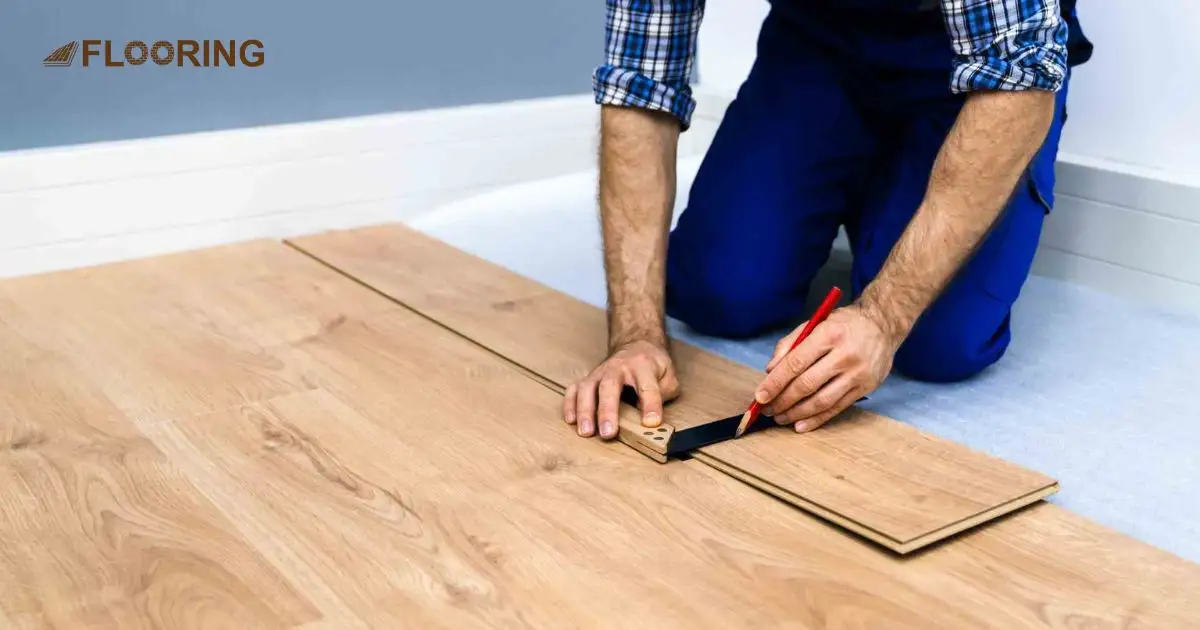
Staggering laminate flooring correctly is essential for a durable and visually appealing installation. Many DIY enthusiasts make critical errors during this process, leading to unstable floors and unsightly patterns. Avoiding these common mistakes can significantly improve your flooring project’s outcome.
By mastering proper staggering techniques, you’ll create a professional-looking floor that lasts for years. Understanding the key aspects of laminate staggering helps prevent issues like uneven patterns and structural weaknesses. Let’s explore how to avoid common mistakes when staggering laminate flooring for optimal results.
Key Takeaways
- Maintain proper stagger length to prevent weak joints and uneven patterns.
- Use correct spacing techniques to allow for natural expansion and contraction.
- Handle planks carefully and use appropriate tools to avoid damage during installation.
- Create a visually appealing floor by varying plank lengths and distributing colors evenly.
- Plan your layout carefully to avoid small cuts at doorways and optimize visual flow.
Avoiding Uneven Plank Patterns in Laminate Flooring
Uneven plank patterns can ruin the appearance of your laminate floor. Proper staggering techniques create a natural, seamless look that enhances your room’s aesthetics. Let’s examine two critical aspects of achieving even plank patterns.
Proper Stagger Length for Professional Results
Maintaining the right stagger length is essential for a professional-looking laminate floor. A proper stagger creates a natural, random pattern that mimics real wood flooring.
Aim for a minimum stagger of 6 inches between end joints in adjacent rows. This approach ensures structural stability and visual appeal. Avoid using cut pieces shorter than 6 inches at row ends, as they may become unstable over time.
Preventing H-Joint Formation
H-joints occur when end joints in adjacent rows align, creating an H-shaped pattern. These formations weaken the floor’s structure and detract from its appearance. To prevent H-joints, stagger end joints by at least three plank widths.
This technique distributes weight evenly across the floor, enhancing stability. Always check for accidental H-joints during installation and adjust plank placement as needed. A proper laminate flooring stagger pattern helps prevent H-joints and distributes weight evenly across the floor.
Correct Spacing Techniques for Laminate Installation
Proper spacing is crucial for a successful laminate flooring installation. Correct spacing allows for the natural expansion and contraction of the material. Let’s explore two key aspects of spacing techniques in laminate flooring installation.
Maintaining Consistent Expansion Gaps
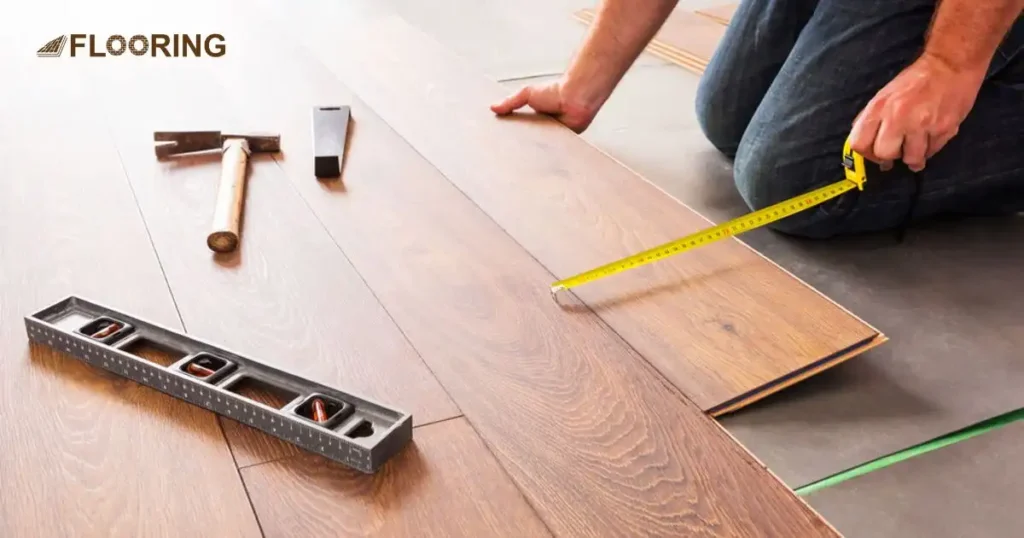
Expansion gaps are vital for preventing buckling and warping in laminate flooring. These gaps accommodate the natural expansion and contraction of the material due to temperature and humidity changes.
- Gap size: Maintain a 1/4 to 3/8 inch gap around the perimeter of the room and around fixed objects.
- Consistent spacing: Use spacers to ensure uniform gaps throughout the installation process.
- Trim considerations: Remember that baseboards and moldings will cover these gaps, so don’t worry about their appearance.
- Large rooms: For rooms larger than 40 feet in length or width, install expansion joints to prevent buckling.
Avoiding Tight Fits Around Obstacles
Fitting laminate planks around obstacles requires careful planning and execution. Tight fits can lead to damage and improper installation.
- Door frames: Undercut door frames to allow planks to slide underneath for a seamless look.
- Pipes and vents: Use a hole saw to cut circular openings, leaving room for expansion.
- Irregular shapes: Create paper templates for complex cuts to ensure accurate fitting.
- Transitions: Install proper transition strips between rooms or different flooring types to allow for movement.
Preventing Damage During Laminate Staggering
Laminate flooring is durable, but it can be damaged during installation. Proper handling and tool usage are essential for a flawless finish. Let’s examine two crucial aspects of preventing damage during the staggering process.
Proper Tool Usage to Avoid Chipping
Using the right tools correctly is crucial for preventing damage to laminate planks. Here’s a guide to proper tool usage:
| Tool | Proper Usage | Common Mistakes to Avoid |
| Saw | Use a fine-toothed blade and cut with the decorative side up to prevent chipping. | Cutting with the decorative side down can cause visible damage to the plank’s surface. |
| Tapping Block | Place the block against the plank’s tongue or groove, never the exposed edge. | Tapping directly on the plank’s edge can damage the locking mechanism or chip the surface. |
| Pull Bar | Use for tight spaces near walls, ensuring even pressure distribution. | Applying too much force or using it on exposed edges can cause damage to the planks. |
| Rubber Mallet | Tap gently on the tapping block or pull bar, never directly on the plank. | Striking the plank directly can cause dents, chips, or cracks in the laminate surface. |
Careful Handling of Planks During Installation
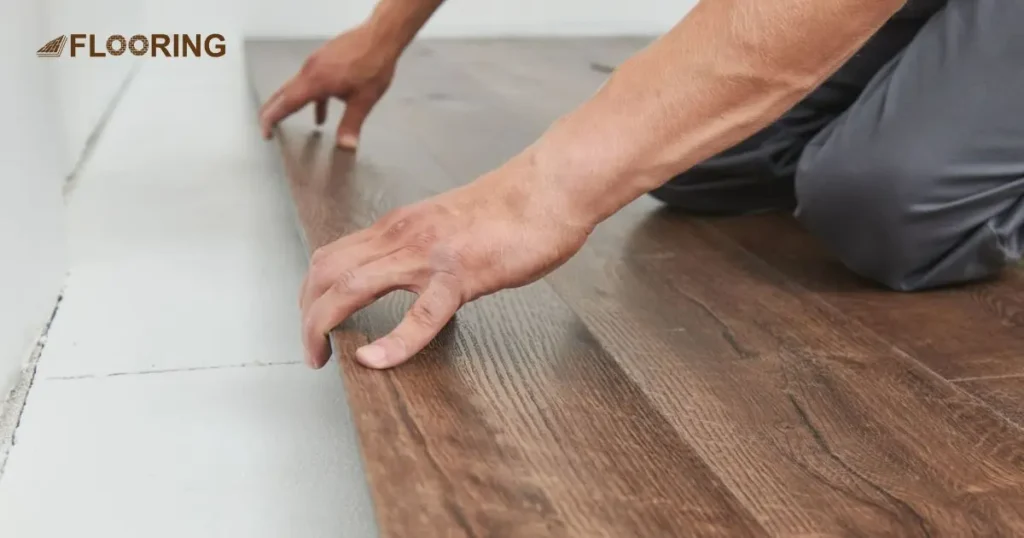
Proper handling of laminate planks is essential to prevent damage during installation. Always lift planks carefully, avoiding dragging them across each other or the subfloor. Stack planks horizontally on a flat surface to prevent warping.
When cutting planks, support them fully to avoid snapping or chipping. Handle planks by their edges to prevent scratching the decorative surface. Take care not to drop tools on the planks, as this can cause dents or chips.
Aesthetic Considerations in Laminate Staggering
Understanding why you stagger flooring is essential for achieving the best results. Proper staggering enhances visual appeal, improves structural stability, and creates a more natural appearance. When planning your layout, consider these reasons for staggering:
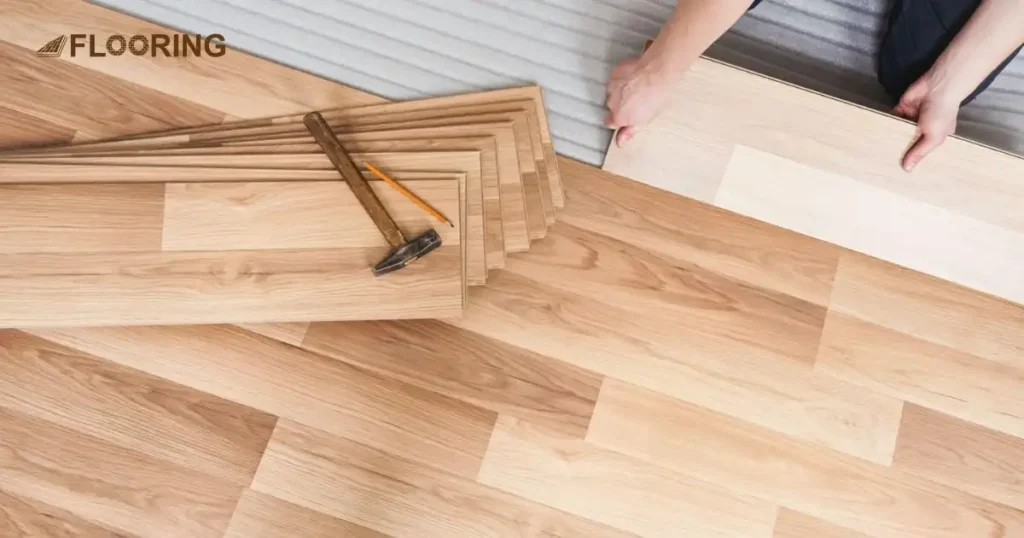
- Varied plank lengths: Use a mix of full-length and cut planks to create a natural, random pattern.
- Color distribution: If your laminate has color variations, distribute them evenly across the floor for a balanced look.
- End joint spacing: Avoid aligning end joints in adjacent rows, aiming for at least 6-8 inches of separation.
- Starting row alignment: Begin with a full plank in the first row and a cut plank in the second to establish a proper stagger pattern.
- Visual flow: Consider the room’s layout and ensure the plank direction enhances the space’s visual flow.
- Transition points: Plan your layout to avoid small cuts at doorways or other transition points.
- Light direction: Consider the direction of natural light when deciding on plank orientation for optimal visual appeal.
In Summary
Avoiding common mistakes when staggering laminate flooring is crucial for a successful installation. By following proper techniques, you can create a durable, visually appealing floor that lasts for years. Remember to maintain correct stagger lengths, use appropriate spacing, and handle planks with care.
Mastering the art of laminate staggering enhances both the structural integrity and aesthetic appeal of your floor. By sidestepping typical errors, you’ll achieve professional-looking results. Apply these tips to your next laminate flooring project for a flawless finish that stands the test of time.
Frequently Asked Questions
Can I stagger laminate flooring in a herringbone pattern?
Herringbone patterns require special techniques to avoid common staggering mistakes. Use precise cutting and careful alignment to maintain the pattern. Consult manufacturer guidelines for specific instructions on herringbone installation.
How do I stagger laminate flooring on stairs?
Staggering laminate on stairs requires careful planning to avoid mistakes. Use stair-nosing pieces and ensure proper overhang. Cut planks to fit each step individually, maintaining a consistent pattern.
Is it necessary to stagger laminate flooring in small rooms?
Yes, staggering remains important in small rooms to avoid common installation mistakes. Adjust stagger lengths proportionally to the room size. This approach ensures structural integrity and a natural appearance.
Can I use the leftover pieces from one row to start the next when staggering?
Using leftover pieces can lead to common staggering mistakes. Start each row with a new plank cut to a random length. This method creates a more natural, staggered appearance.
How do I avoid mistakes when staggering laminate flooring around a fireplace?
Plan your layout carefully to avoid small cuts near the fireplace. Use transition strips where necessary. Maintain proper expansion gaps around the fireplace to prevent buckling.
What’s the best way to stagger laminate flooring in long, narrow rooms?
In long, narrow rooms, install planks parallel to the longest wall. Maintain consistent stagger lengths to avoid common mistakes. This approach creates an illusion of width and ensures structural stability.
