Tile to vinyl transitions is a key element in flooring design, blending different materials seamlessly. These transitions serve both functional and aesthetic purposes in homes and commercial spaces.
Table of Contents
This guide explores various tile to vinyl transition ideas, from classic methods to innovative approaches. We’ll cover practical installation techniques, design considerations, and maintenance tips to help you achieve professional-looking results in your flooring projects.
Key Takeaways
- Proper transitions between tile and vinyl flooring enhance both aesthetics and functionality in your space.
- Popular transition methods include using strips, flush techniques, and decorative borders, each offering unique benefits.
- Innovative ideas like gradual blending with mosaics and curved transitions can create distinctive flooring designs.
- Practical considerations such as managing height differences and moisture protection are crucial for successful installations.
- Regular maintenance and proper care ensure the longevity and appearance of tile-vinyl transitions.
Popular Tile to Vinyl Transition Methods
Several effective methods exist for transitioning between different flooring materials, including tile to vinyl and kitchen tile-to-wood floor transitions. These techniques ensure a smooth junction between the two materials while enhancing the overall aesthetic of your space. Let’s explore three popular approaches: transition strips, flush transitions, and decorative borders.
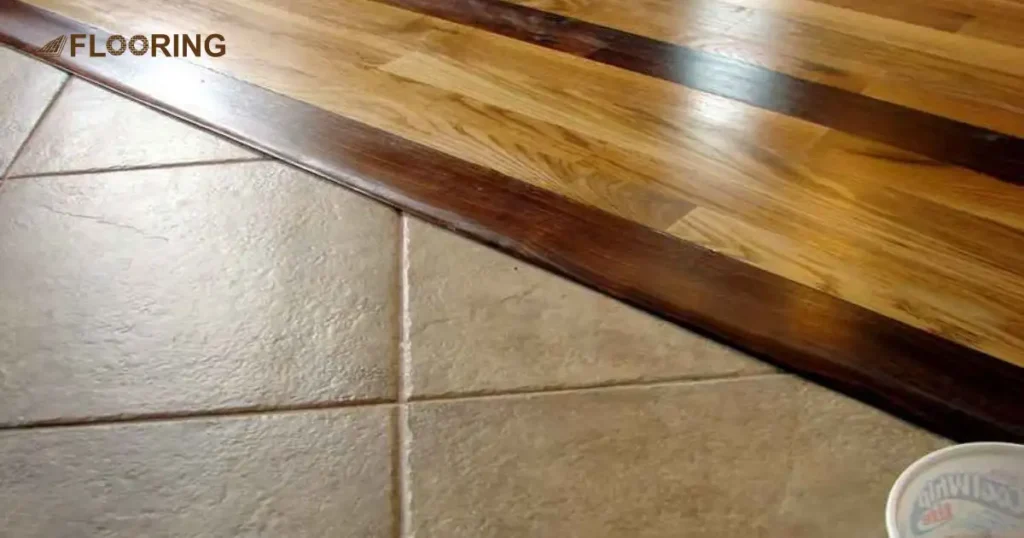
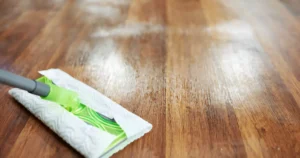
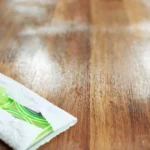
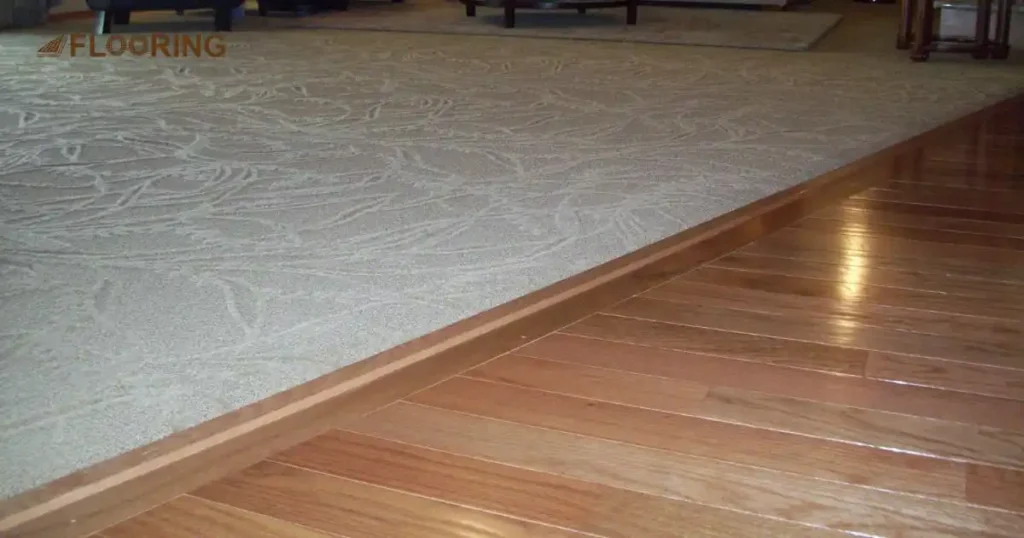
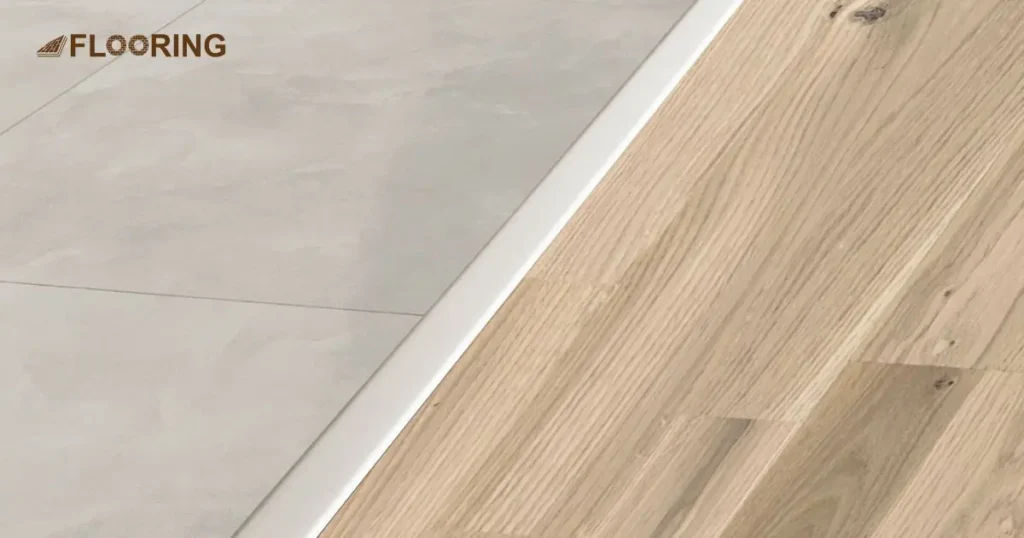
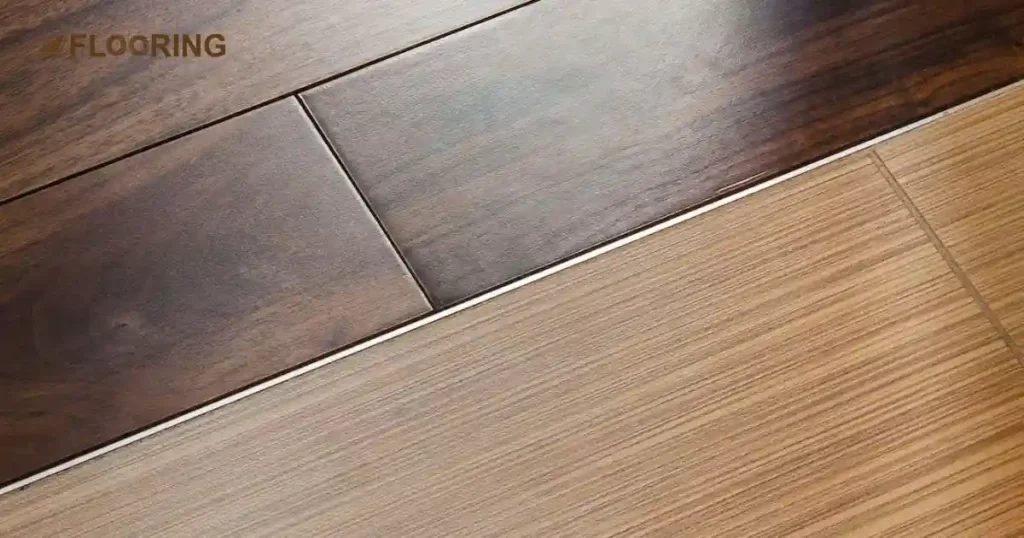
Using Transition Strips
Transition strips are versatile tools for connecting tile and vinyl floors. To suit different design preferences, these strips come in various materials, including metal, wood, and plastic.
Installation involves securing the strip between the tile and vinyl edges. This method effectively bridges height differences and creates a clean, defined boundary between the two flooring types. Transition strips also protect the edges of both materials from damage.
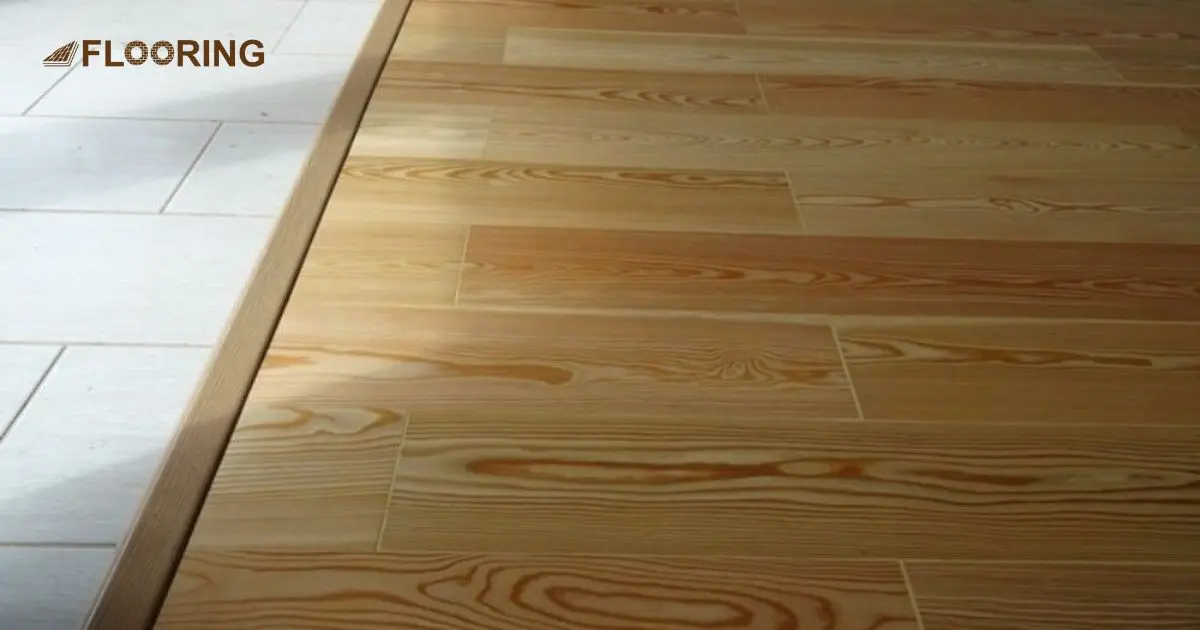
The Flush Transition Technique
The flush transition technique creates a seamless look between tile and vinyl flooring. This method involves aligning the top surfaces of both materials to the same level.
Achieving a flush transition often requires careful planning during installation. It may involve using underlayment or adjusting subfloor heights to ensure both surfaces are even. This technique works well in modern, minimalist designs where a smooth flow between spaces is desired.
Incorporating Decorative Borders
Decorative borders offer a creative way to transition between tile and vinyl. This method uses a third material or pattern to create a visually appealing buffer zone.
Options for decorative borders include mosaic tiles, contrasting vinyl patterns, or even thin strips of wood or stone. These borders can complement your overall design scheme while effectively bridging the gap between different flooring materials. Decorative transitions work particularly well in open-concept spaces or to define separate functional areas.
Innovative Tile to Vinyl Transition Ideas
Beyond traditional methods, innovative approaches can create unique transitions between different flooring materials. These creative flooring transition ideas offer opportunities to enhance your space’s visual appeal and functionality. Let’s explore three innovative ideas for tile-to-vinyl transitions.
Gradual Blending with Mosaic Patterns
- Use small mosaic tiles to create a gradual blend between tile and vinyl areas
- Start with larger tiles near the main tile area, progressively decreasing in size
- Integrate colors from both the tile and vinyl to achieve a cohesive look
- Works well in bathrooms or kitchens to soften the transition between materials
Curved Transitions for Organic Flow
- Design a curved boundary between tile and vinyl instead of a straight line
- Use flexible transition strips or custom-cut materials to achieve the curve
- Enhances the visual interest of the space and creates a more natural flow
- Ideal for open-concept areas or to define separate functional zones
Mixed Material Transitions
- Combine multiple materials in the transition area for a distinctive look
- Incorporate elements like wood, metal, or stone alongside tile and vinyl
- Create a transition zone that serves as a design feature in its own right
- Allows for customization to match specific interior design themes or preferences
Practical Considerations for Tile to Vinyl Transitions
When transitioning between tile and vinyl flooring, several practical factors require attention. These considerations ensure a durable, safe, and visually appealing result. Let’s examine three key aspects to keep in mind during your tile to vinyl transition project.
Managing Height Differences
Height variations between tile and vinyl flooring can create tripping hazards and affect the overall aesthetics. Addressing these differences is crucial for a smooth transition.
Use transition strips or gradual slopes to bridge height gaps. For larger discrepancies, consider adding underlayment to the lower flooring or grinding down the higher surface. Always aim for a gentle slope that meets ADA guidelines of 1:12 ratio or less for safety and accessibility.
Accounting for Expansion and Contraction
Different flooring materials respond differently to temperature and humidity changes. This can lead to gaps or buckling at transition points if not properly addressed.
Leave appropriate expansion gaps around the perimeter of both tile and vinyl flooring. Use flexible caulk or silicone in the transition area to allow for movement. Choose transition strips or profiles that can accommodate slight shifts in the flooring materials over time.
Moisture Protection in Wet Areas
In areas prone to moisture, such as bathrooms or kitchens, proper moisture protection is essential to prevent water damage and mold growth.
Apply a waterproof membrane or sealant at the transition point between tile and vinyl. Ensure that the transition method you choose includes proper moisture barriers. In high-moisture areas, consider using moisture-resistant materials for your transition strips or borders to enhance longevity and prevent water infiltration.
DIY Tips for Installing Tile to Vinyl Transitions
Installing tile to vinyl transitions can be a rewarding DIY project with proper preparation and execution. This section provides essential tips and guidelines to help you achieve professional-looking results. Let’s explore the tools, installation steps, and common pitfalls to avoid.
Tools and Materials Needed
Gathering the right tools and materials is crucial for a successful tile to vinyl transition installation. Here’s a list of essential items you’ll need:
- Measuring Tools: Use a tape measure and pencil for accurate marking and cutting.
- Cutting Tools: Have a utility knife and saw on hand for trimming materials.
- Installation Tools: Prepare a hammer, drill with appropriate bits, and trowel for adhesive application.
- Materials: Gather transition strips, suitable adhesive, and fasteners as needed.
Step-by-Step Installation Guide
A systematic approach ensures a smooth and efficient installation process. Follow these general steps:
- Preparation: Clean both surfaces thoroughly and mark the transition area precisely.
- Cutting: Measure and cut transition strips to the correct length, trimming vinyl if necessary.
- Installation: Apply adhesive evenly, place the transition strip, and secure it properly.
- Finishing: Remove excess adhesive and verify the transition’s stability and evenness.
Common Mistakes to Avoid
Being aware of potential pitfalls can help you achieve better results. Here are some common mistakes to watch out for:
- Measurement Errors: Double-check all measurements before making any cuts.
- Improper Tools: Use the correct tools for each material to prevent damage.
- Ignoring Instructions: Follow manufacturer guidelines for your chosen transition method.
- Rushing the Process: Allow sufficient time for adhesives to dry and materials to settle.
- Neglecting Expansion Gaps: Ensure proper spacing to accommodate material movement.
Maintenance and Care for Tile-Vinyl Transitions
Proper maintenance and care are essential for preserving the appearance and functionality of tile-vinyl transitions. Here’s a table outlining key maintenance practices:
| Aspect | Care Instructions |
| Regular Cleaning | Sweep or vacuum the transition area regularly to remove dirt and debris. Use a damp mop with a mild, pH-neutral cleaner for deeper cleaning. |
| Spill Management | Address spills promptly by blotting with a clean, damp cloth. Avoid harsh scrubbing that could damage the transition. |
| Protective Measures | Use walk-off mats at entrances to reduce dirt accumulation. Consider using furniture pads to prevent scratches. |
| Avoid Abrasives | Do not use abrasive cleaners, scrubbers, or vacuum cleaners with beater bars on the transition area. |
| Periodic Inspection | Regularly check for signs of wear, loose edges, or gaps in the transition. Address issues promptly to prevent further damage. |
| Refinishing | If needed, follow manufacturer guidelines for refinishing or resealing the transition area to maintain its protective properties. |
Remember to always consult the specific care instructions provided by the manufacturer of your tile-vinyl transition product for best results.
Final Thoughts
Transitioning from tile to vinyl flooring offers numerous creative possibilities to enhance your home’s aesthetic appeal and functionality. By exploring various methods, from traditional transition strips to innovative blending techniques, you can achieve seamless and visually striking floor transitions. Remember to consider practical aspects such as height differences, expansion, and moisture protection during installation.
Whether you choose a DIY approach or professional installation, proper maintenance will ensure your tile to vinyl transitions remain beautiful and functional for years to come. With the ideas and tips provided in this guide, you’re well-equipped to create stunning floor transitions that elevate your living spaces, whether you’re working with tile and vinyl or exploring other tile floor transition ideas.
Frequently Asked Questions
Can I use the same transition method for outdoor tile to vinyl transitions?
Outdoor transitions require weather-resistant materials. Choose metal or PVC transition strips designed for exterior use. Ensure proper sealing to prevent moisture damage.
How do I transition between luxury vinyl tile (LVT) and ceramic tile?
Use T-molding or reducer strips designed for LVT. Ensure the transition piece accommodates any height difference between the two materials. Follow manufacturer guidelines for proper installation.
Are there eco-friendly options for tile to vinyl transitions?
Yes, consider recycled or sustainable materials like bamboo or cork for transition strips. Some manufacturers offer eco-friendly vinyl transition options made from recycled content.
Can I install a tile to vinyl transition over radiant floor heating?
Most transition methods are compatible with radiant heating. Use flexible adhesives to allow for thermal expansion. Consult your radiant heating system manufacturer for specific recommendations.
How do I handle transitions in large, open spaces with multiple flooring types?
Use consistent transition methods throughout the space for a cohesive look. Consider using wider transition zones or decorative inlays to create natural breaks between different flooring areas.
What’s the best transition method for high-traffic commercial spaces?
Choose durable materials like metal or heavy-duty vinyl transition strips. Opt for low-profile designs to minimize tripping hazards. Consider slip-resistant options for added safety in commercial settings.